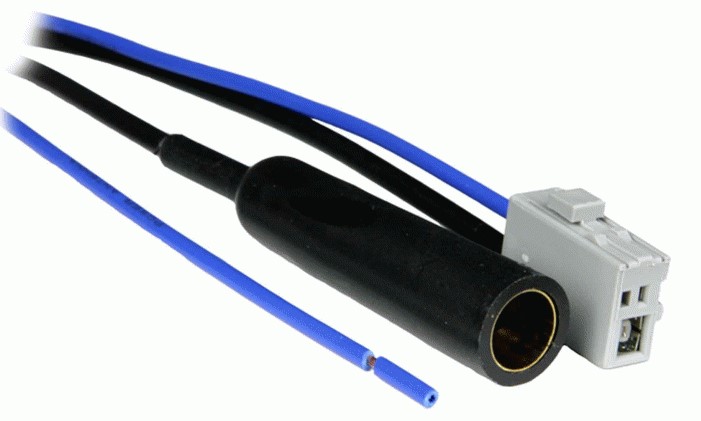
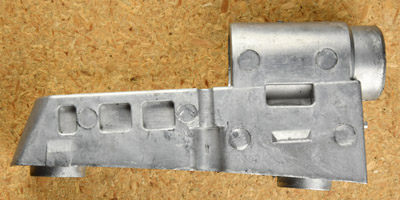
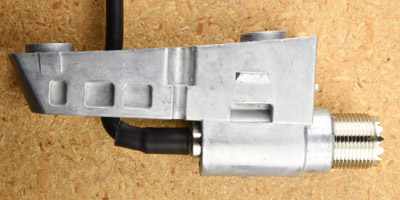
Honda FM Antenna Feeder
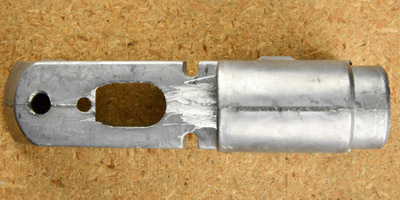
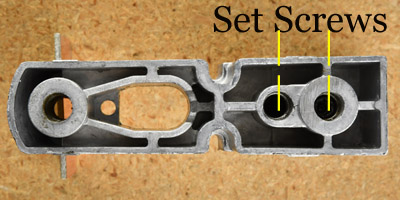
Aluminum casting bracket front and side views.
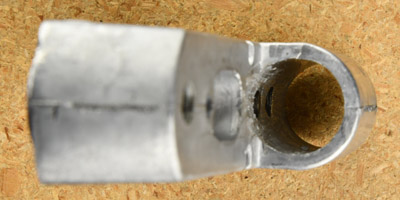
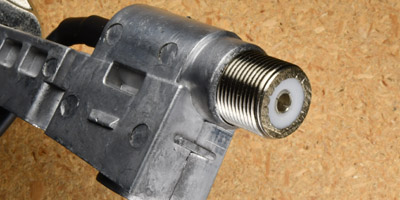
Aluminum casting ridge removed and rear view.
Old PL259 used to hold barrel in drill press jaws.
Ham Radio Antenna for the GL 1800 |
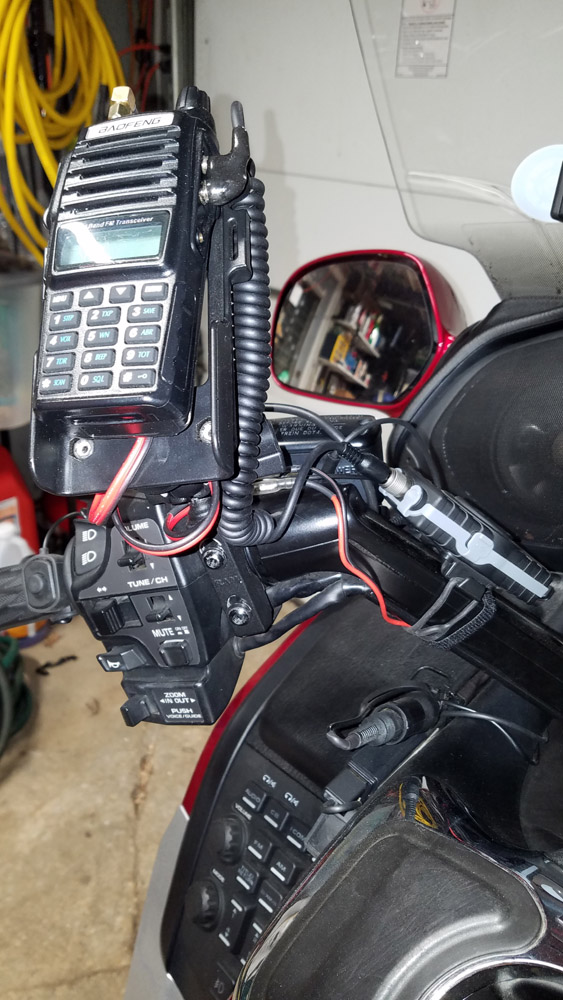
After searching the web looking for how to get a VHF / UHF ham antenna on the GL1800 resulted in finding that most mounts were either brackets on the luggage rack or some monstrosity that is congiggered onto a trailer hitch. I'm not a fan of the luggage rack and I don't have a trailer hitch. I knew that hacking the OEM bracket was the only real answer. All the support hardware is already there so why not. KD8OVH had the idea of hacking the existing Honda antenna mount and turning it into a SO-239 base. I'm doing the same thing but with a slightly diffent process and hardware. Obviously you need an OEM antenna mount. Honda calls it an "antenna feeder". The part number for my 2012 GL1800 is 39158-MCA-S4. I didn't want to use my original antenna just so I could drop back to the original configuration. Ebay has a host of knockoffs, I bought one for $23 delivered. It looked the same but the chrome on the plastic base was less than OEM quality.
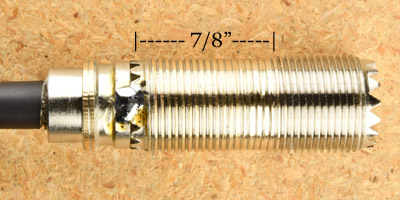
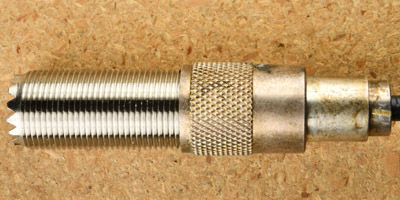
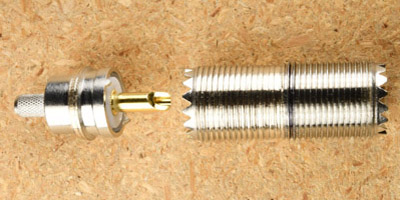
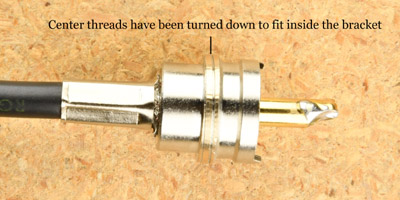
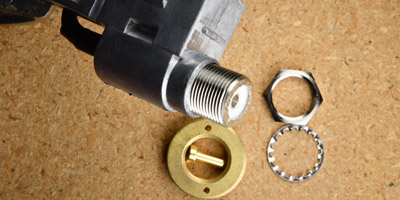
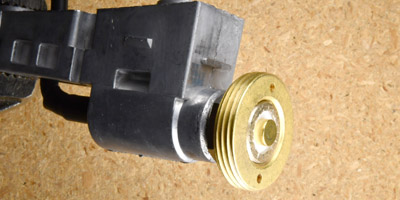
I didn't have access to a lathe so I improvised using a drill press. The bulkhead connector needs less than a mm to be shaved off its outside diameter. Inserting the standard PL-259 in one end of the bulkhead connector reduces its diameter so its small enough for it to be inserted into the drill press. Spinning it slow and using a flat file, taking that mm off its OD is easy. It takes just a few minutes. I ballparked the measurement and came up with 7/8" as the length of threads that needed to get "turned down". I found that the inside diameter of my antenna "frame" had ridges a little way into the body. They were either there as part of the design or just leftovers from the casting process. I did a short video of the turndown process. I will post it along with the video of the installation as soon as the install is completed. Use the drill press in a similar manner to reduce the diameter of the threaded ring on the crimp PL259 by inserting the crimp end in the drill press and carefully clamping down on it. . Connecting the male PL-259 to the bulkhead SO-239 for a test fit revealed that another small mod is needed. The cable end of the PL259 will hit an ridge in the middle of the bracket preventing it from being fully seated. I used a round file to nock down that ridge. The pictures of the bracket show scratches in its midldle. That's where the ridge was. To bond the barrel and the PL259 connector together II used my Weller WTCP iron with a broad flat tip to solder them together where the male teeth of the PL-259 meet the outer body of the bulkhead. Just be carefull with the heat. Try to keep the coax straight out of the connector while soldering or the jacket may get damaged. The bulkhead barrel is held in place by one of two allen head set screws in the original bracket. The second allen head set screw will hold the PL259 in place. A dab of blue Loctite on the set screws should keep it good and tight. The top and bottom holes in the bracket are threaded for the trunk mounting hardware. It's all aluminum so don't be a HeMan and strip the thing! The last thing that needs to be machined is the top plastic "cover" of the bracket. By hand I used a step drill bit to open up the top to allow the bulkhead barrel to fit through. Using a NMO adapter with a locking nut will require about an 1/8" to be taken off the height of the chrome cover's top. I used RG58 cable and found that the turn to get the coax into the bike is kinda tight. RG174 might be a better choice. The smaller coax will work fine up to about 50 watts. An unlikely power level for a cycle! As for what antenna to use, well that's up to you. There are quite a few 38" dual band antennas on the market. Most are a half wave for two meters and a dual 5/8 wave for 70cm. Most if not all of them are NGP (no ground plane) designs. The Diamond NR770HA is a dual band NGP antenna in silver. It's too bad that I already have the NMO version in black. To remedy that I purchased an adapter to turn the UHF SO-239 mount into a NMO. I might just spring for the silver UHF version of the Diamond at some point. Taking the aftermarket antenna base apart is kinda basic. You are only keeping the chrome covers and aluminum frame. Cut the coax at the gasket, pull the gasket off to reveal two phillips screws. After removing the screws, the plastic cover needs to be "spread" at the middle to allow the "ears" to clear the actual frame. Just be careful and it will pop apart. Losen the set screws to pull the shaft out of the frame and walla you're ready to rock. |
|
|
|
|
|
|
|
|
Honda FM Antenna Feeder |
Aluminum casting bracket front and side views. |
Aluminum casting ridge removed and rear view. |
Old PL259 used to hold barrel in drill press jaws. |
 |
 |
 |
 |
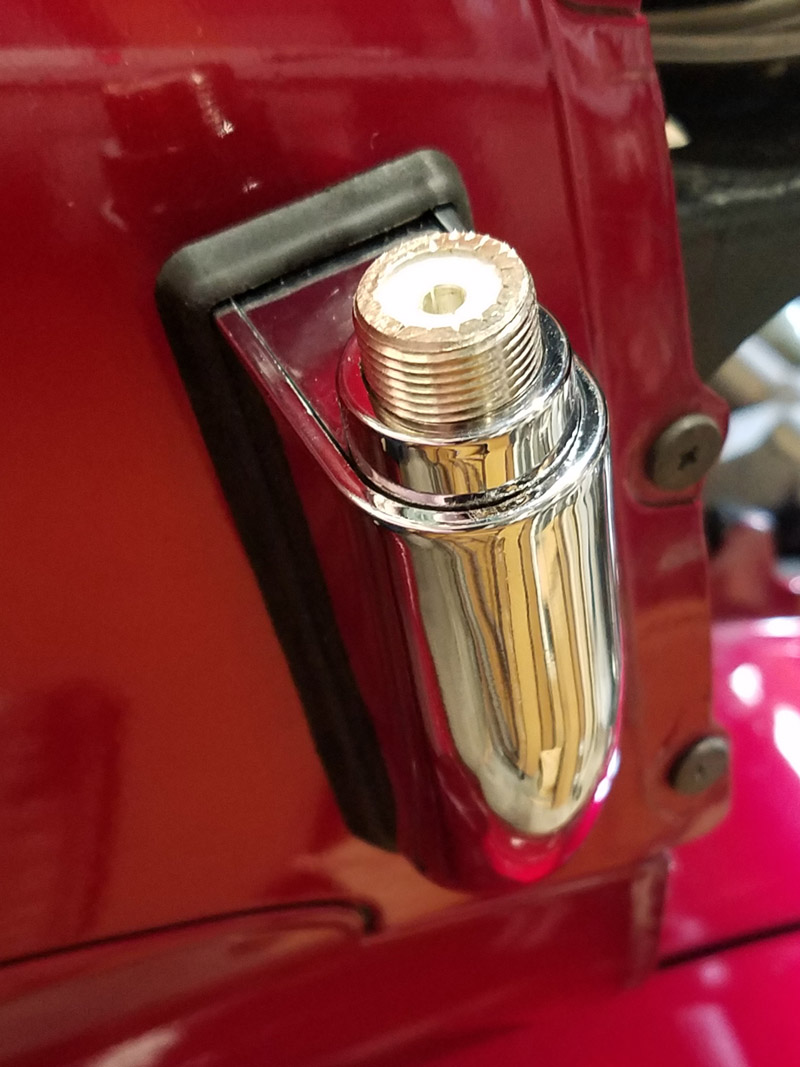
7/8" of the barrel is turned down. |
PL259 crimped and soldered. |
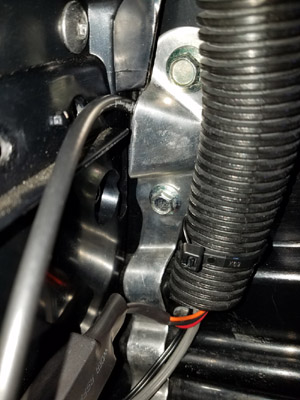
Barrel installed and set screws tight |
The "teeth" of the barrel are filed down. |
 |
 |
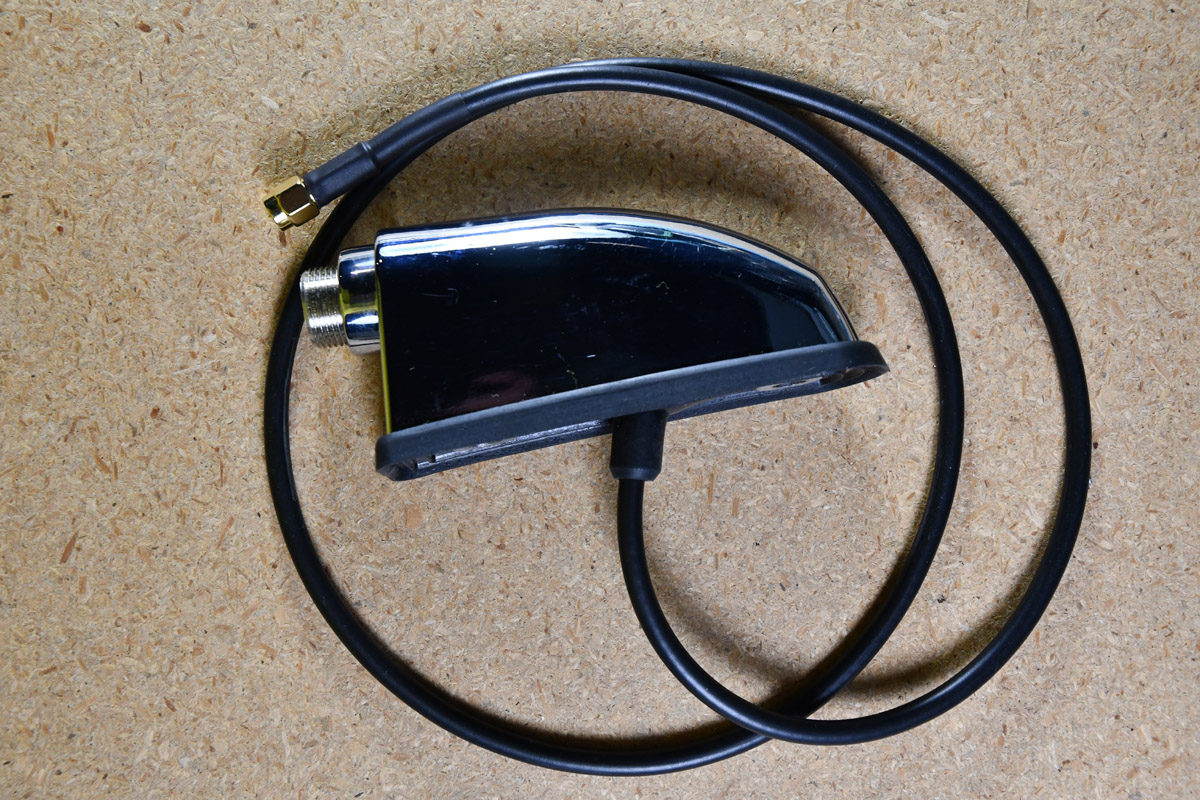 |
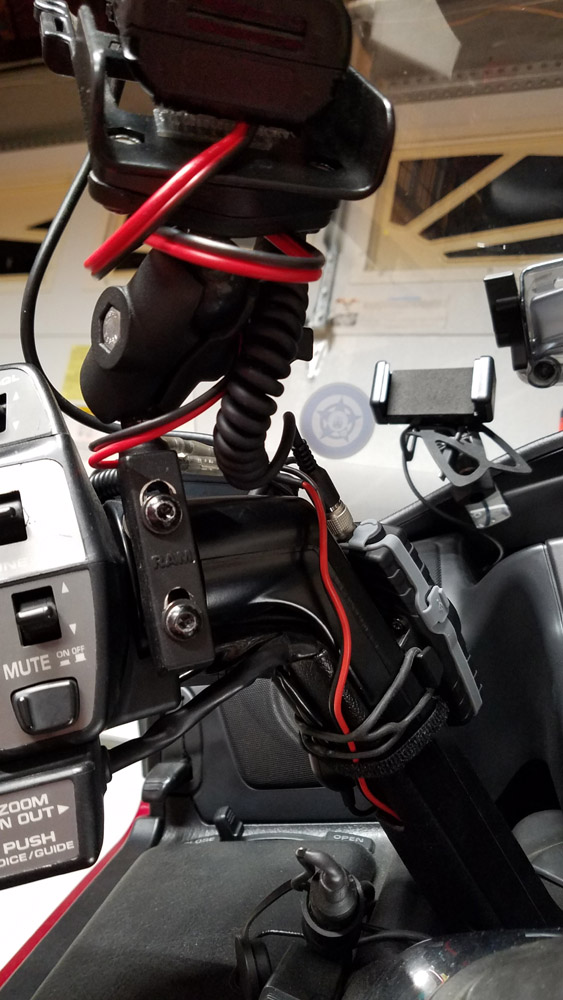
The choice of coax legth and connector are up to the individual. I used SMA for size. Coax length was about 16". That allows an in trunk radio or a service connection. I use a cheap UV82HP that's on the handlebars. At 4 watts and under $40, it's a no brainer. |
UHF to NMO kit allows using NMO antennas |
The NMO landing needs to be just proud of the teeth. |
All buttoned up and ready for install |
 |
 |
 |
 |
14mm wrench removes the FM whip. |
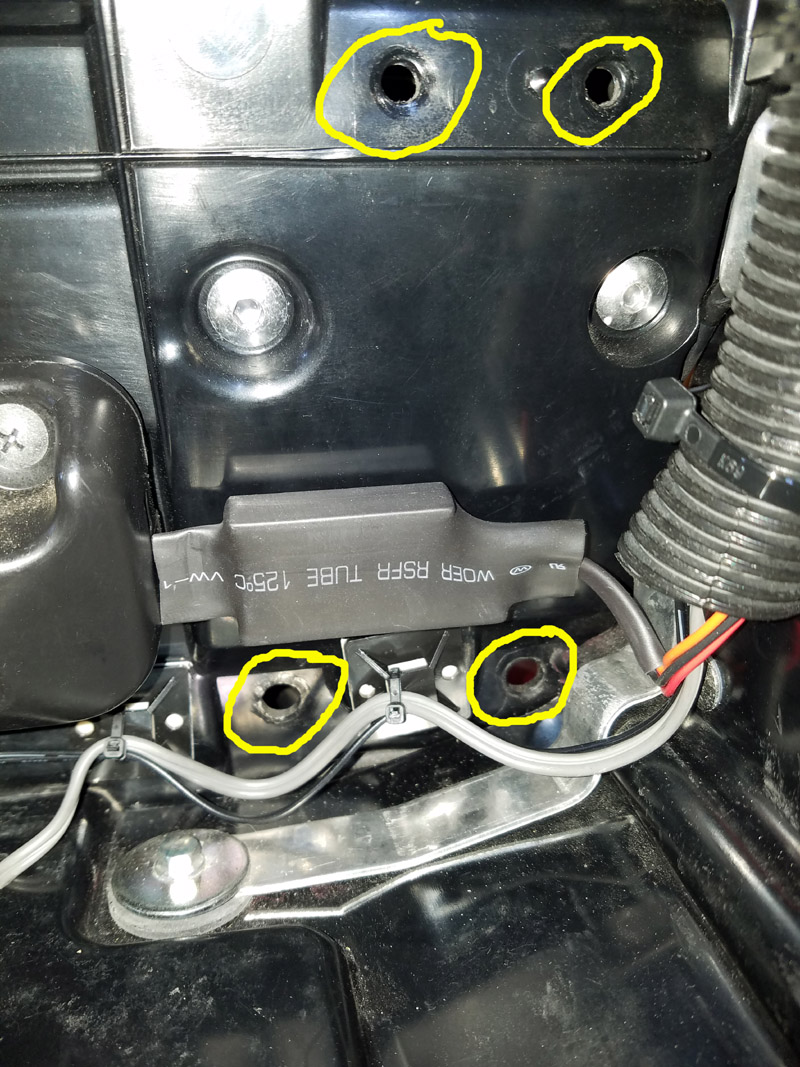
Four phillips screws release the right side cubby, the FM coax can be removed. |
The OEM FM coax comes through here. |
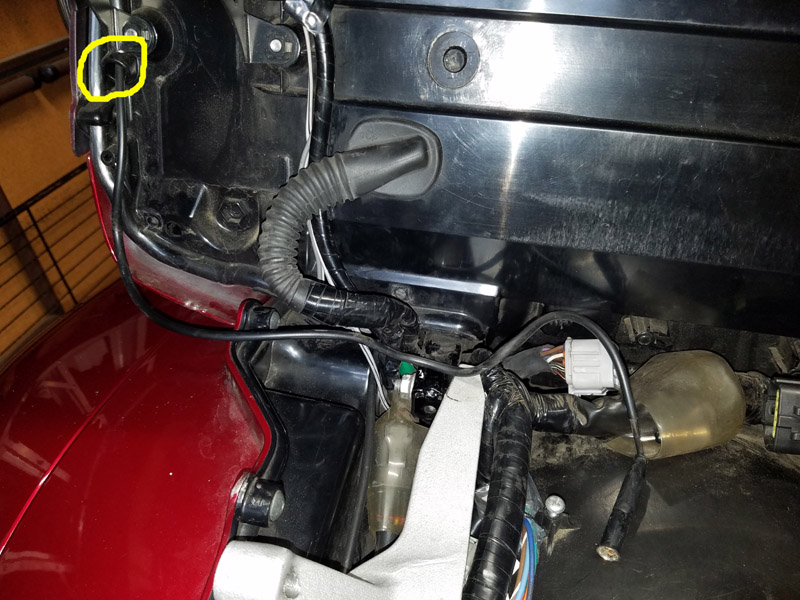
Remove two vertical 10mm bolts inside the trunk and the antenna is free. |
 |
 |
 |
 |
New bracket is installed |
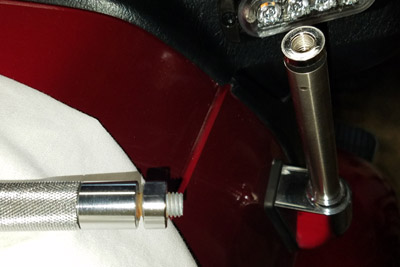
Coax stays in the trunk for service |
NR770 with NMO adapter |
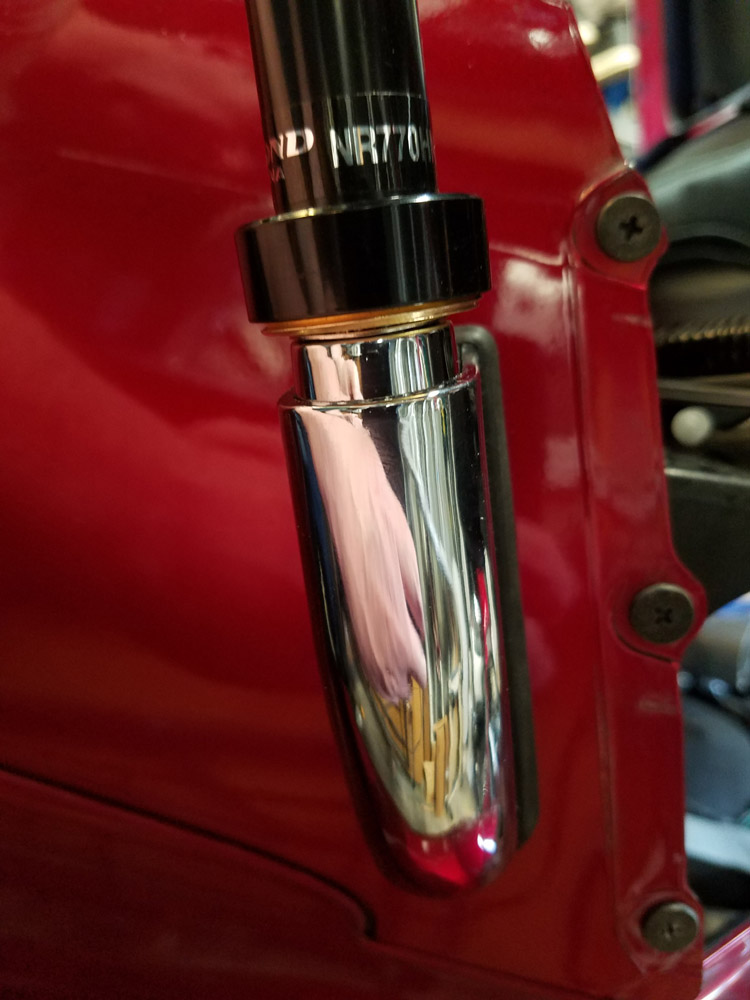
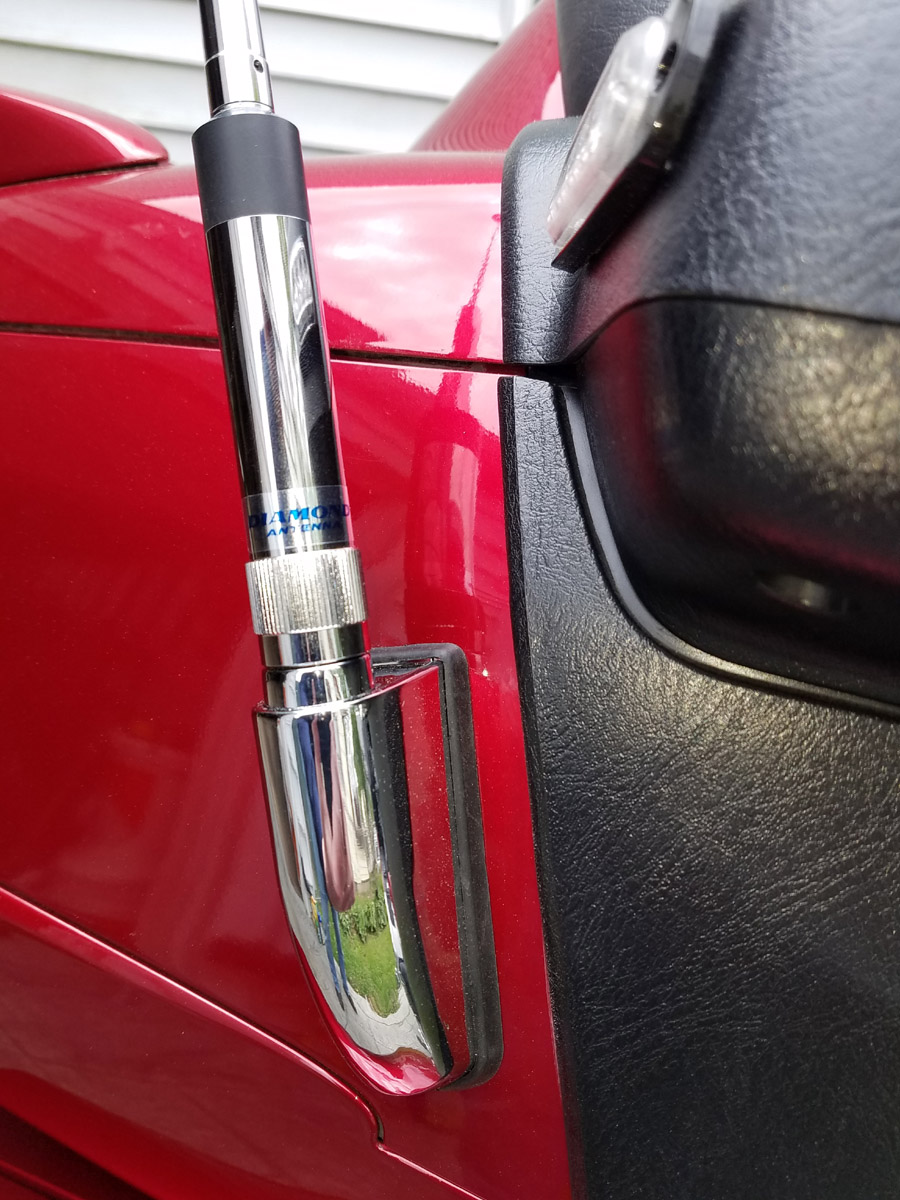
NR770 in UHF installed |
|
||||||||||||
k2mpw at that ya who dot come place. |
5/10/21 | Edit 5/2/22 |