There is nothing like drinking a cup of fresh coffee; making reference not to freshly brewed coffee, rather fresh-roasted coffee. There is certainly a difference. I didn't drink coffee until I was 35 years old, when I was first introduced to fresh-roasted coffee. Coffee to most people is simply a cup of "office coffee", which is carelessly put together by whomever gets to work first --almost begrudgingly-- carried out simply as another daily chore, without much thought. The pot hadn't been cleaned for years, and the coffee is spooned out of a can of stale, ground coffee that is months old. The bitter taste of "office coffee" was not appealing to me, so I never drank coffee and stayed well away from it.
When I was introduced to a cup of freshly brewed, fresh-roasted coffee, my mouth was pleasantly surprised. My friend insisted that I have a cup of coffee with him one day, while visiting his home. I politely denied his offer, but he was persistent and I finally accepted. My taste buds were pleasantly surprised by the rich flavor and smooth texture of my first "real" cup of coffee; it was almost like drinking hot cocoa. It was an enjoyable experience, and the flavors were pronounced-- nutty, smokey, and just pleasant. I couldn't believe what I was tasting-- there was no bitter after-taste. WOW! Ever since that day, I have been purchasing fresh-roasted coffee beans.
Good Coffee vs. Bad Coffee
Quickly, here is what I have found concerning what to buy and what to stay away from. (1) Canned coffee- months (or years) old, bitter, not fresh. However, the cans are handy for storing bolts and nuts and miscellaneous hardware-- great cans! (2) Bulk beans from the store dispenser- usually dried out, and since these beans remain in the dispenser for weeks and possibly month, they generally pick up the odors of what is going on around then, such as the flavors of customers' smells (nasty), floor wax smells, dust, rodent droppings, etc. (3) Bulk beans in a sealed vacuum-bag, either store or mail order- ok, but not as good as the real thing that just came out of the roaster. Generally these beans are weeks or months old and not fresh. (4) Fresh-roasted (days or possibly weeks old) from a local roaster- absolutely the best, but expensive ($12 to $20 per pound). This is how I purchase 95% of my coffee.
As of today, however, I will be roasting my own coffee! Here's how I did it:

Since I didn't want to spend $179 (plus shipping and tax) for a coffee roaster, I decided to take a chance and do some experimenting. First, I went to a local store (Shopko or Walmart) and purchased a hot-air popcorn popper, a metal strainer, and a small vacuum-sealed container. The reason I chose these items is because a friend of mine once owned a small coffee roaster (if eventually burned out) and I analyzed it and noticed that it was simply a fancy popcorn-type, hot-air machine. Secondly, I purchased 2 Lbs of green coffee beans from the local roasting company (I wanted to get started immediately and didn't want to wait for mail-ordered beans). During my visit, I talked to the barista and asked his opinion of my experiment. He told me that it would work and shared a couple words of wisdom. Once I returned home with my supplies, I roasted my first batch of coffee, and immediately discover that I needed to make a modification to the popcorn popper (so much for the warranty!).
Now, my roaster consists of a modified Orval Redenbacher's hot-air, popcorn popper (by Presto). While finishing my first attempt of roasting, I quickly realized that the popcorn popper gets very hot, that roasting the beans takes no more than 3 minutes, and I had to remove the beans from the roaster and into the strainer almost immediately to prevent the beans from over cooking. Then, it took at least 5 minutes to cool the beans, by hand, as I swirled them in the strainer. There had to be a better way to cool the beans, and quickly, to prevent the over cooking of them.
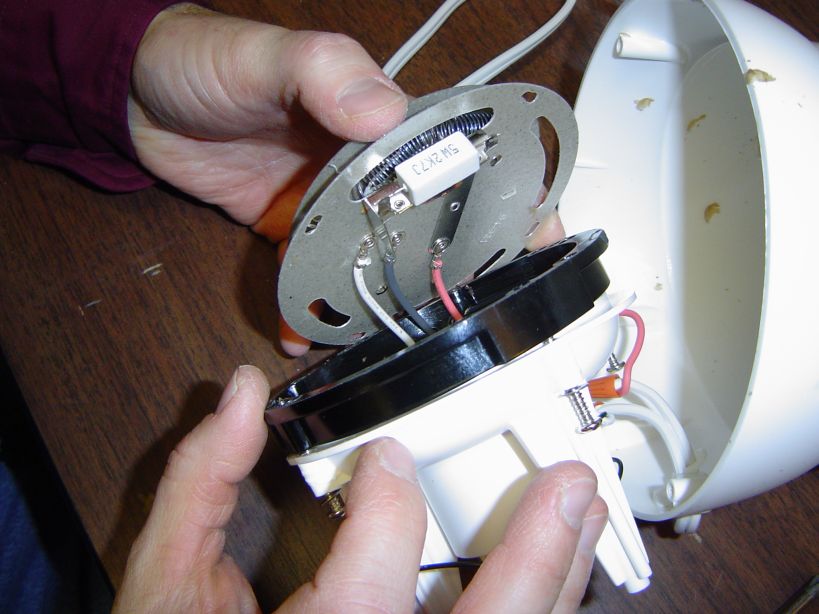
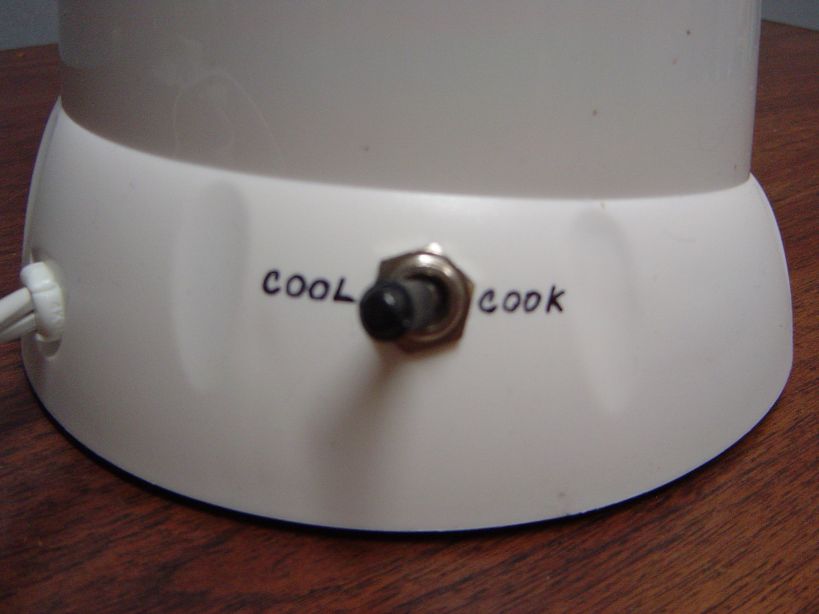
I decided that I would install a switch on the popper to turn off the heating element, and yet keep the blower running. To modify the popper, I disassembled the unit and studied the internal circuit, and quicking learned that the blower (a DC motor) and the heating element were wired independently of each other. By installing a switch, I could independently operate the blower and the heating element at will. Basically, the added switch turns off the heating element to create a cooling cycle, allowing the forced air from the blower to do the cooling for me, thus saving my time of standing there attempting to cool the beans manually.
Since the popcorn popper is basically an electric heater, it draws a lot of current (about 12 Amps) when plugged into the wall. Most of that current is used by the heating element itself. So, when selecting a toggler switch, make absolutely sure that the switch will handle the 12 Amps required to operate the heater. Check the rating of the switch prior to installing it. Also, you may notice that I put rubber heat-shrink tubing on the toggle. The reason for this was to add extra insulation just incase the metal toggle was "hot" with AC current (can never be too safe!).
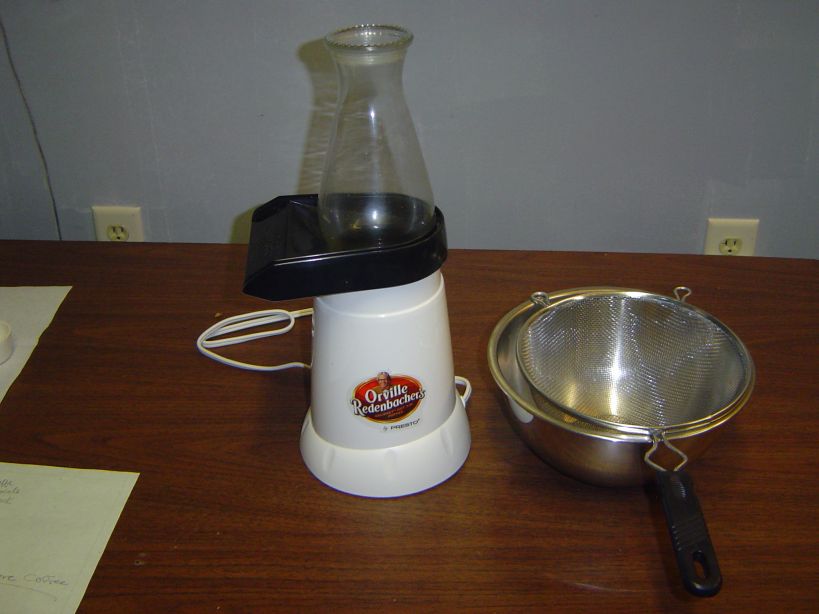
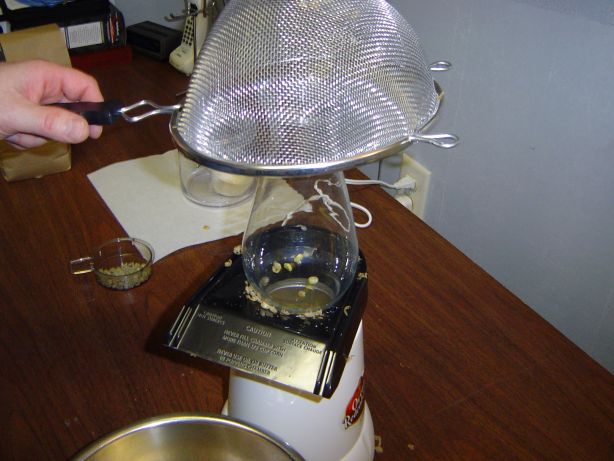
In the photo, you will notice that I am using a lamp chimney with the popper. The reason for this is to keep the beans inside the popper. During my first roast, I used the hood that was supplied with the popper, only to find that I quickly took cover as coffee beans were shooting out of the popper at high velocity, bouncing off the table, the walls, and floor. "Duck and Cover!" The length of the chimney helps keep all the beans in the popper, while the blower is operational. After doing this and finding that it worked well, I began browsing the Internet only to discover that others have done the same-- used a chimney.
Here is how I roasted my first batch of coffee. Basically, the roasting time is under 3 minutes and the cooling time is about 5 minutes. Once the coffee has been roasted and cooled, it was moved into a sealed glass jar and the jar was left unsealed for about 12 hours to allow the beans to "breathe" --or gas-- as I was told by the barista was an important step in the process. The roasted beans didn't smell like much once the roasting process was complete, but after a while the smell of the freshly roasted beans were so rich and pleasant (and strong) that I was nearly knocked to the floor by my senses....unbelievably amazing! And finally, expect your room (kitchen) to get very smoked up. During the roasting and cooling process, the beans are smoking and even the day after, my shop still smells of burned beans and smoke.
Step 1 (start the timer).
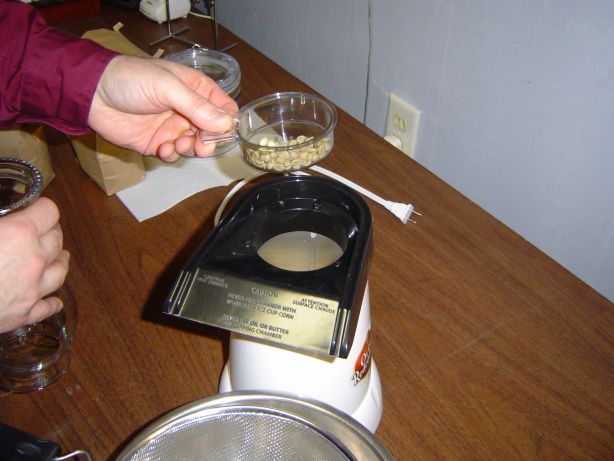
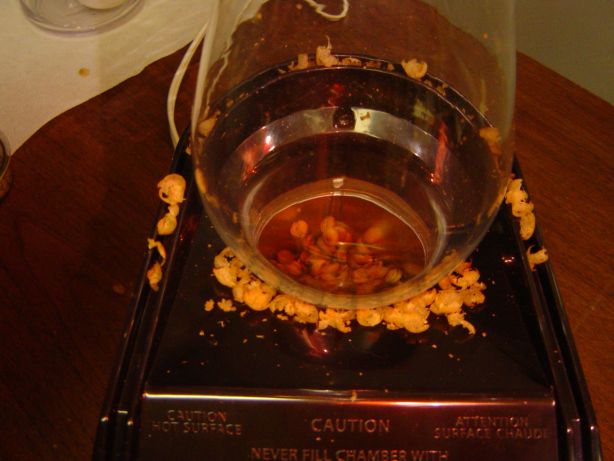
Pour the green coffee beans into the roaster (no more than about 1/3 Cup at a time). Replace the top of the popper and turn it on. Be carefull, because the unit gets hot very quickly and if you don't pour enough beans into the chamber, the blower may force the beans out of the chamber and all over the room.
Step 2 (1 minute= chaff).
During the roasting process, chaff will come off the beans as the beans lose moisture mass. About 1 minute into the cooking cycle is when the chaff begins to blow out of the chute. I used the strainer to prevent the chaff from flying throughout the room. Afterwards, I used a vacuum to clean up the mess. Expect lots of chaff!
Step 3 (1:45 minutes= chocolate brown).
About 1-3/4 minutes into the cooking process, the beans will begin to turn chocolate-brown. Shortly thereafter, about 2 Minutes into the process, the beans will experience the "first crack". This is important, because the beans are almost done cooking. I was told by the barista that the beans will crack once the cellular structure of the bean begins to break down. If the beans are left to cook longer (say 3 to 4 minutes), the "second crack" will result in the release of oils and a much darker roast (approaching French Roast) will result. Since I am not interested in a strong, French Roast at this time, I will not let my beans cook much longer after the "first crack".
Step 4 (2:35 minutes= begin cooling).
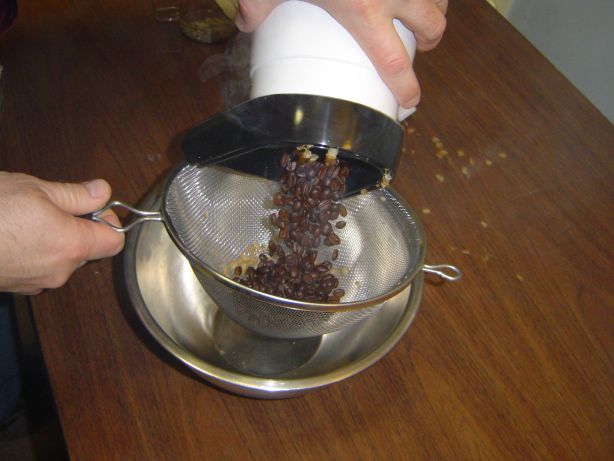
Once the cooking process is complete, the beans must be removed from the roaster and the cooling process must commence, immediately, to prevent further cooking of the beans. I unplugged the popper, removed the top, and dumped the beans into a stainless strainer. Be carefull, because the popper is HOT and the beans are SMOKIN'(!).
Step 5 (5:00 minutes= beans are cool).
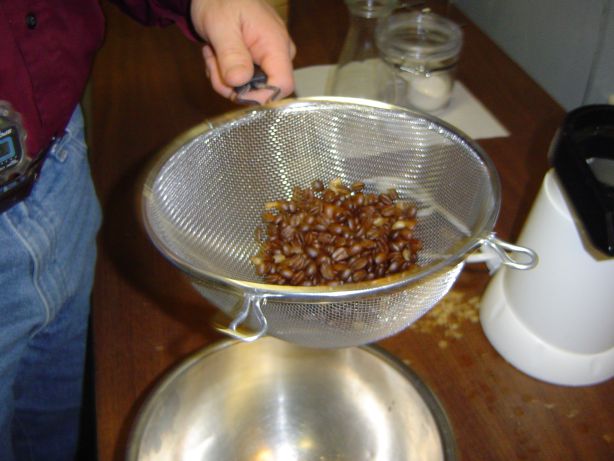
Swirl the cooked (and smoking) beans in a stainless strainer, being careful not to fling the beans across the room (I am not admitting to anything at this point-- good thing I have a vacuum cleaner handy). Swirl and swirl and swirl. The beans will eventually stop smoking and they will cool down. At this point, the beans don't smell like much, so don't worry about this. It takes awhile for the aroma to develop.
Step 6.
Transfer the cooled beans into a vacuum-sealed container. DO NOT SEAL THE CONTAINER, yet! The beans must breathe for at least 12 hours. The beans will emit gasses for awhile and the gasses must escape the container. About 1 hour after roasting, I smelled the beans and WOW! Words do not describe the smells. I am sorry, but I have yet to figure out how to post a "smell file" on my website-- perhaps this would be known as a smell-peg (instead of a JPEG).
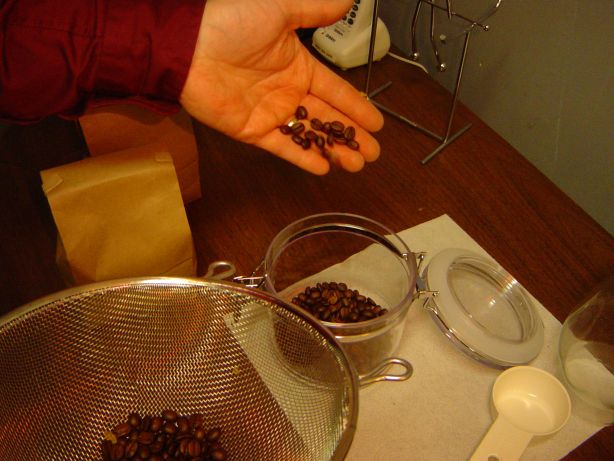
Step 7 (done!).

This is the finished product. You can see from the photo that I began with green coffee beans and turned them into a delicious roasted coffee bean, with little effort and minimal cost. I am having a blast! And, let it be knowst unto you, I will NEVER (ever, never, ever) buy roasted coffee, again. From now on, I will be roasting my very own coffee, at half the cost of pre-roasted (and stale) coffee.
 Return to Willy's Wonderful World