Installing a Roof Tripod
I was given a KLM beam and I needed to find a good place to mount it. Eventually, I realized that another rooftop mount was the best choice. Glenn Martin is out of business, W8IO is back-ordered, and my experience from building the mag-loop mount is that I'll spend a few hundred dollars. The tripod ended up costing only $100 and is strong enough for a VHF beams or a small HF beam. I also have the option to come back and strengthen it or install a taller mast with guy wires.
For those of you who haven't mounted a roof tower, I've documented the procedure I used, which was based on reading discussion boards online, the ARRL Antenna Book (2000 edition), trial-and-error from my mag-loop installation, and observing how the roofers braced the roof for my Glenn Martin tower. I hope it's of use to you. Note that working in the attic is quite hot and athletic, and you need to think very carefully about all of your movements. The end result is a very sturdy mount for your antennas on the roof up above ground clutter and away from the influence of your kids.
Mounting procedure:
- Set tower plumb in order to locate holes for the feet. Drill holes through decking.
- Enter the attic and mark off where to locate the blocking between the trusses using the drilled holes.
- Nail 3"x4" blocks between trusses.
- Nail 2"x6" braces between trusses and over the blocks.
- Return to the roof and drill through the blocks and bracing.
- Lay the tar pads, set the tripod in place, and place the all-thread through the tripod's feet.
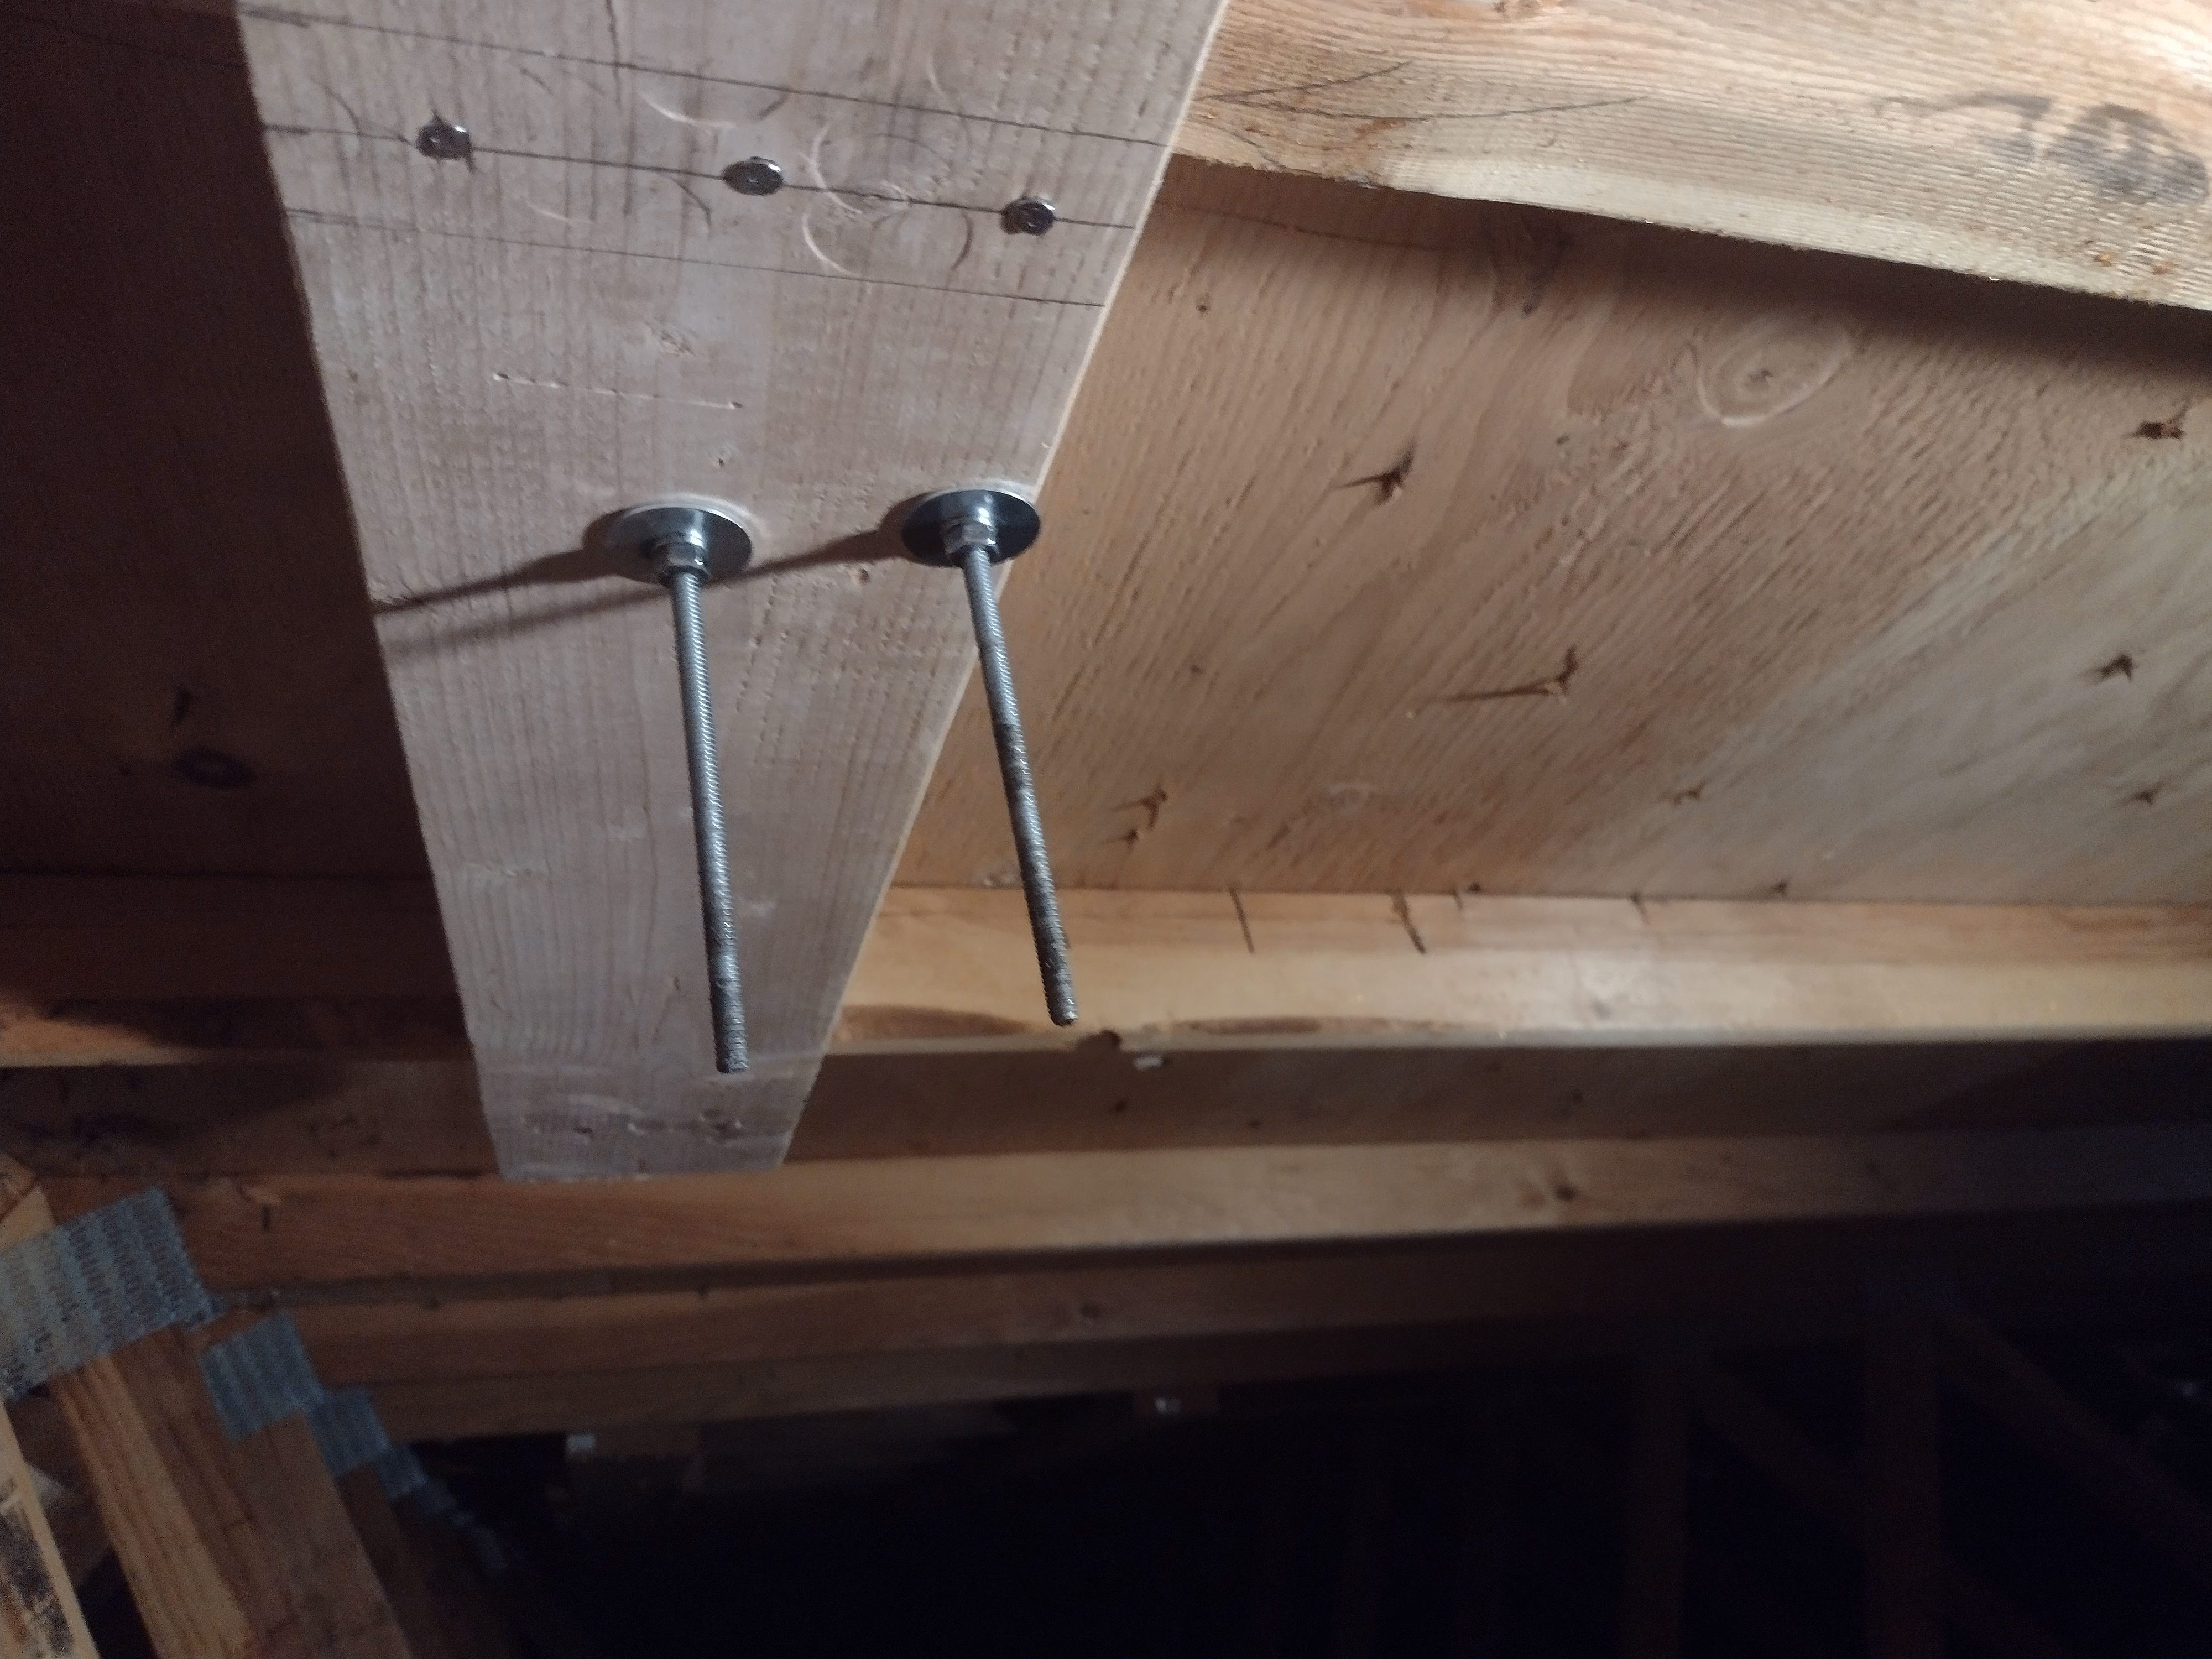
- Return to the attic, place the fender washers and locknuts and tighten the nuts.
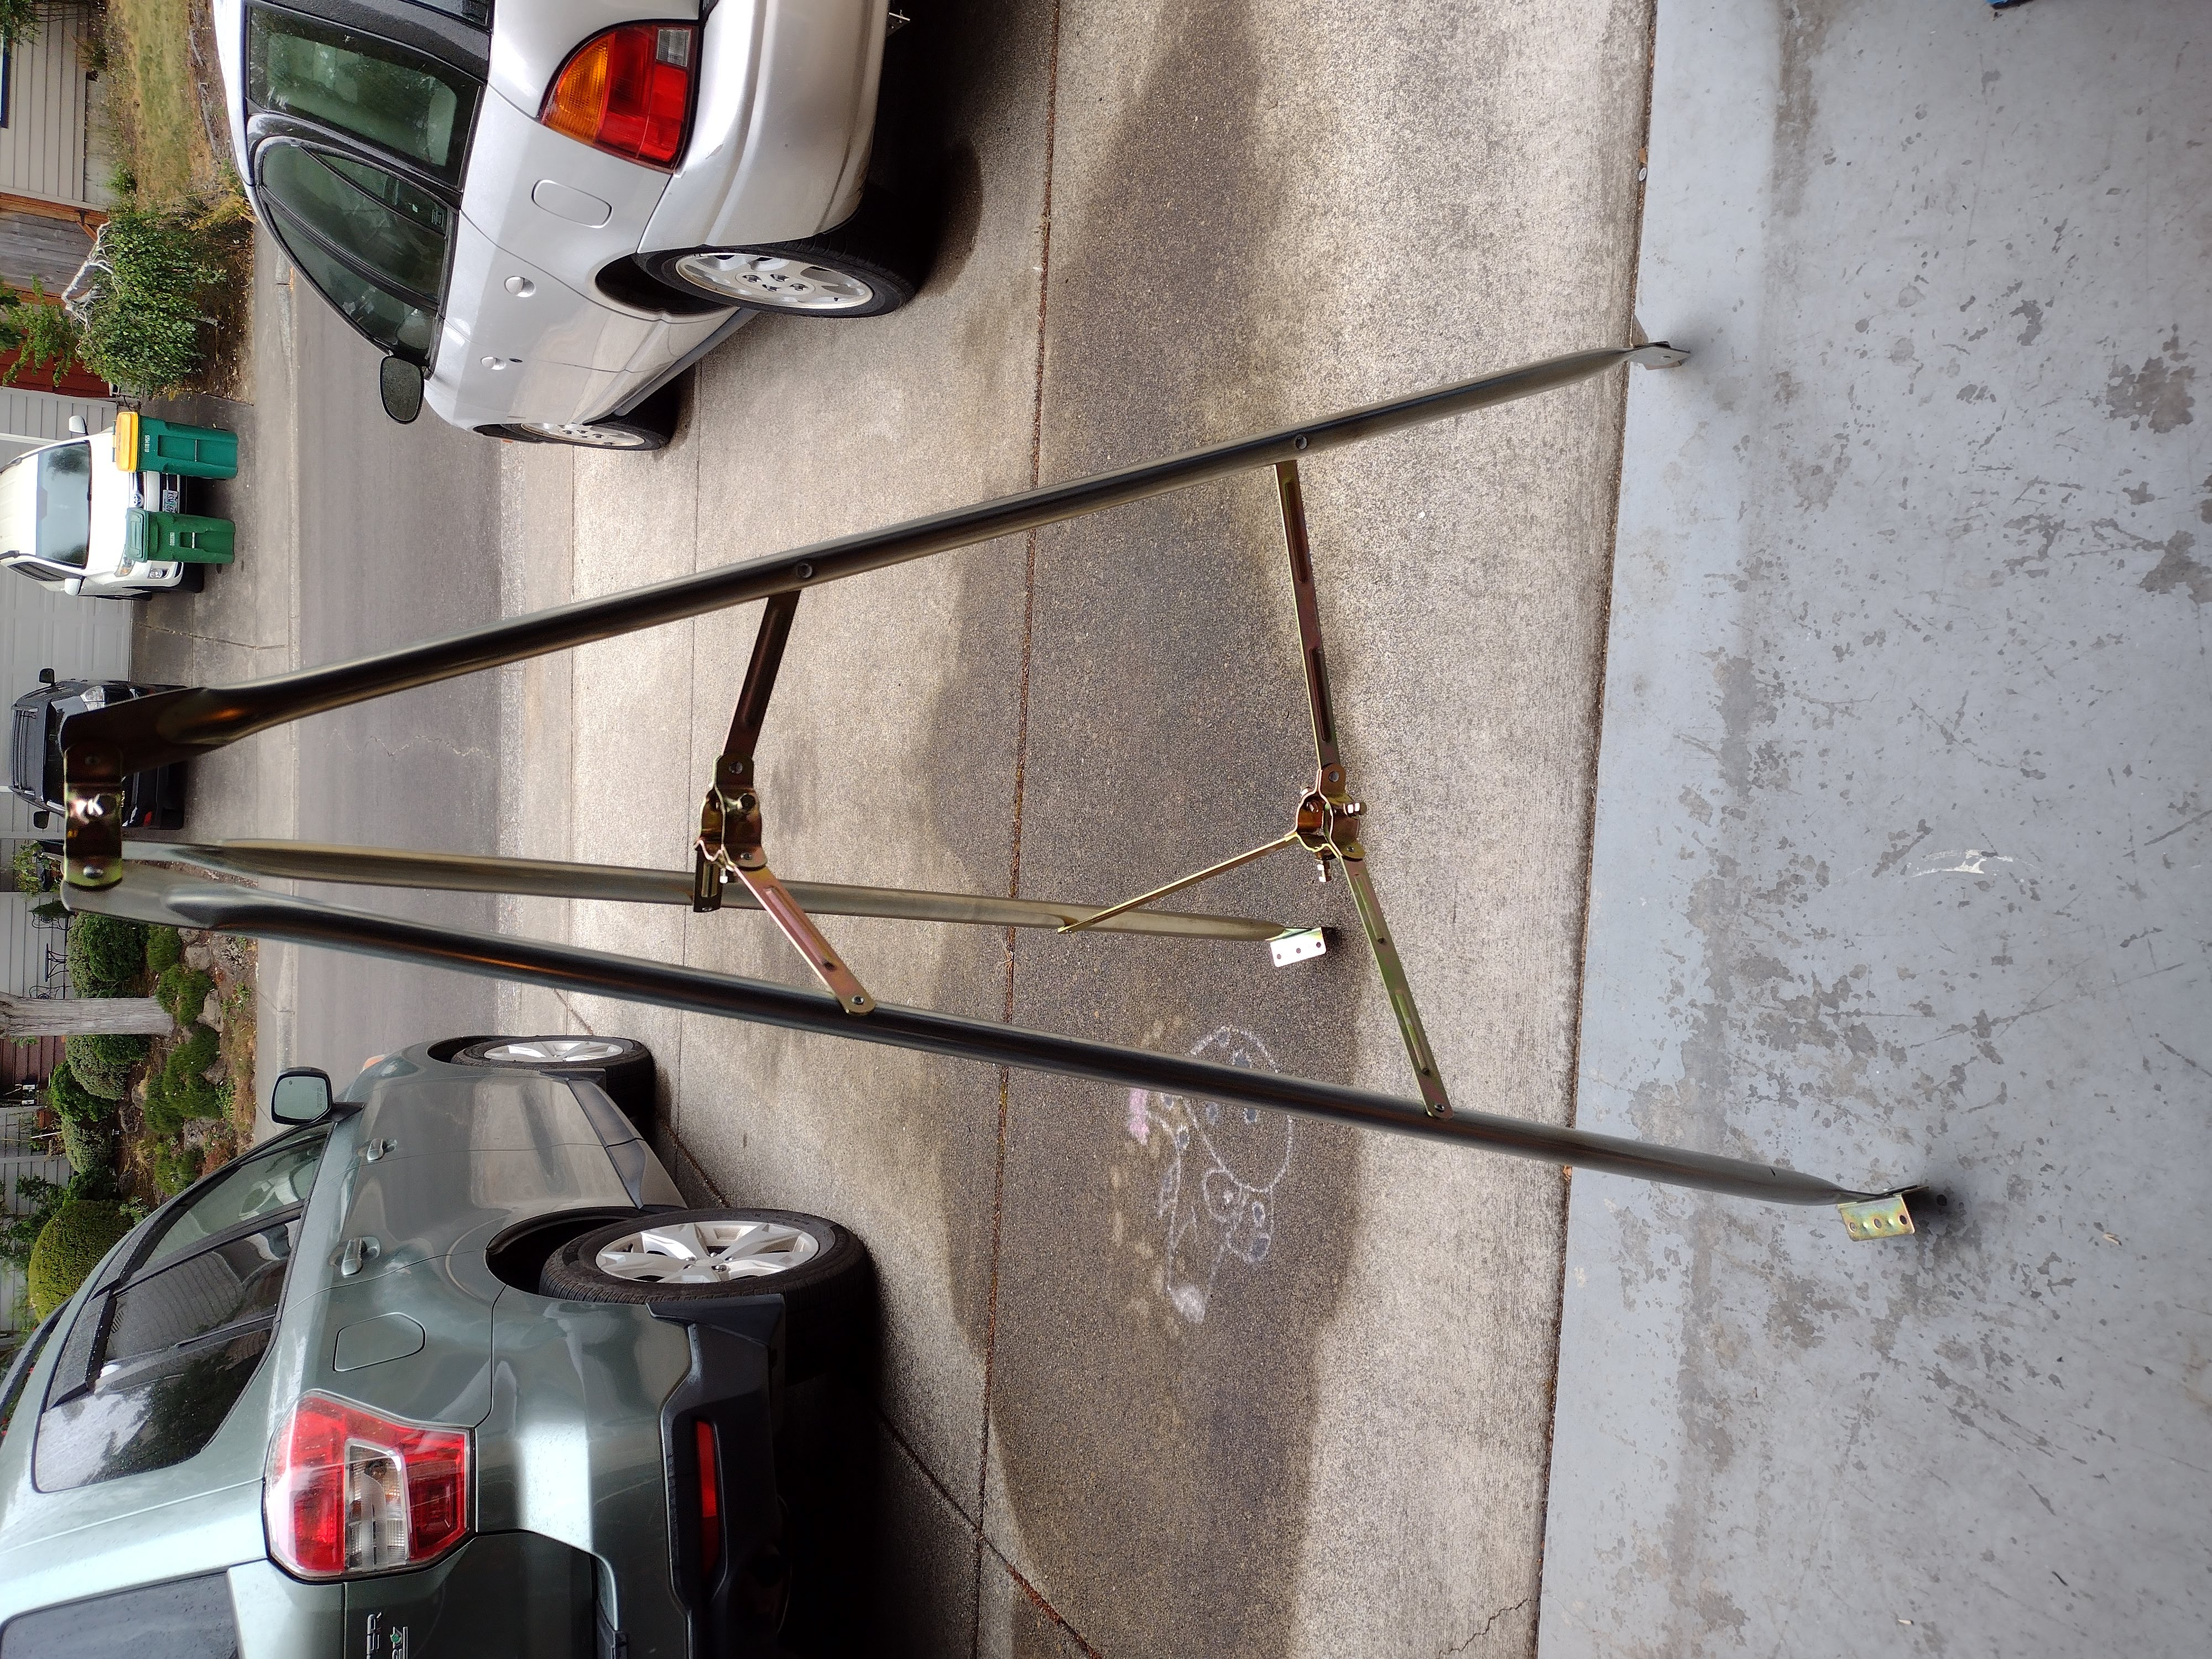
Roof tripod as-delivered:
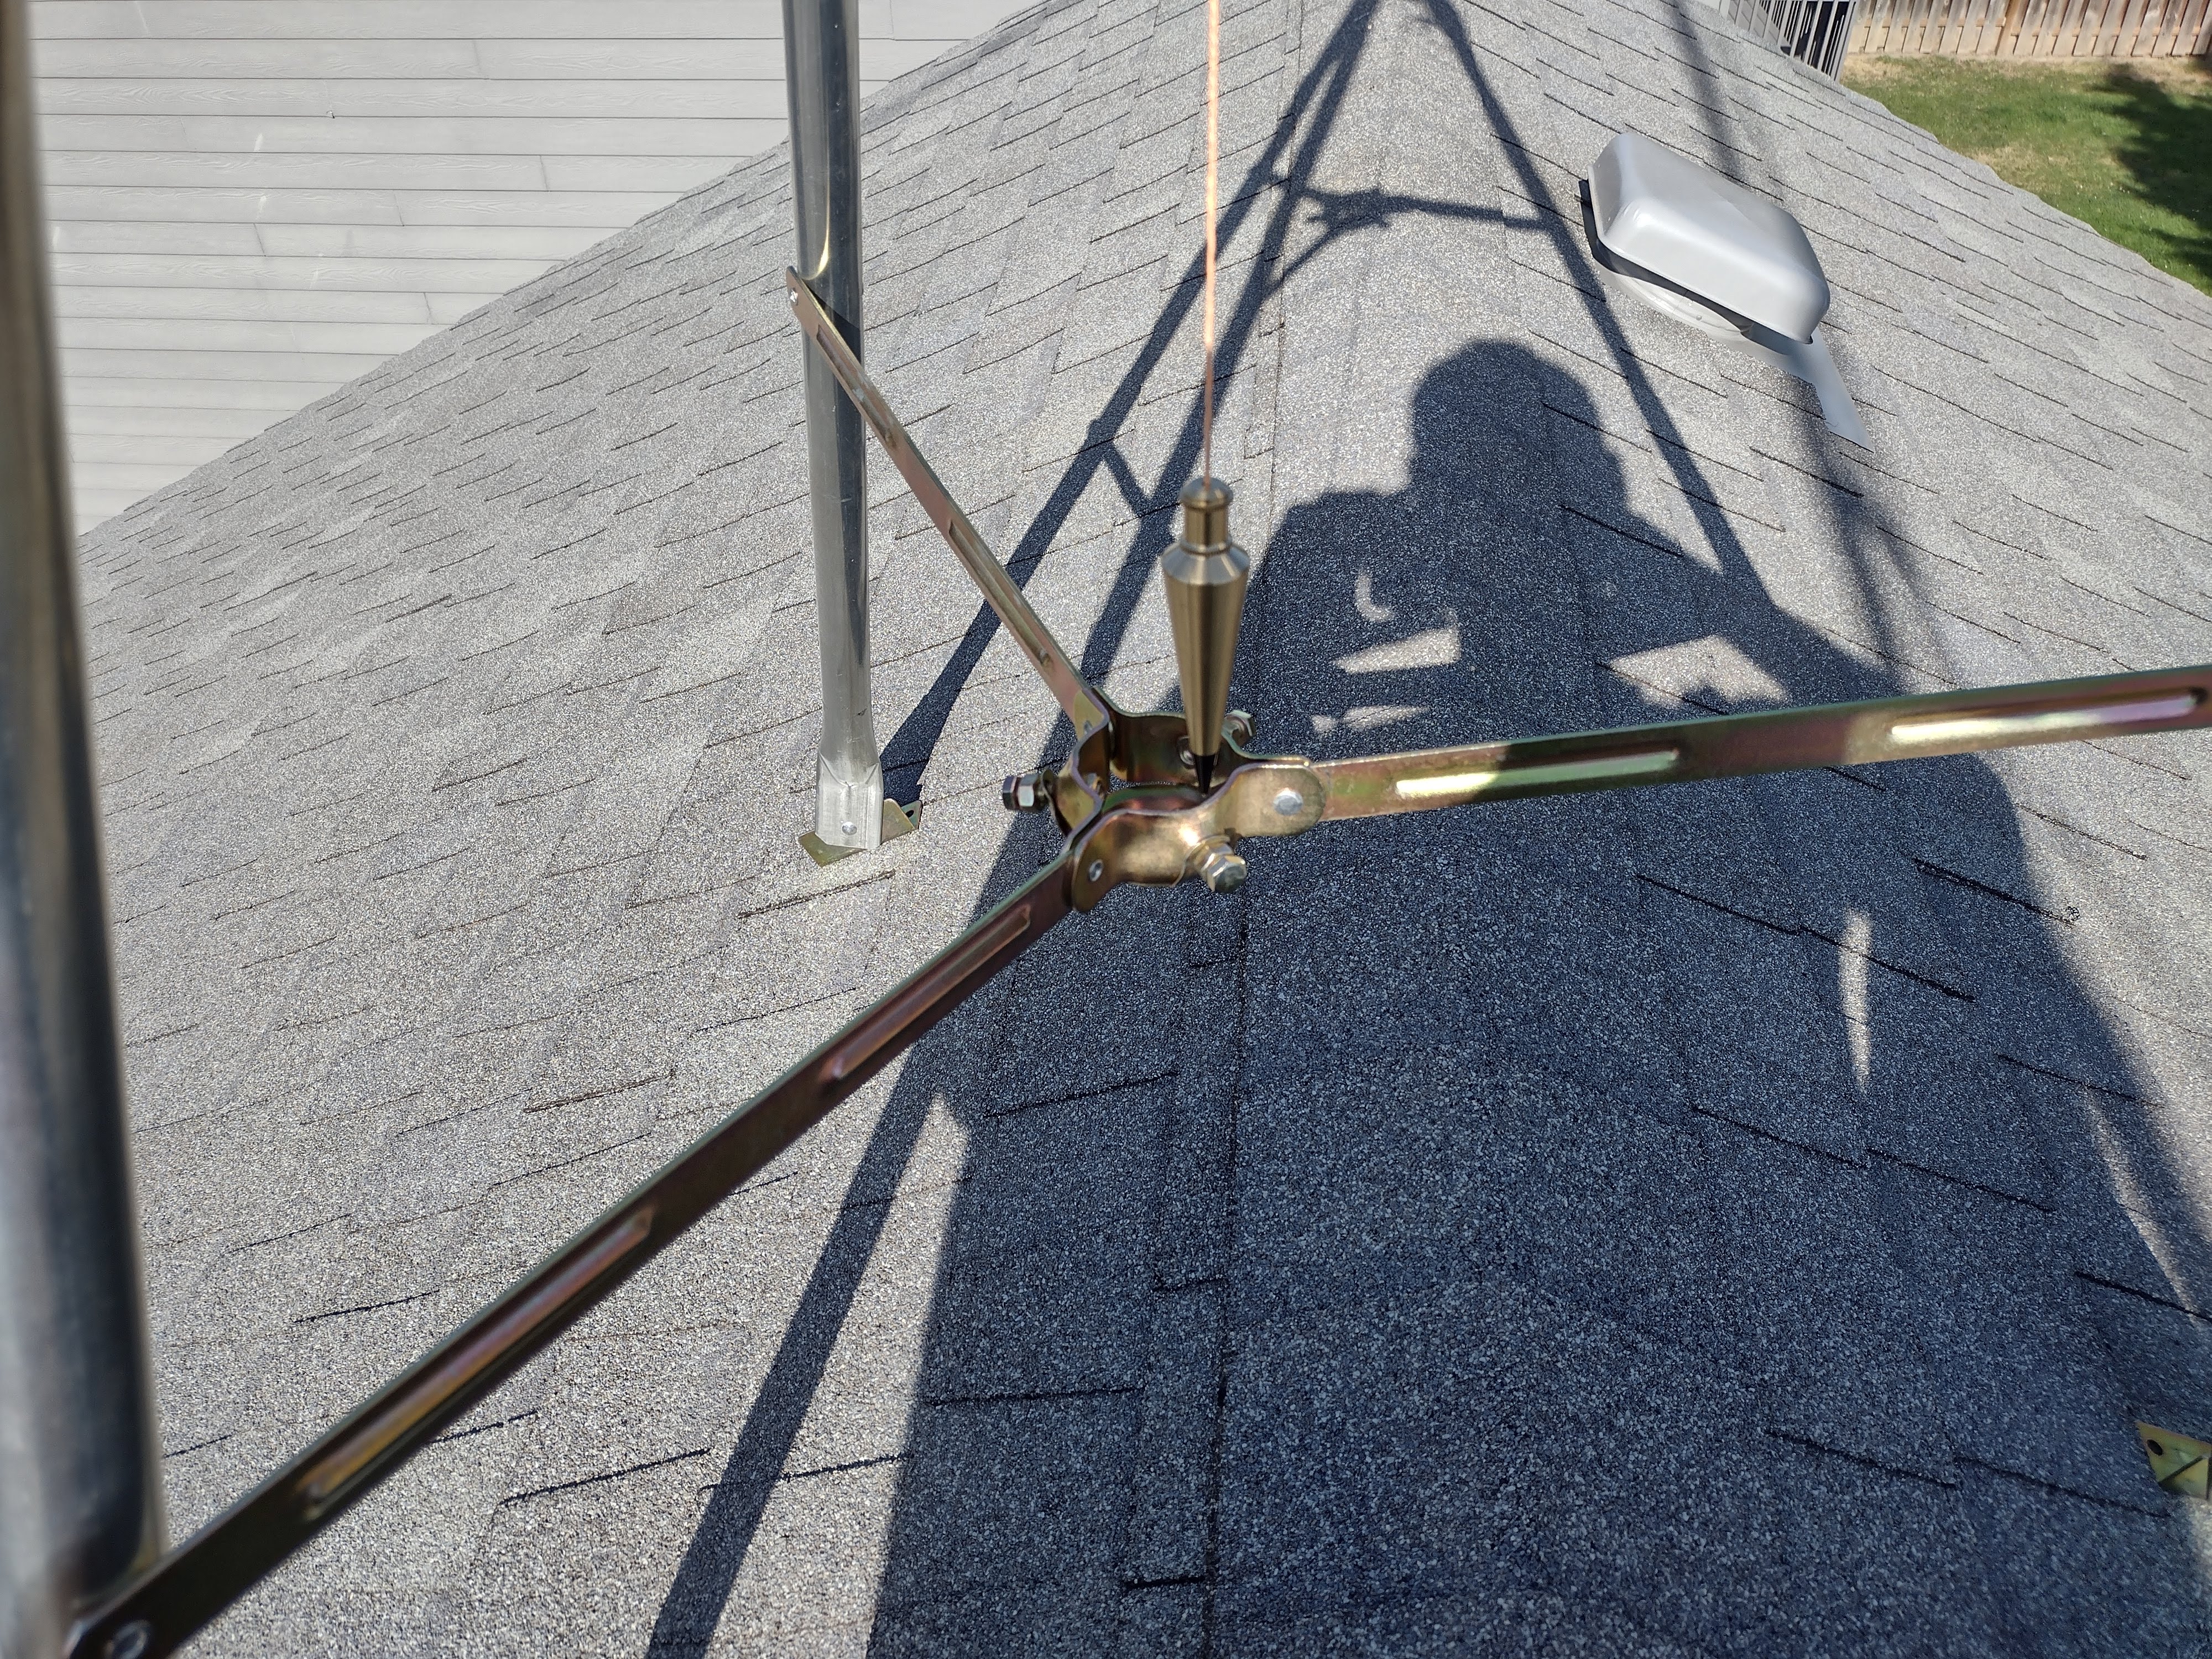
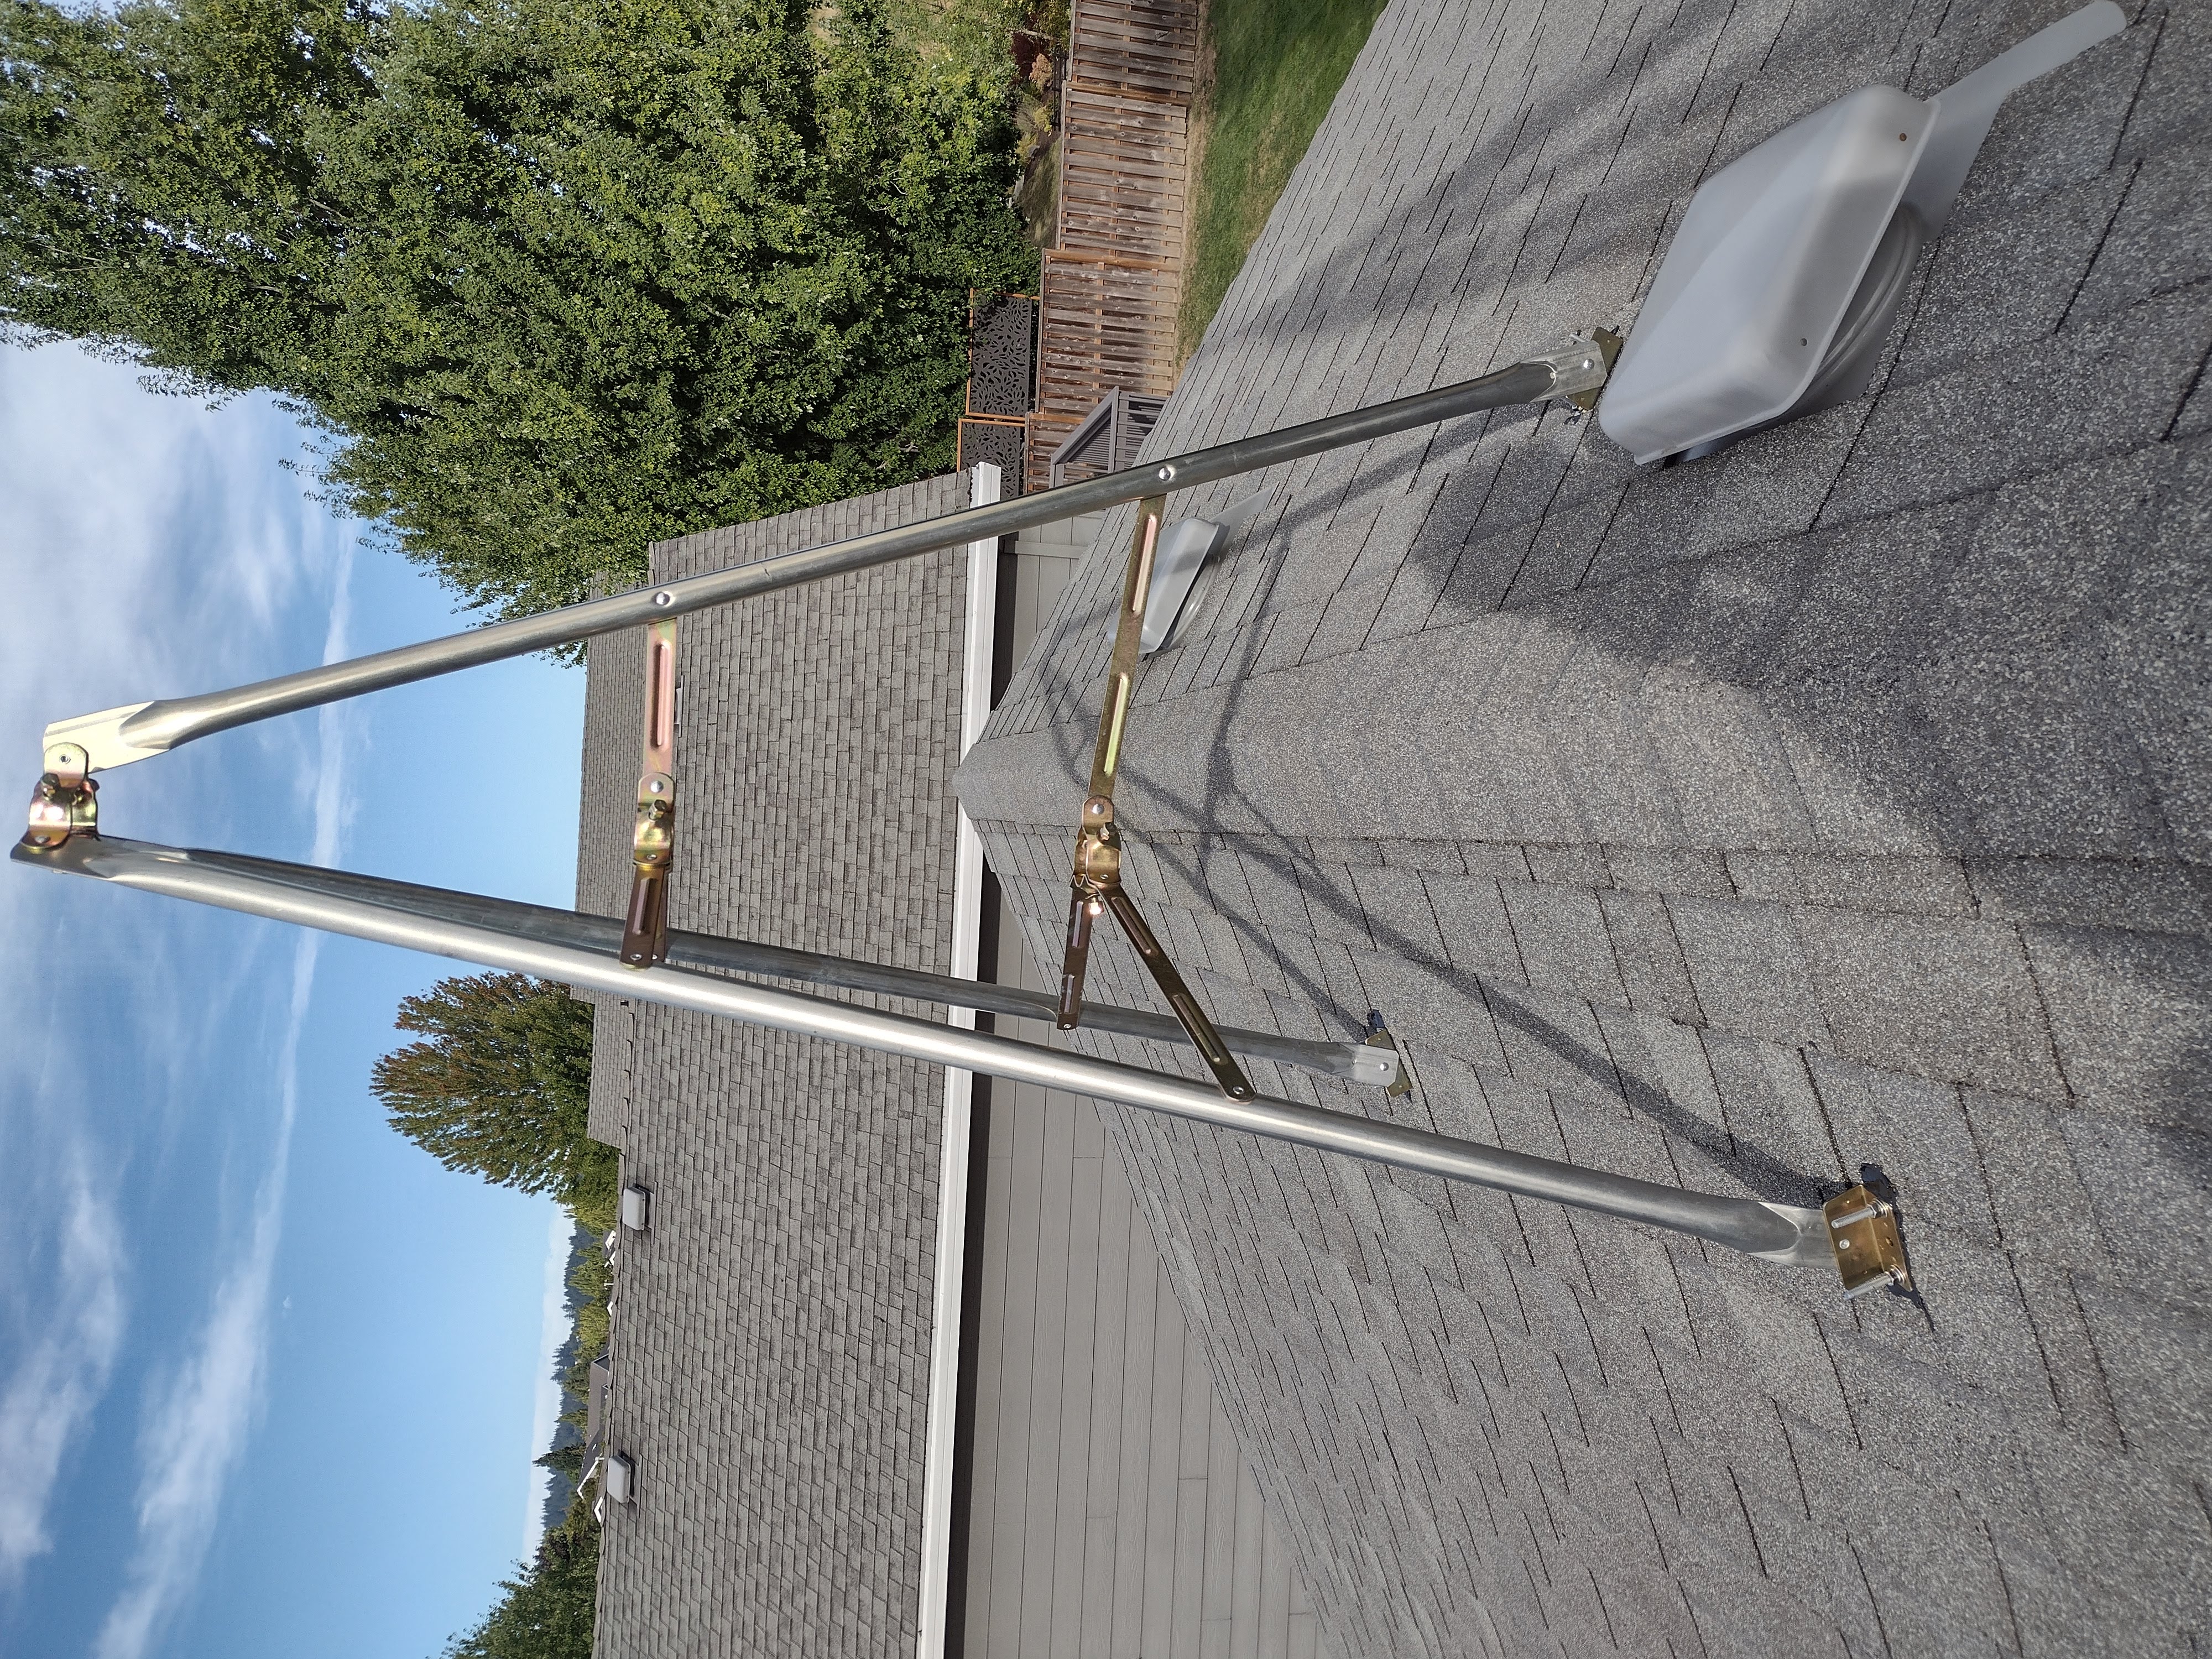
Setting the tripod plumb before drilling holes through the decking and after drilling the holes. An interesting consequence of the geometry of the tripod on the ridge of the roof is that the center of the tripod is offset from the peak. It's unexpected, but think about it and it's true!
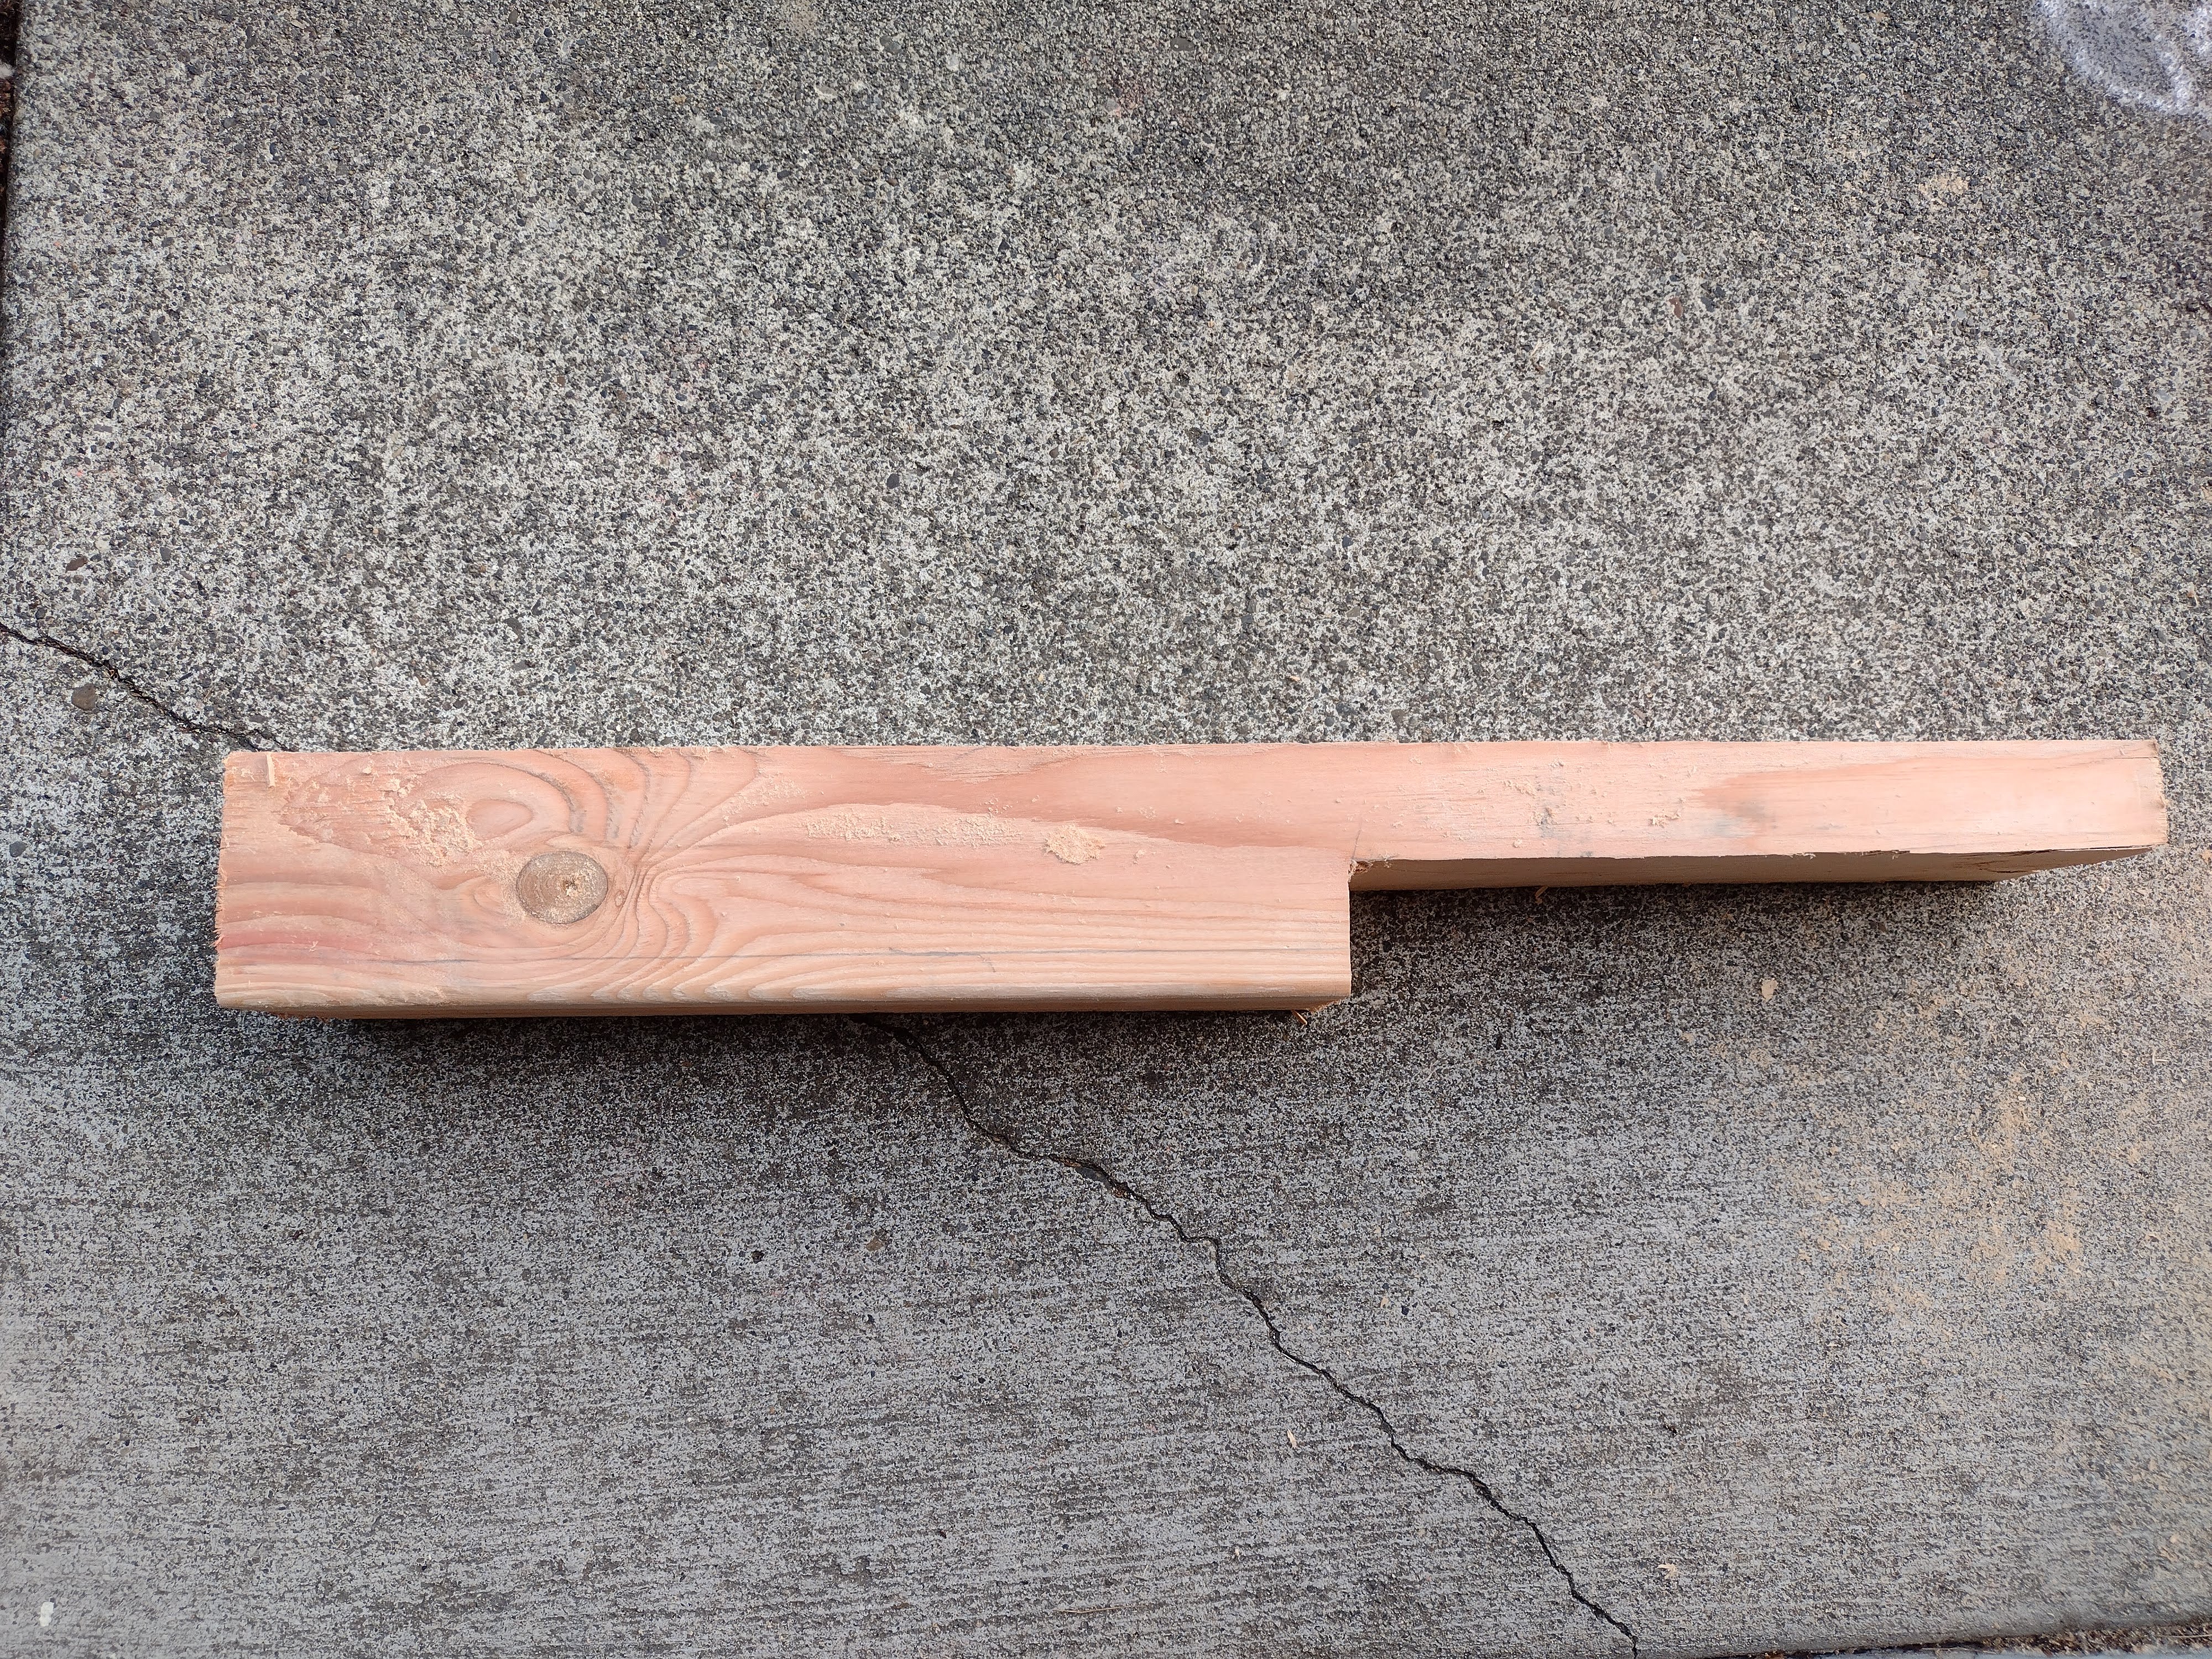
One of the blocks had to be cut so that a box vent isn't obstructed. This block is underneath the brace in the next image.
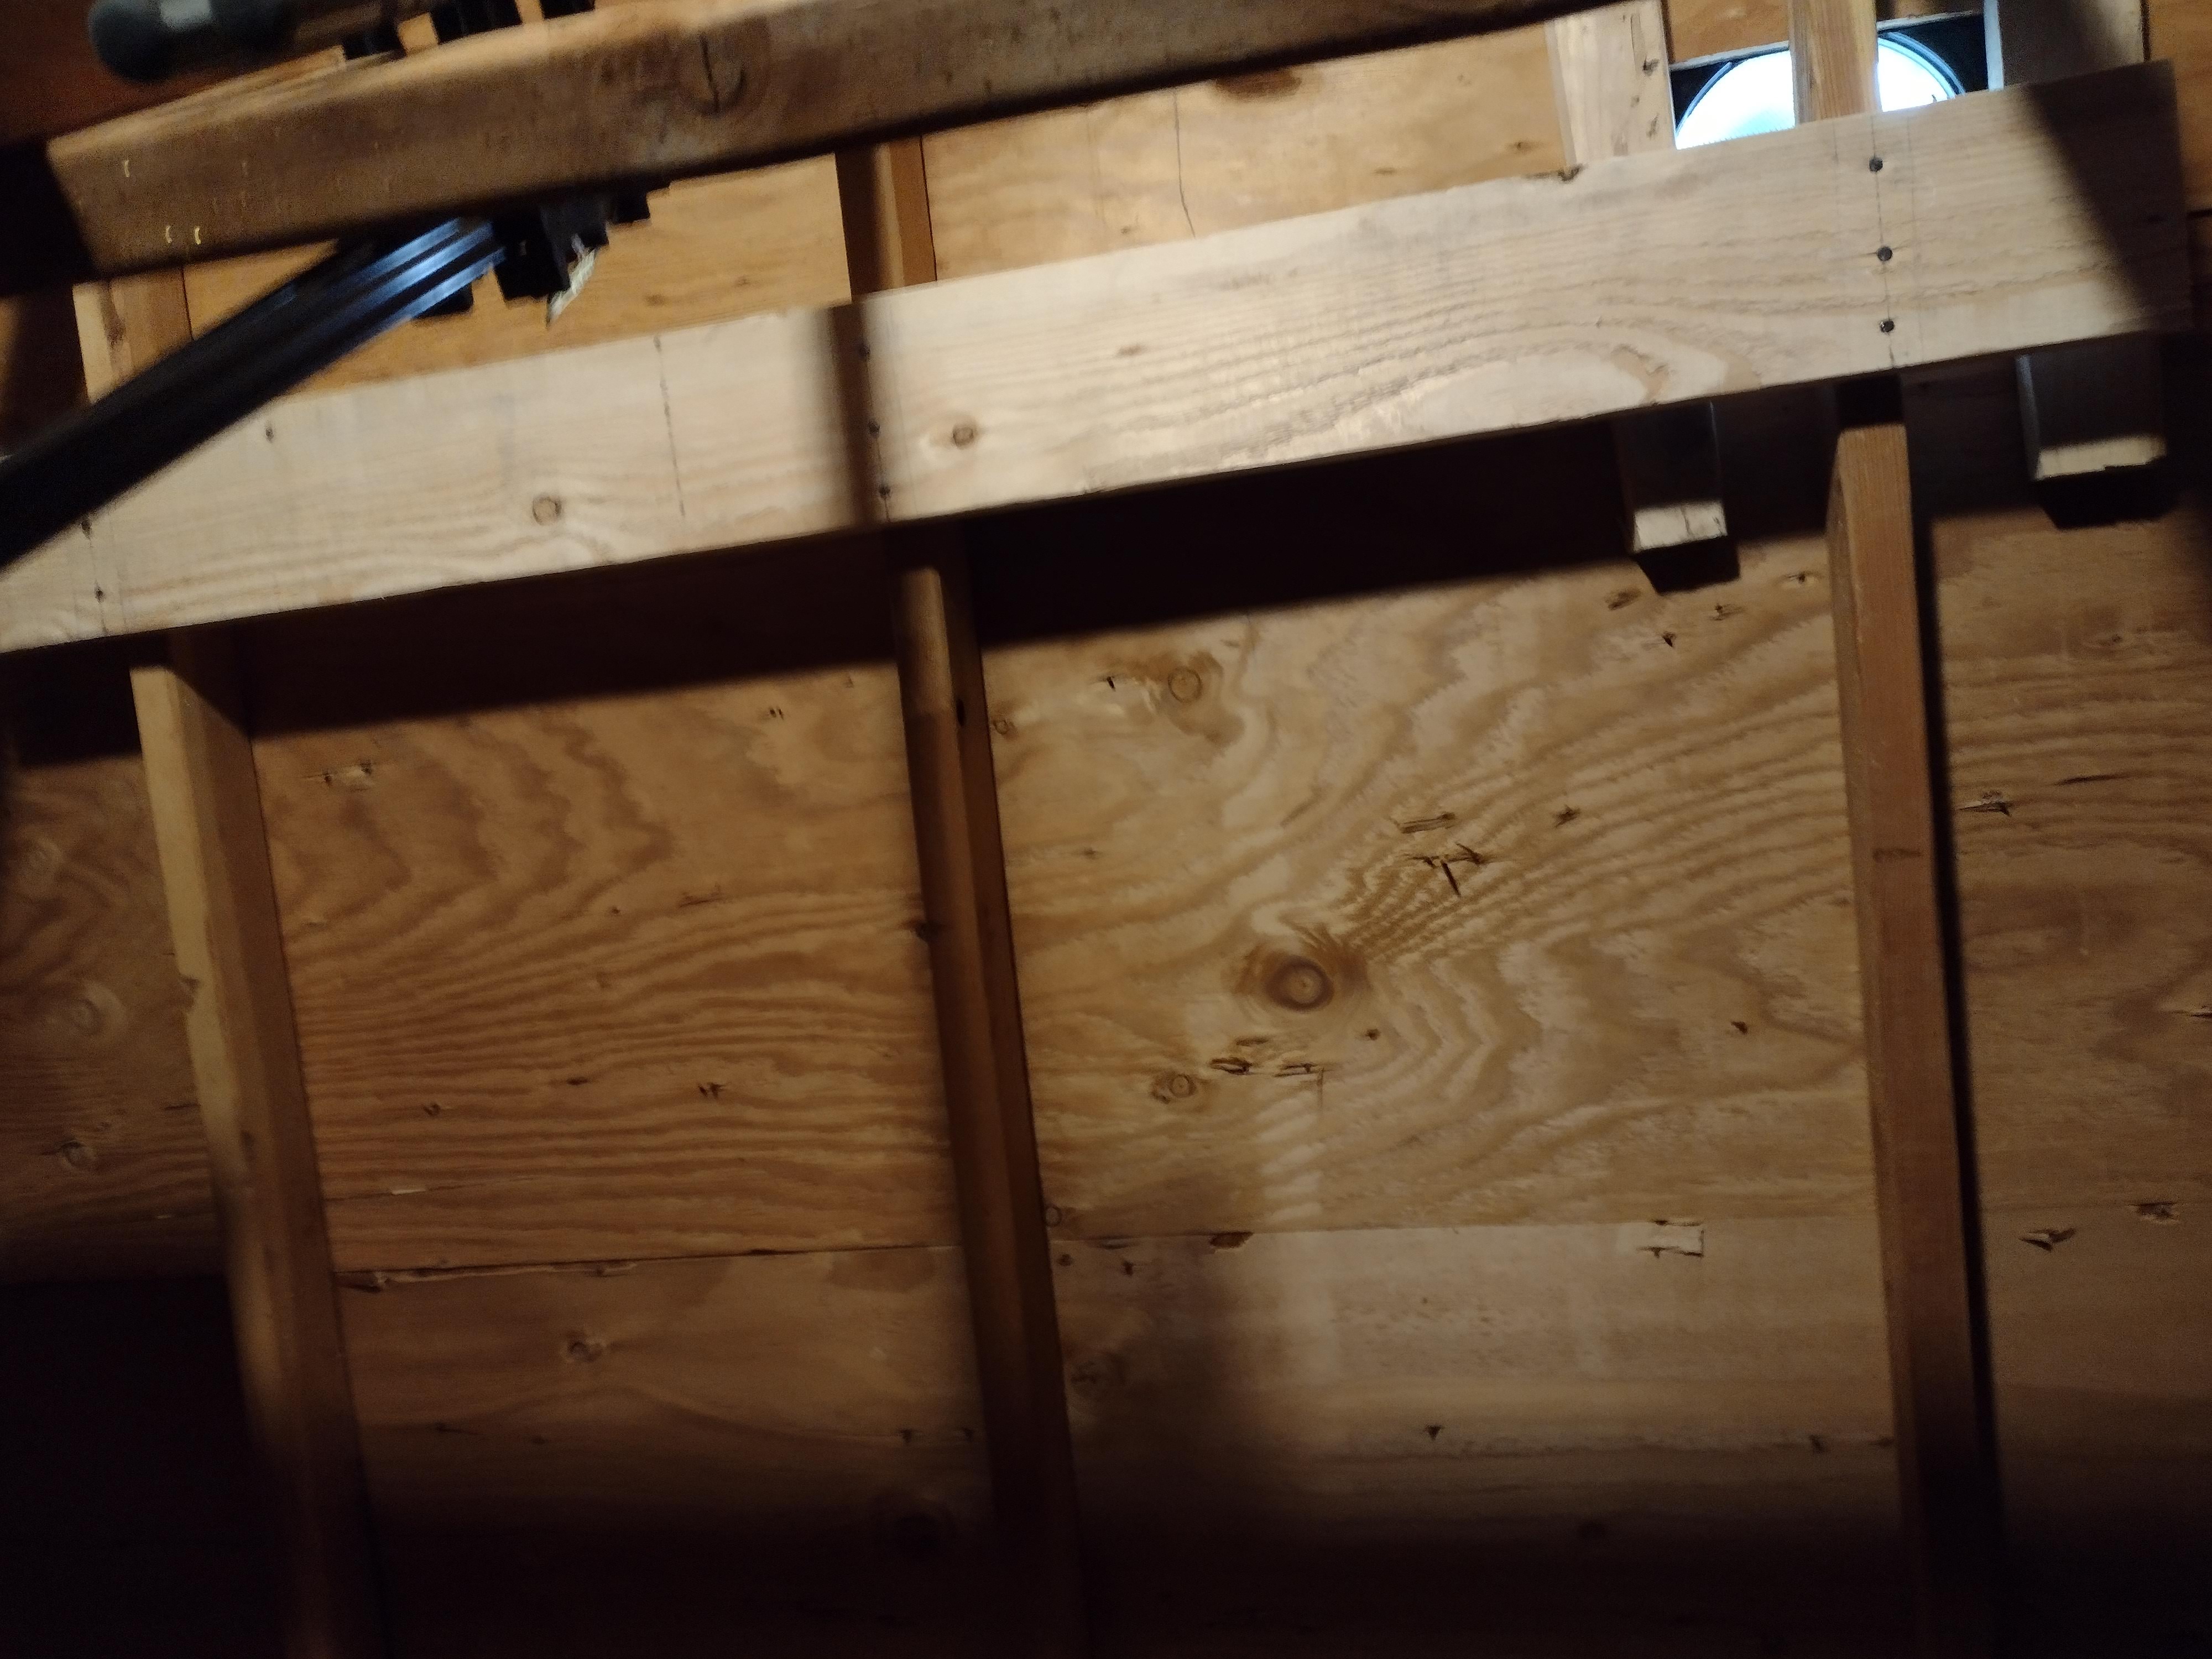
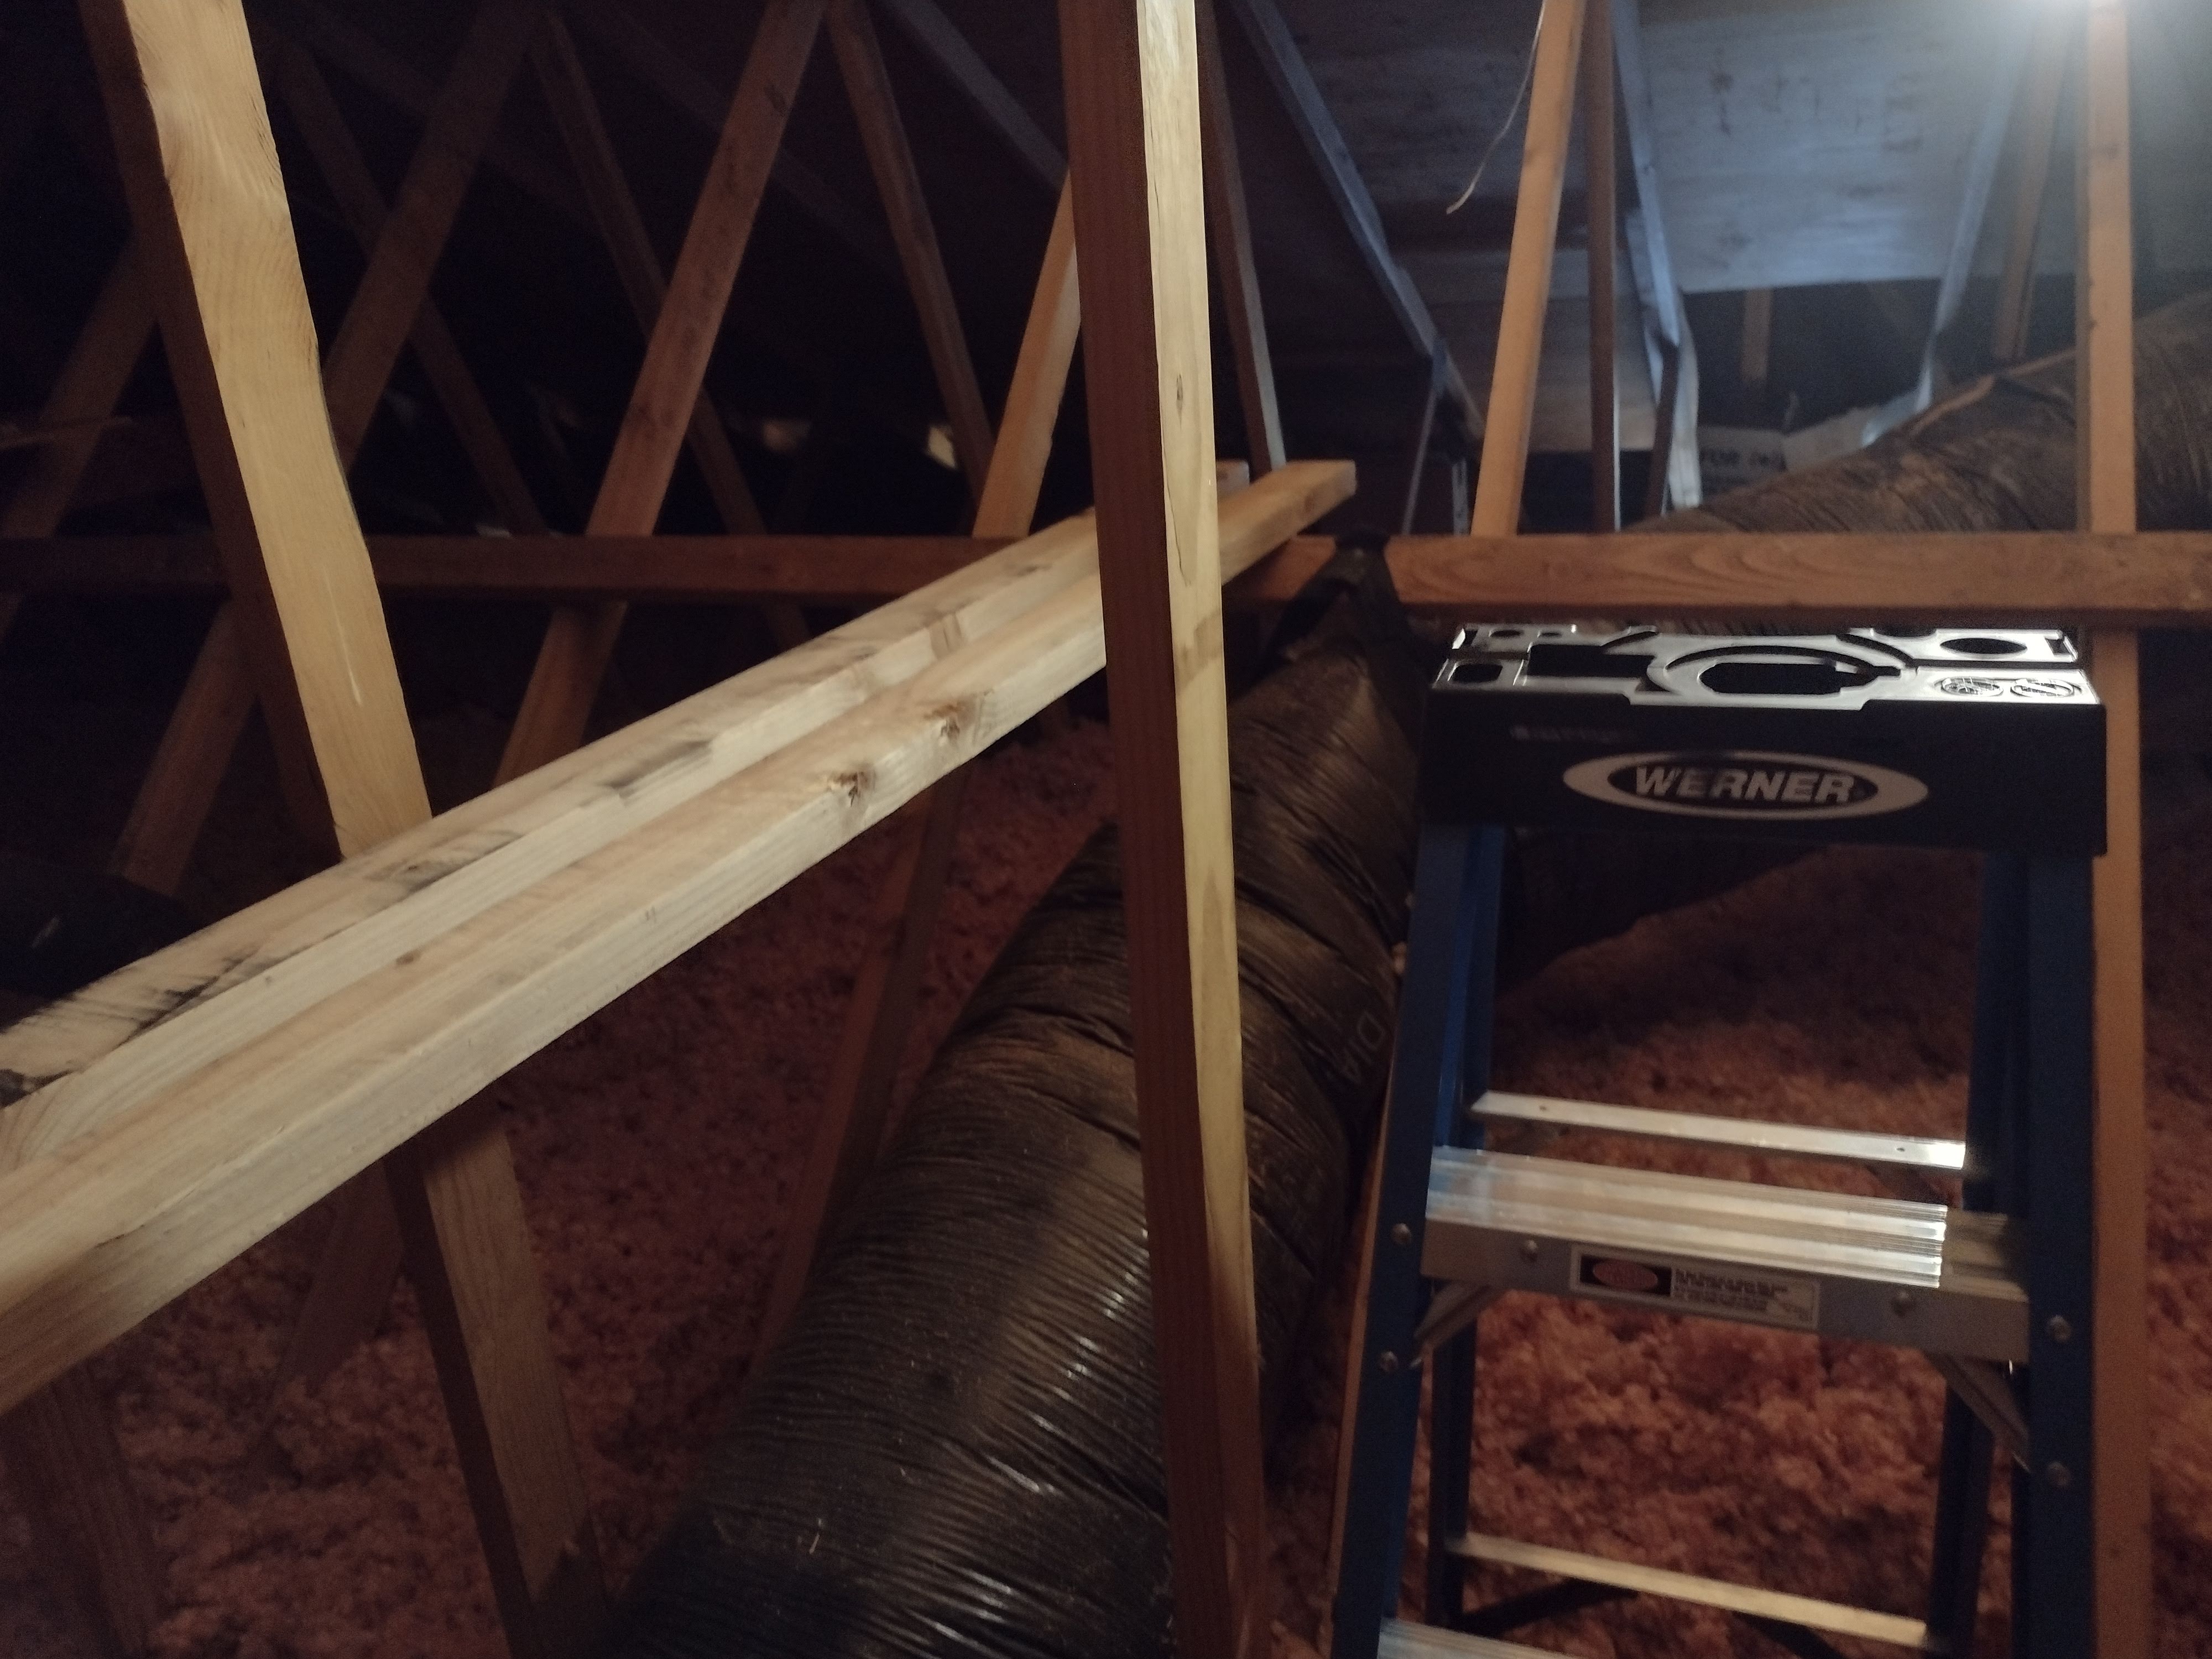
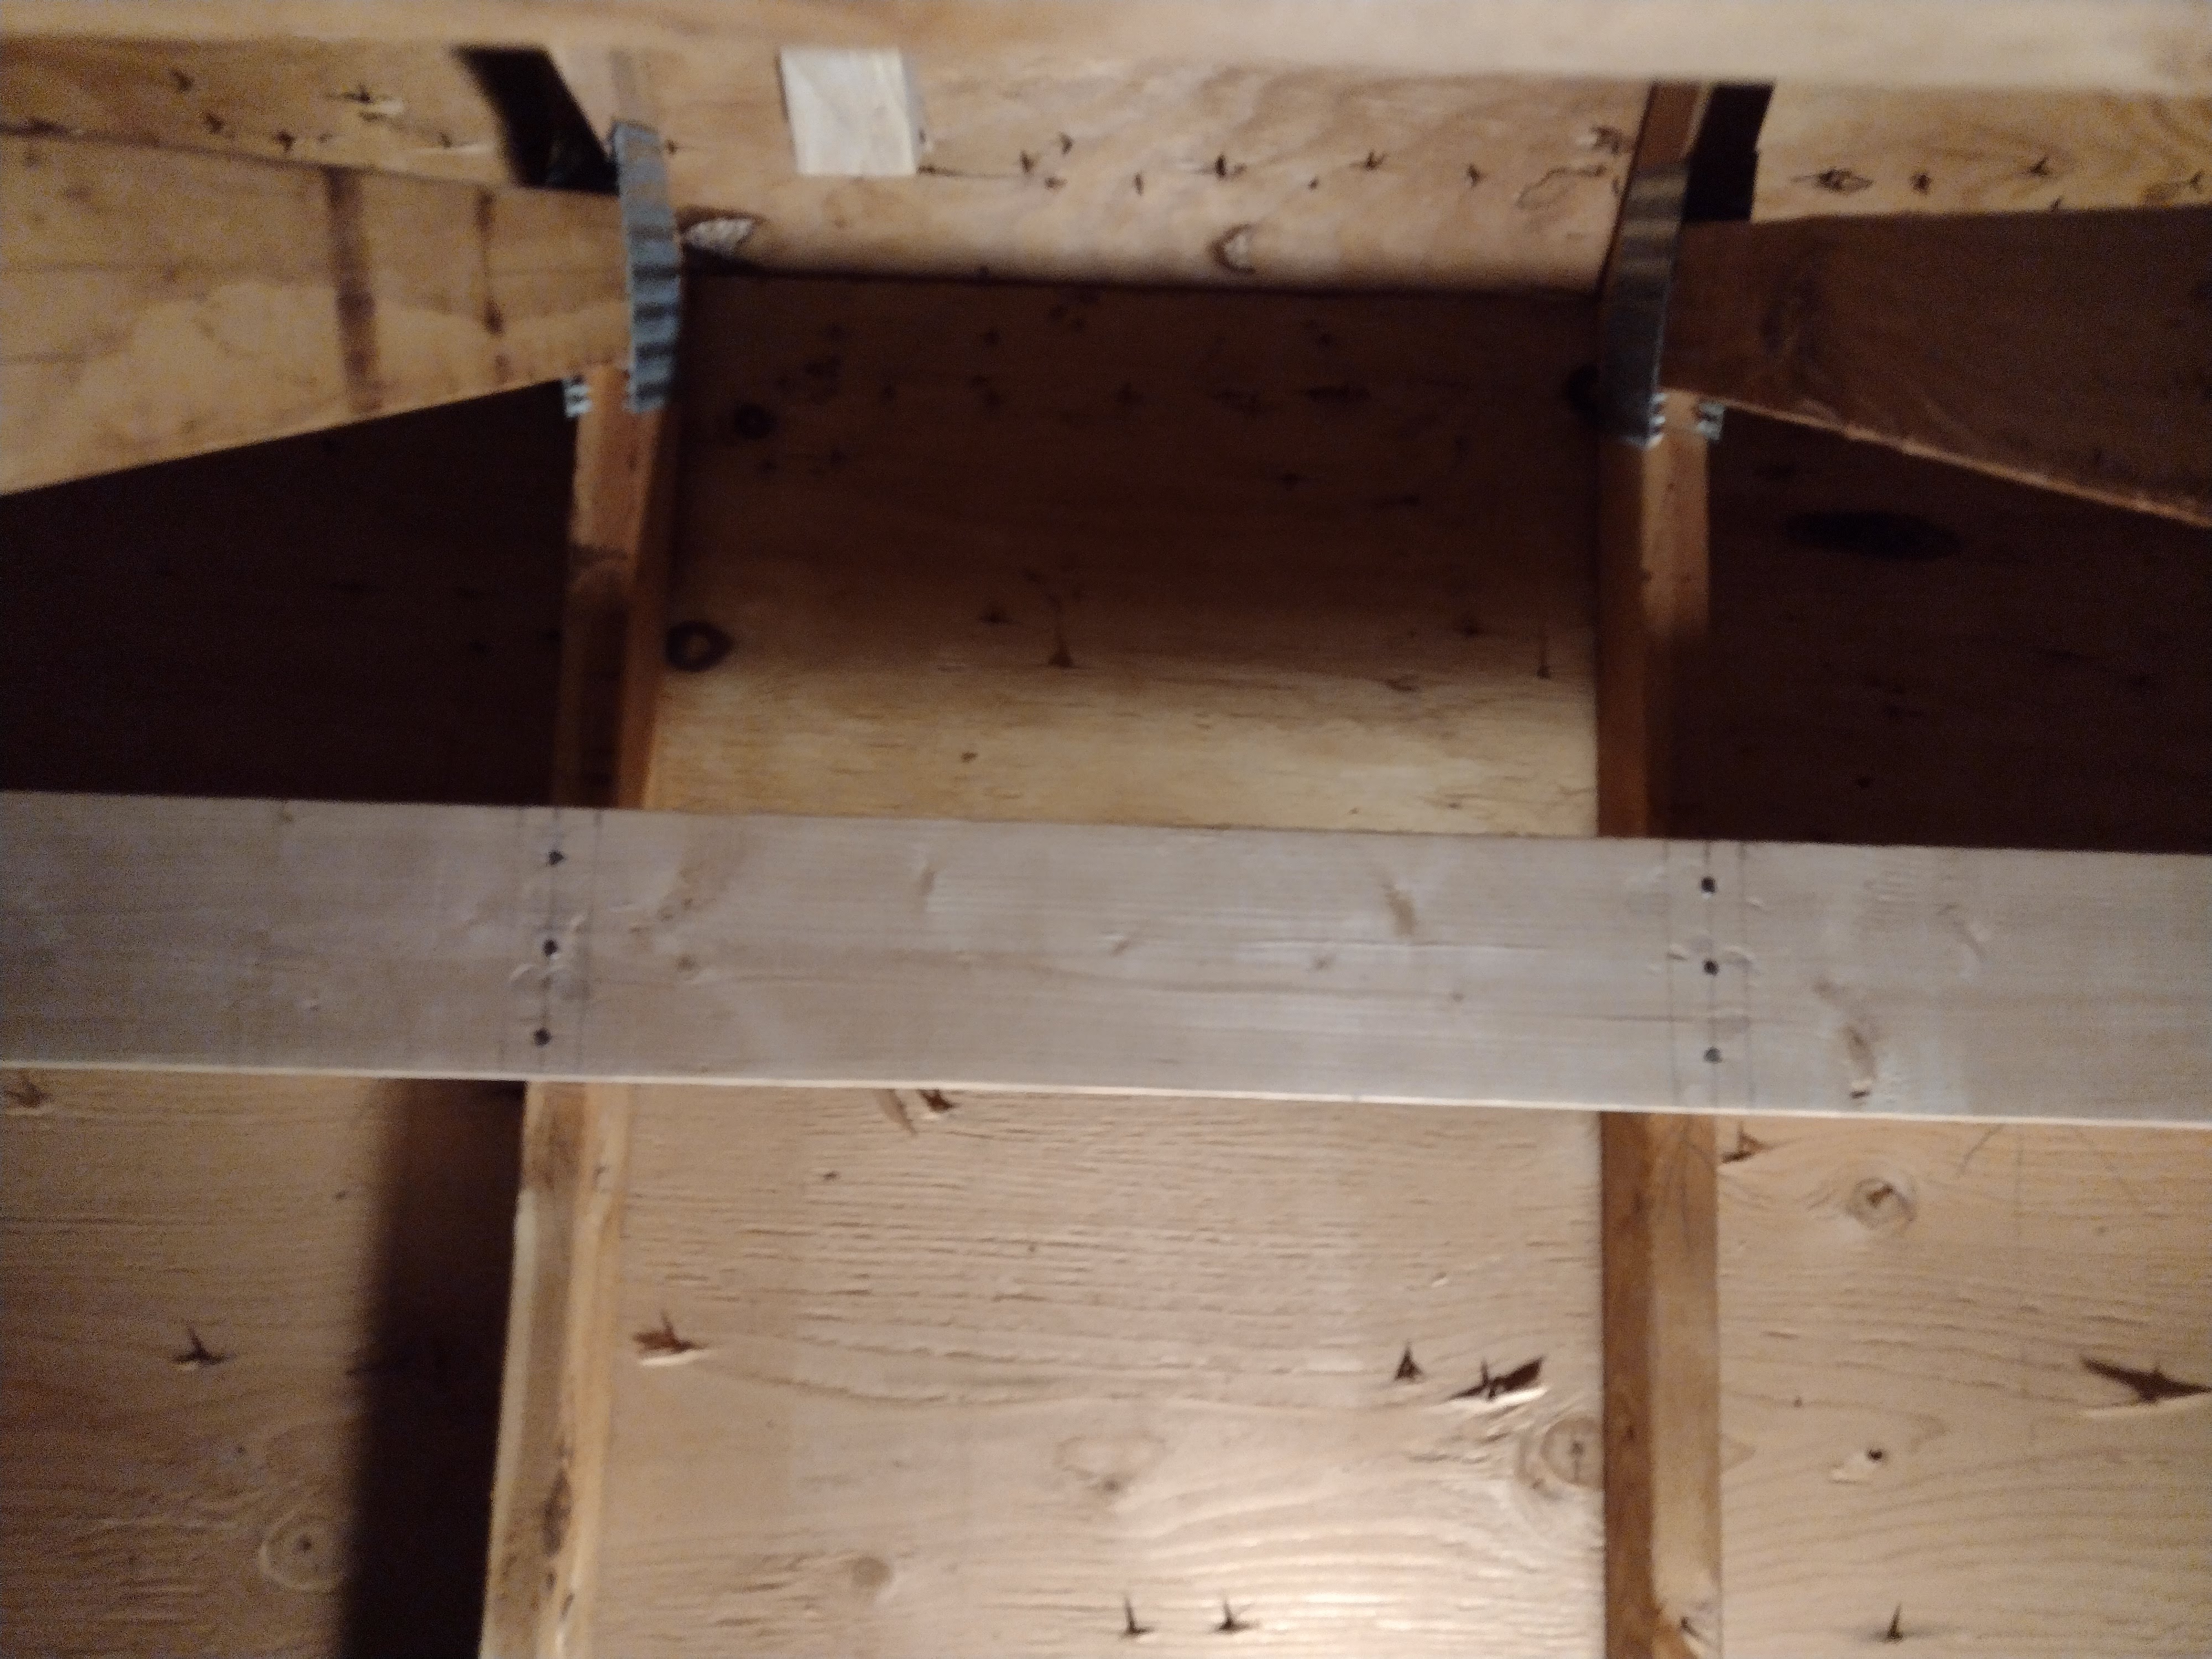
Bracing (with blocking underneath) for the single-leg side of the roof. To reach the underside of the roof, I used a 4' ladder that was easily carried into the attic, using boards across the trusses to the support it and my weight. For positions that couldn't be accommodated by moving the ladder between another pair of trusses, I used the 2x4's as "scaffolding" to support my weight. Be very cautious and conscientious if you choose to do this! I was very aware of my position and how the boards yielded beneath me.
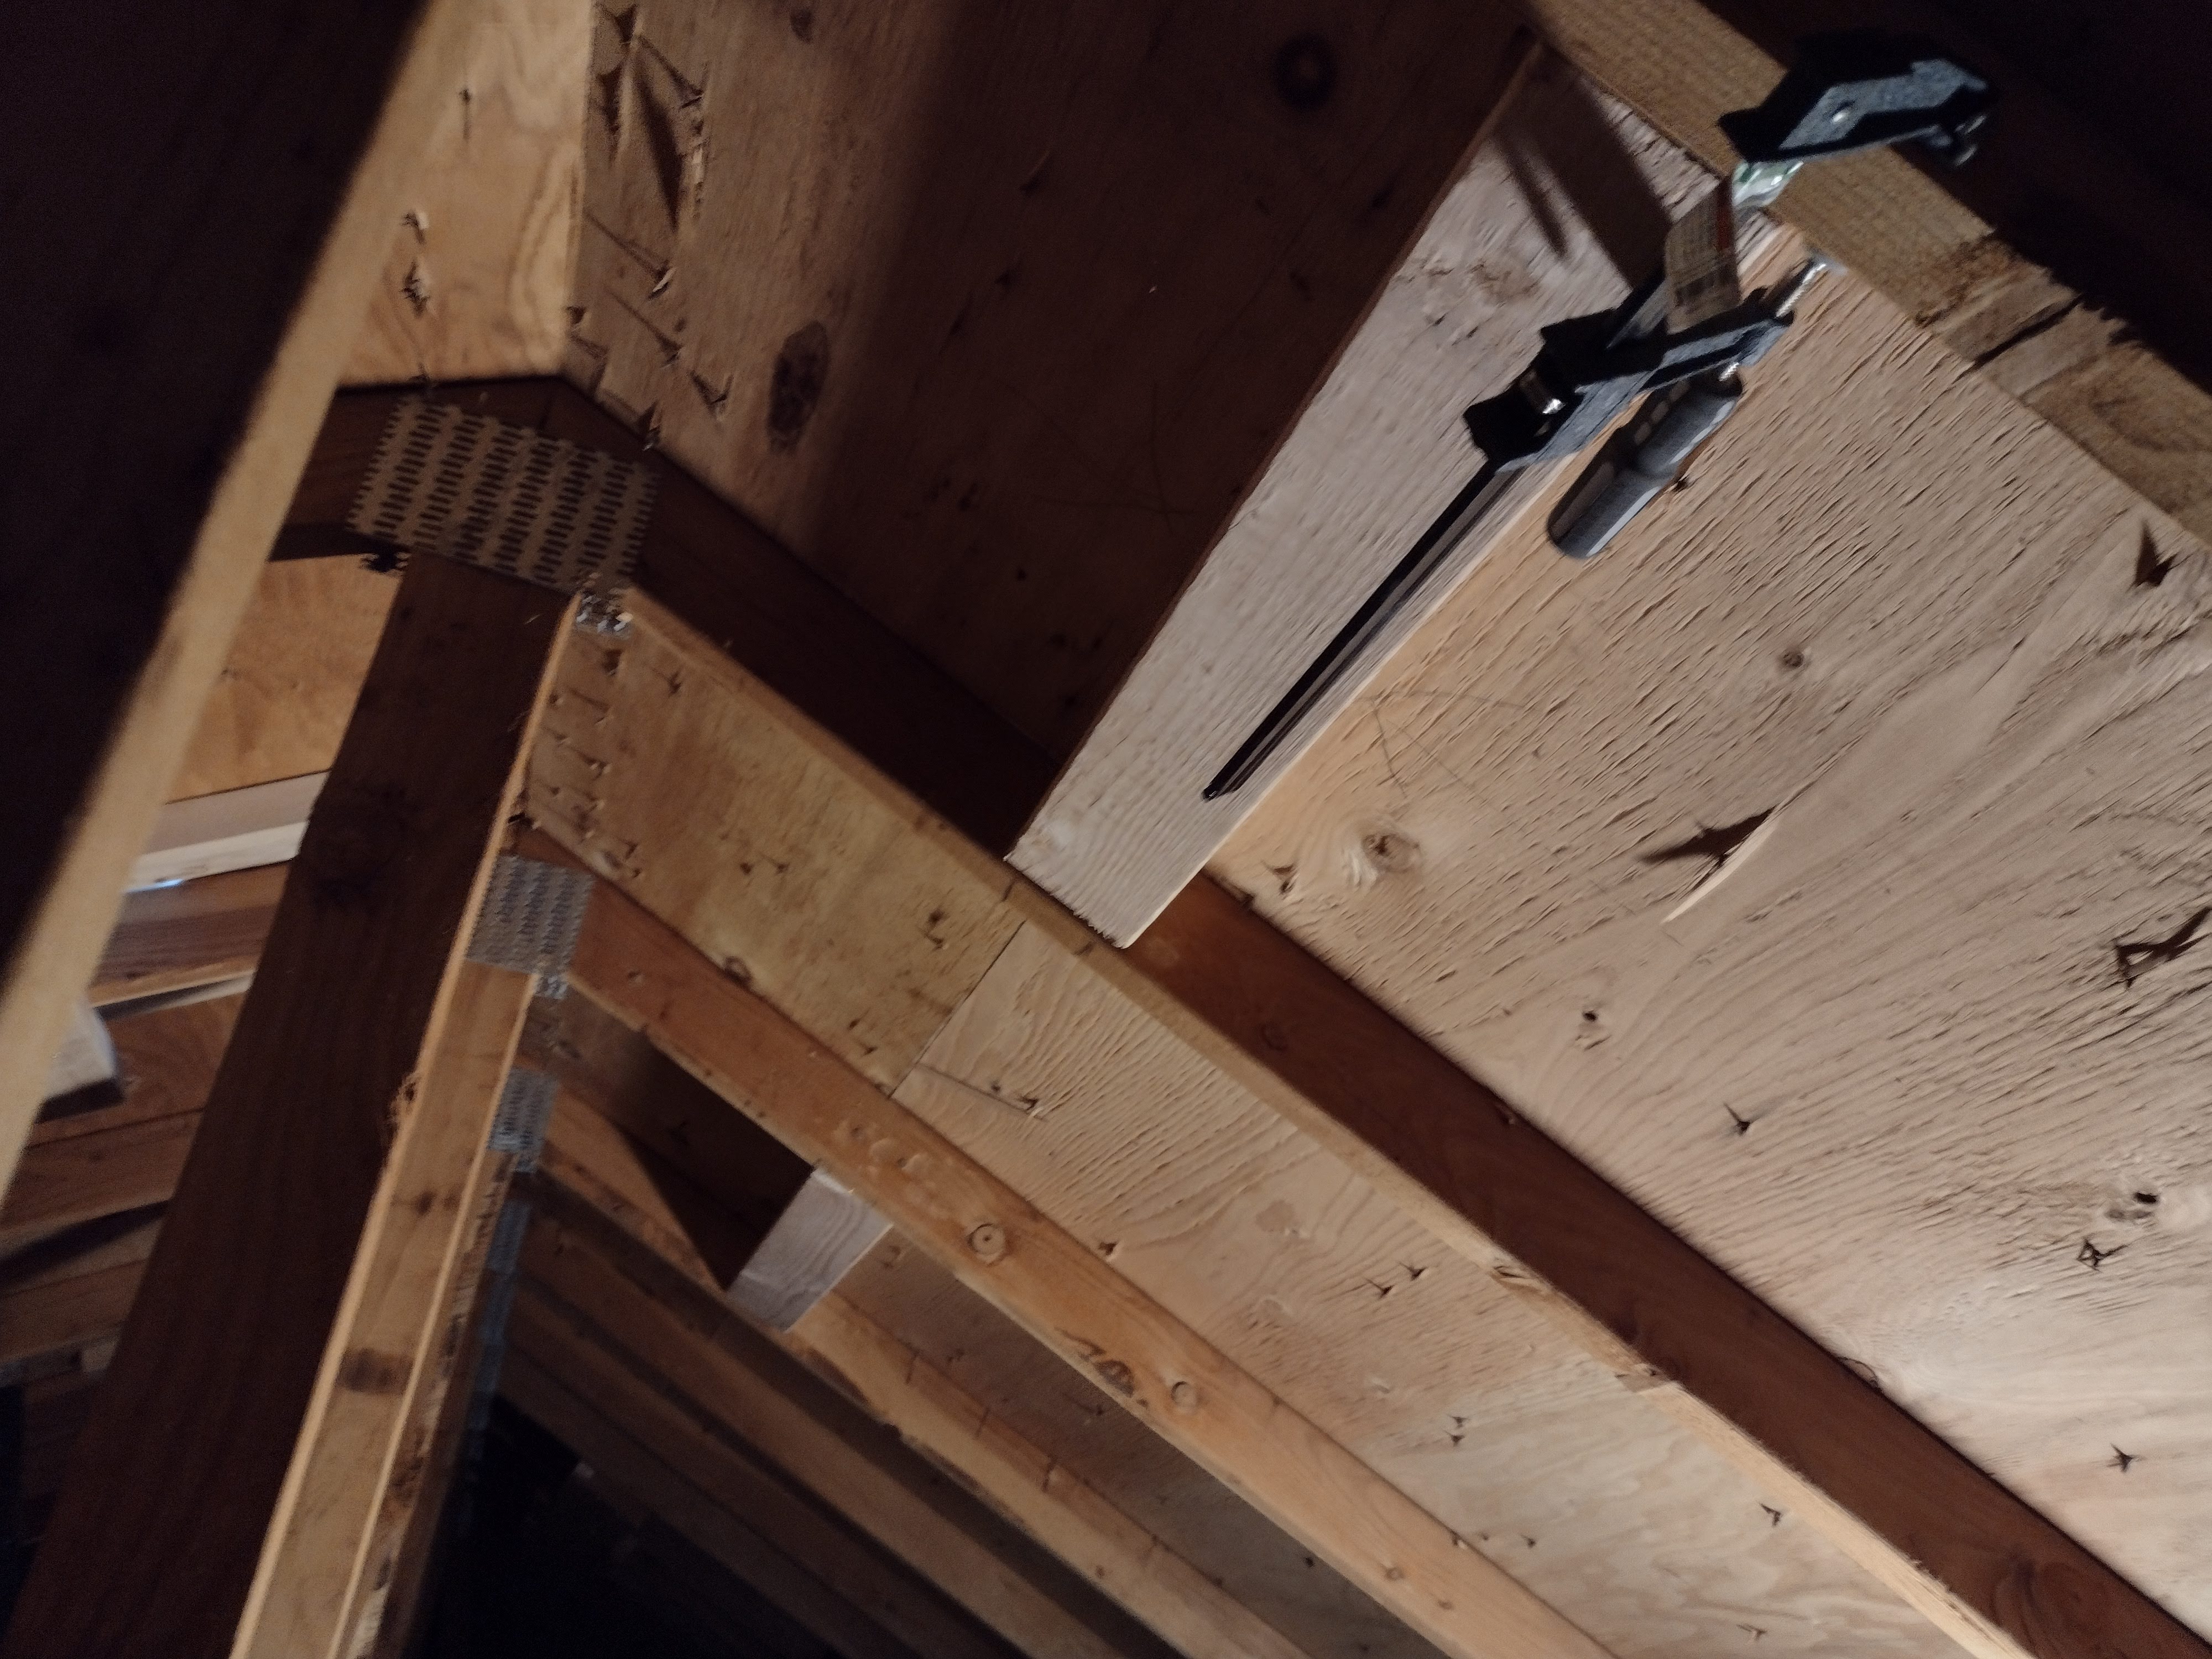
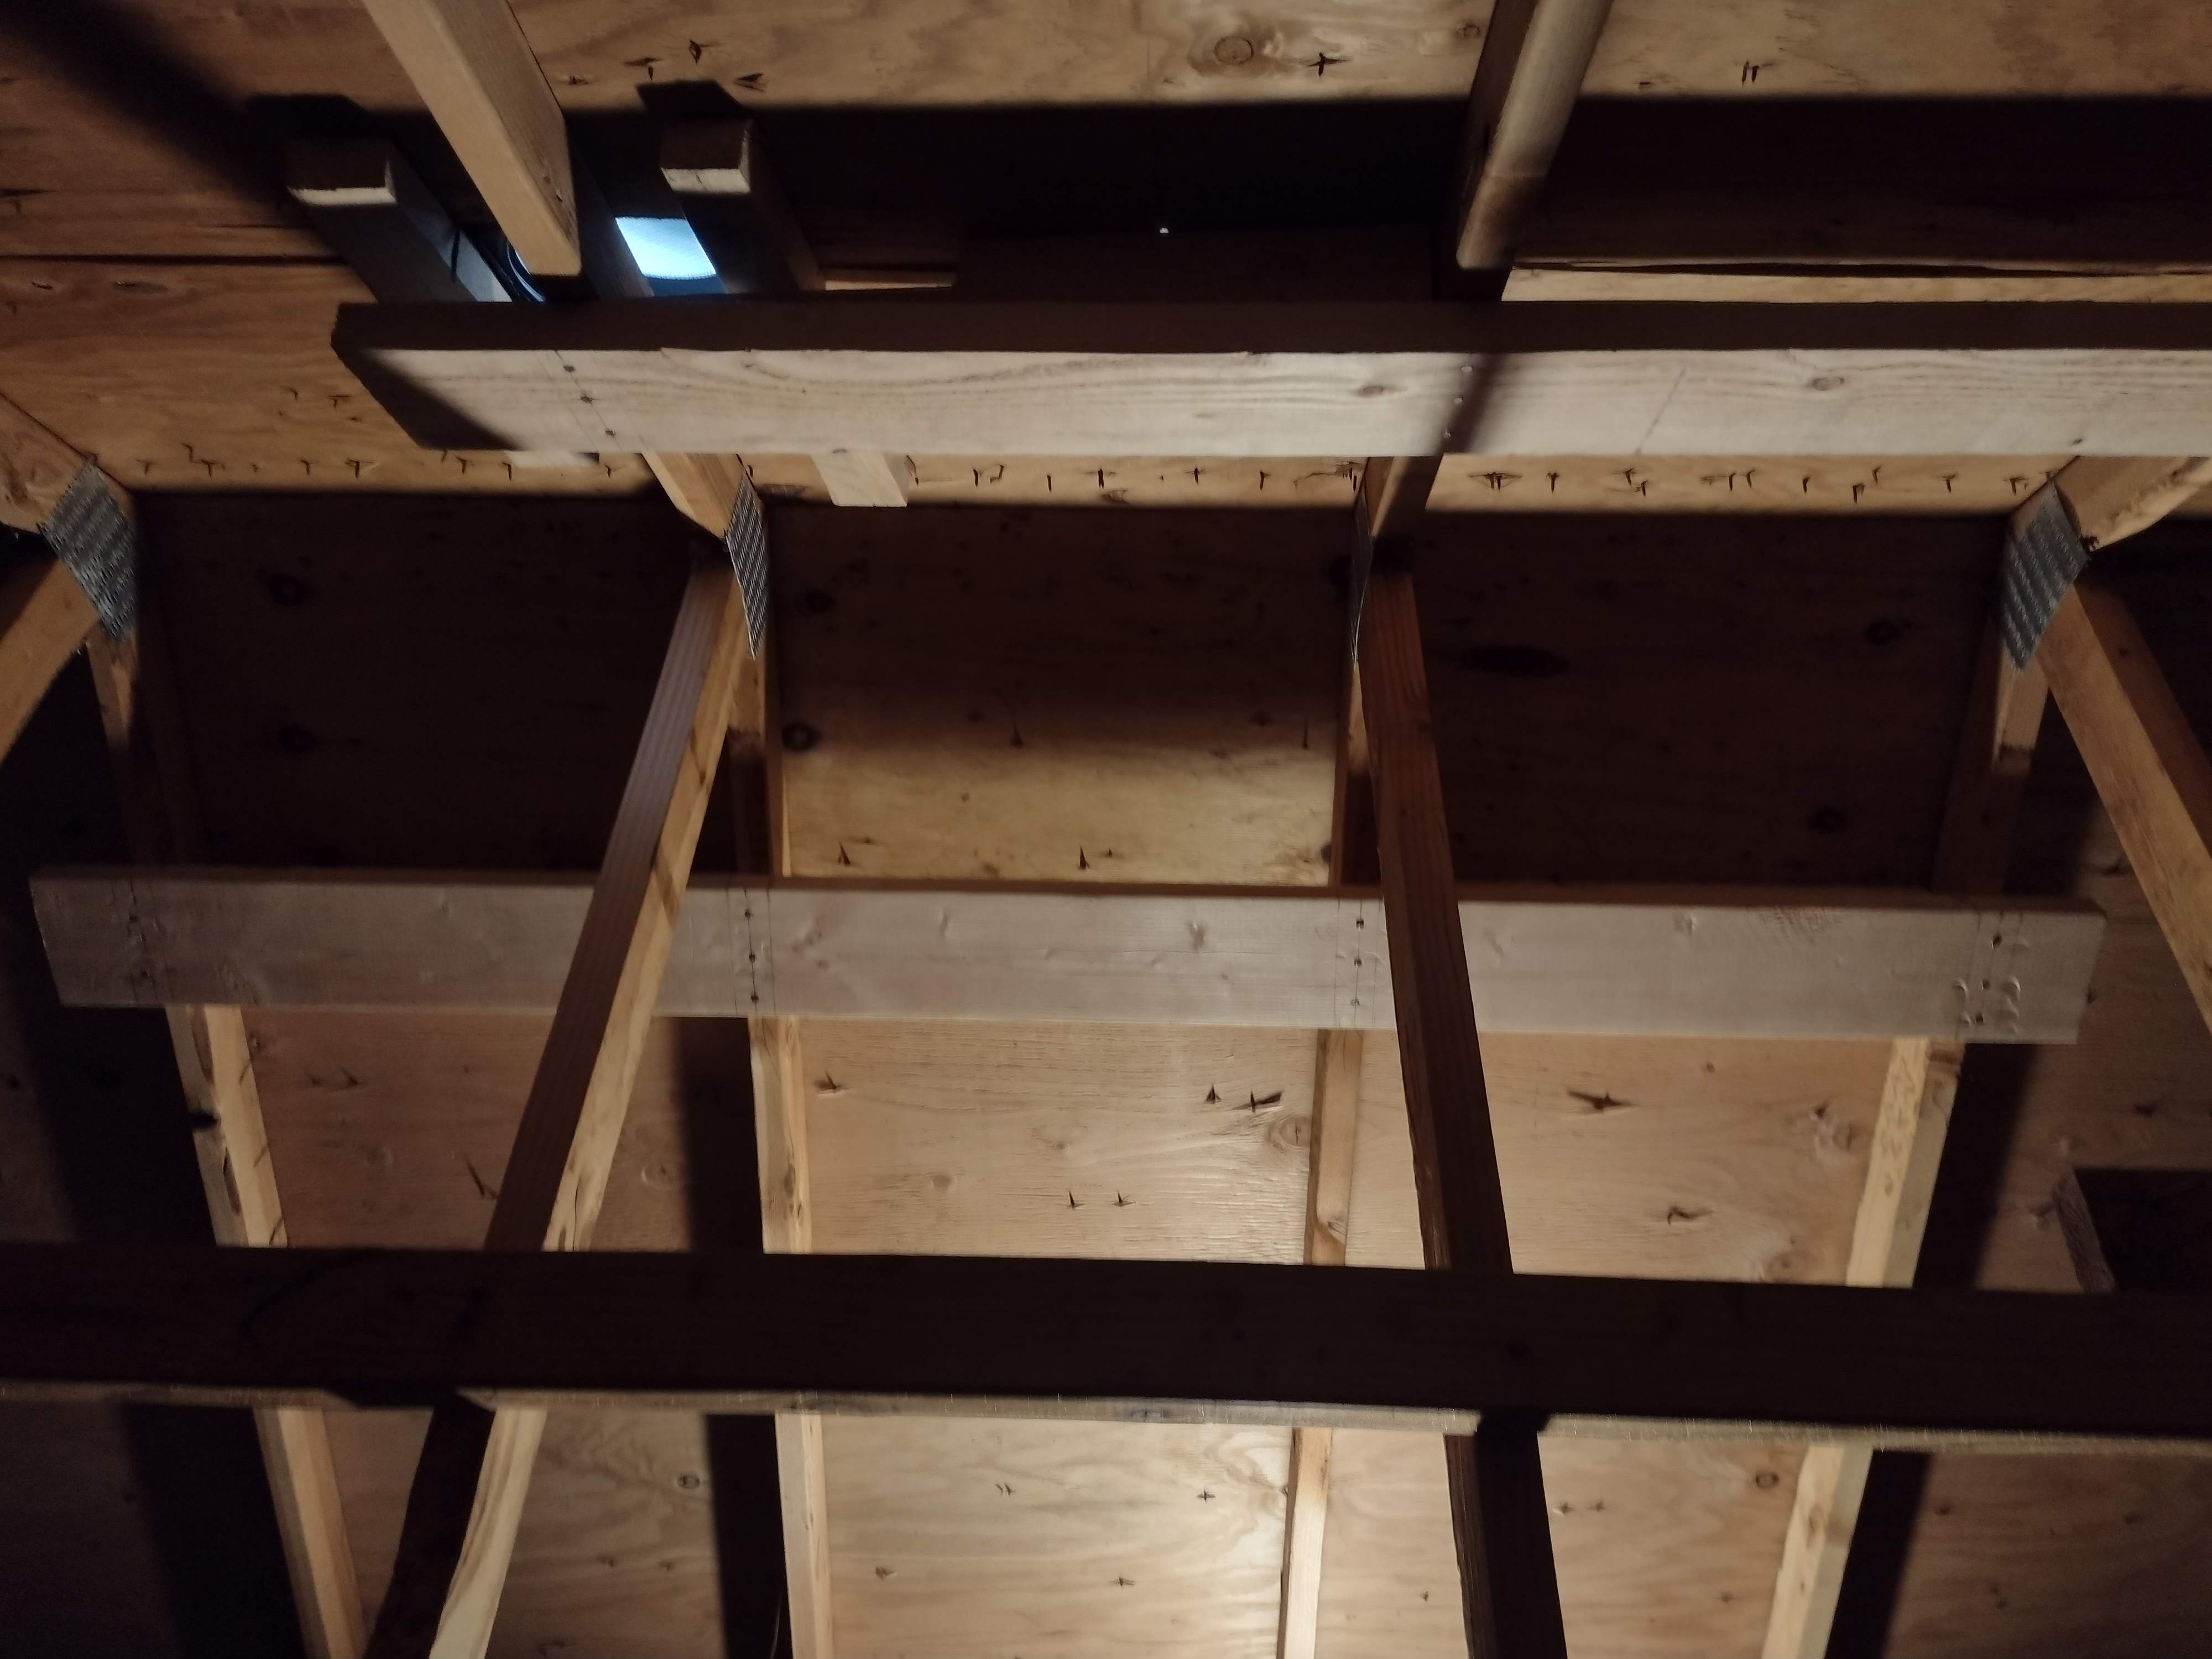
To position the blocking overhead, since I couldn't set the nails on the garage floor, I used woodworking clamps. Also pictured is the bracing for two-leg side of the roof. It was a real workout to hold this 6' long 2x6 overhead. Setting the nails beforehand made it possible to quickly set the board in place. Note the lines drawn to make it easy to align the nails to the center of the truss members.
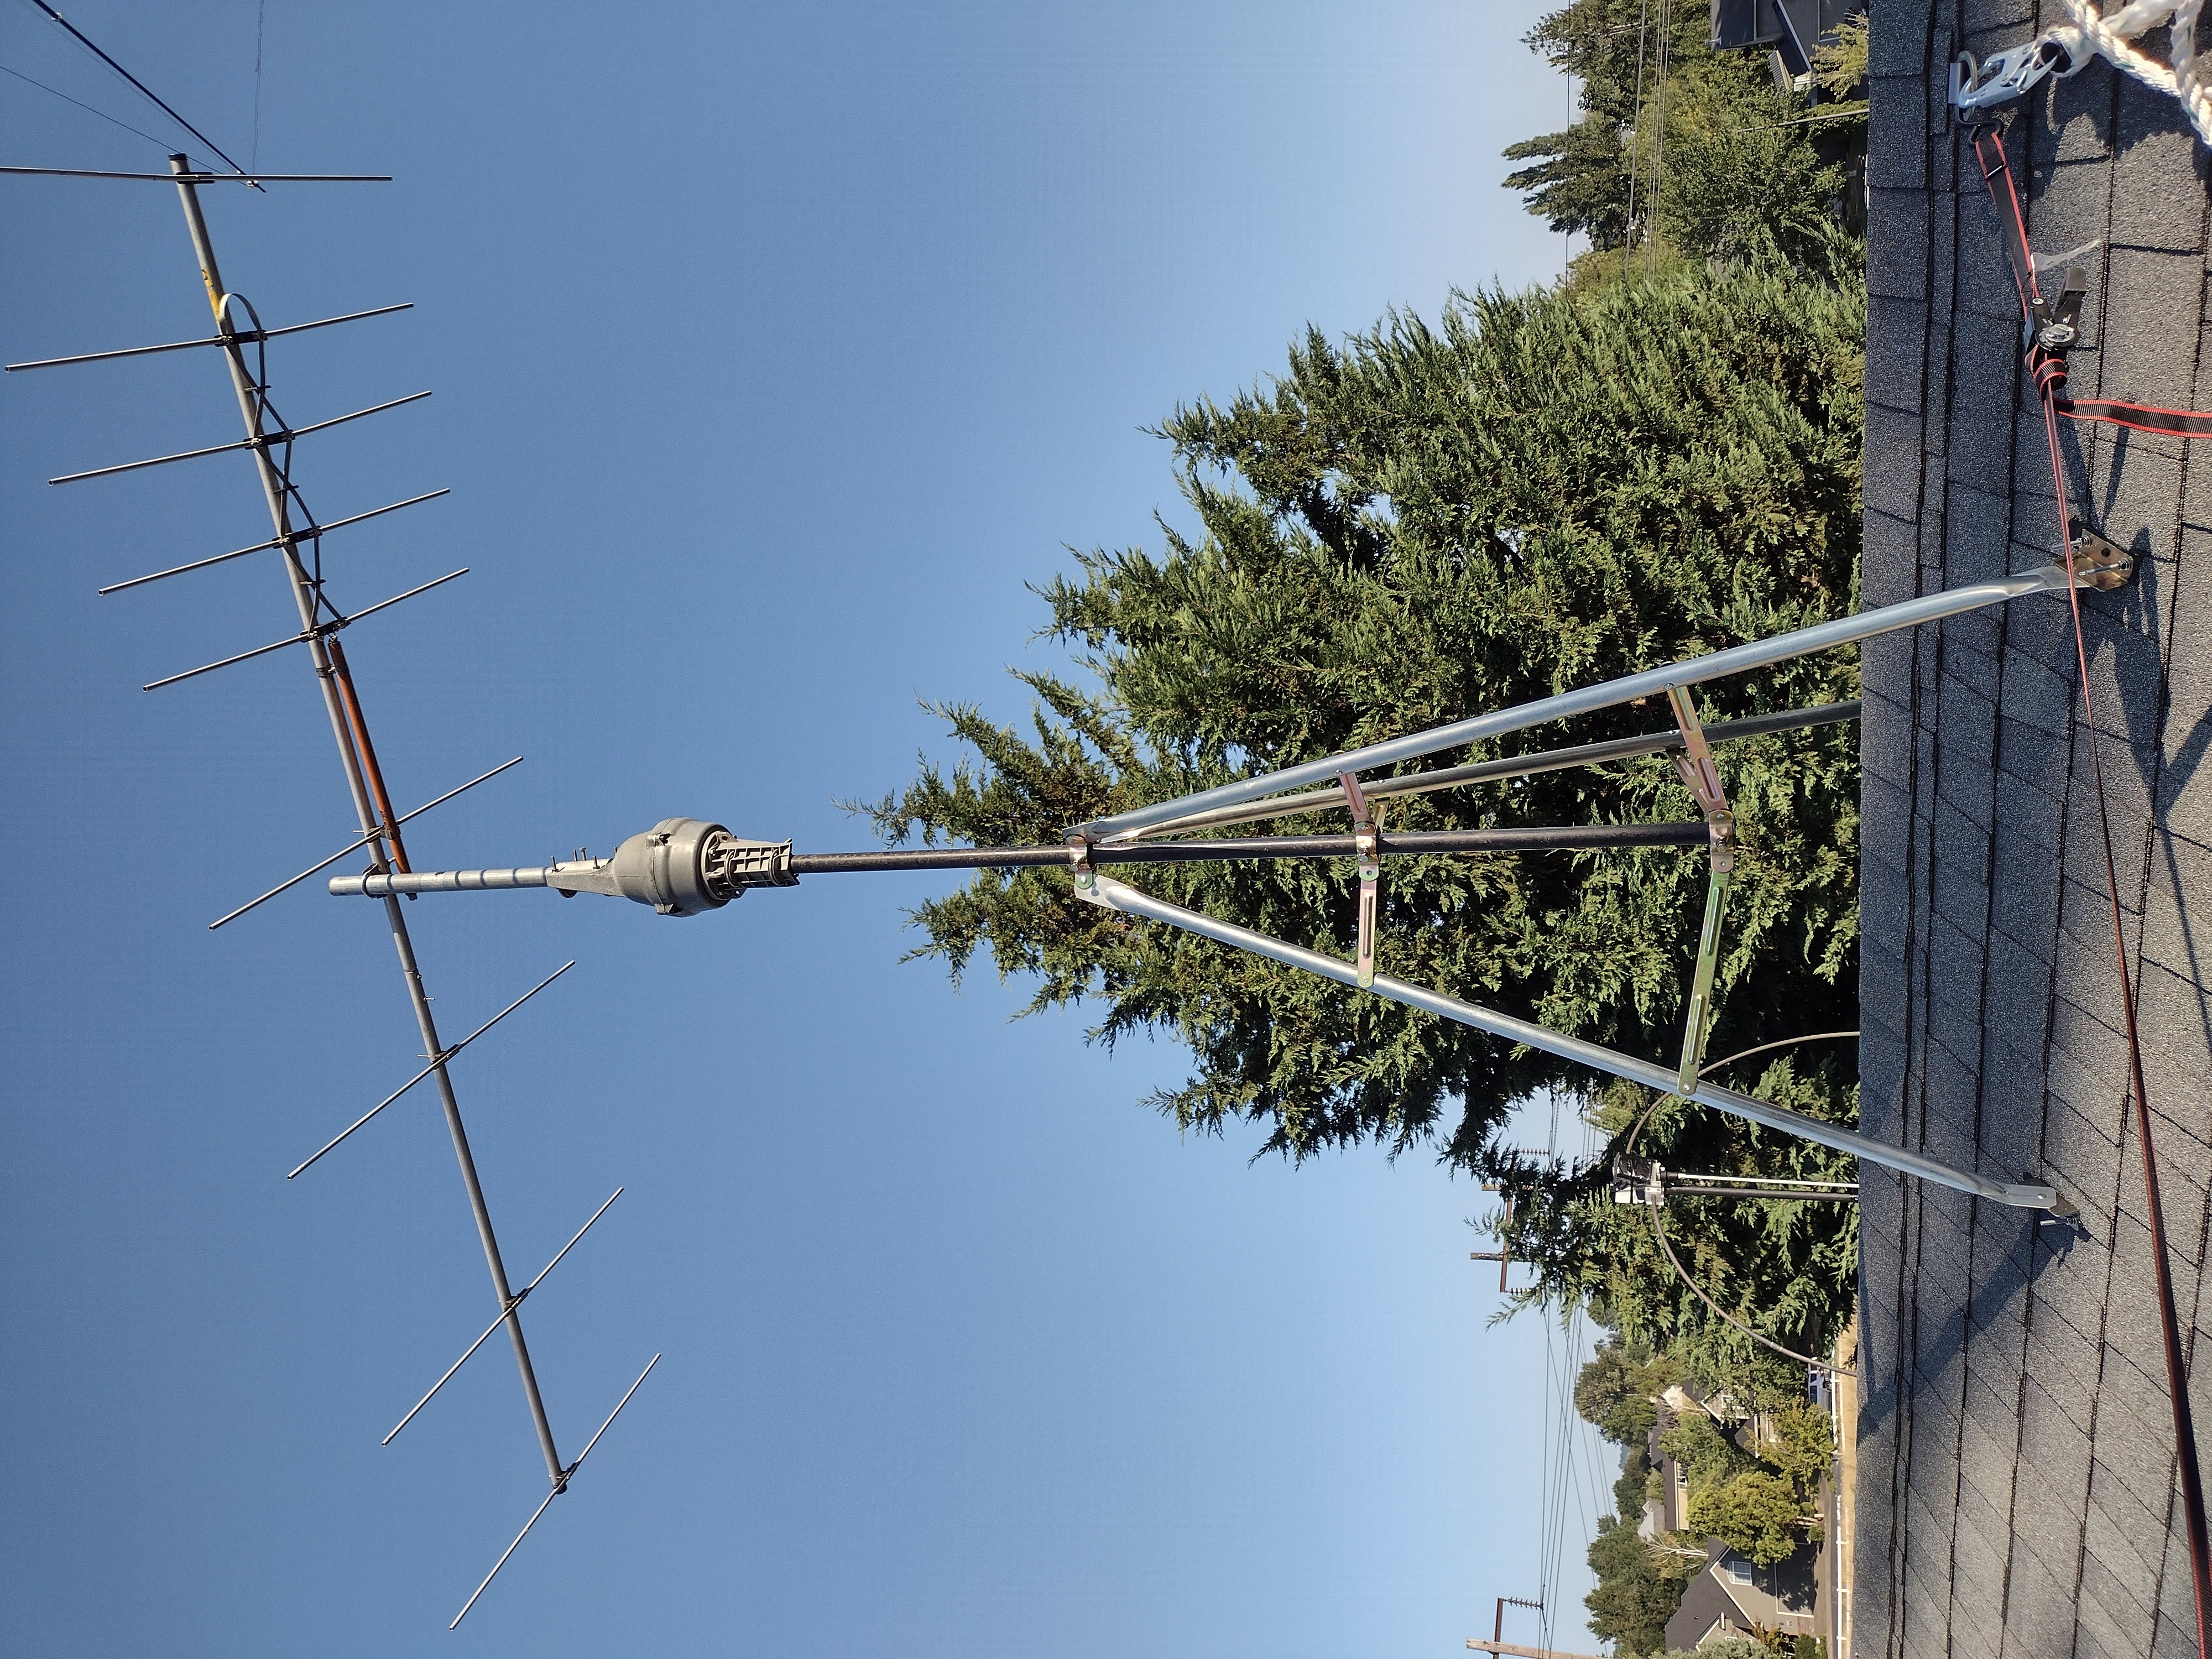
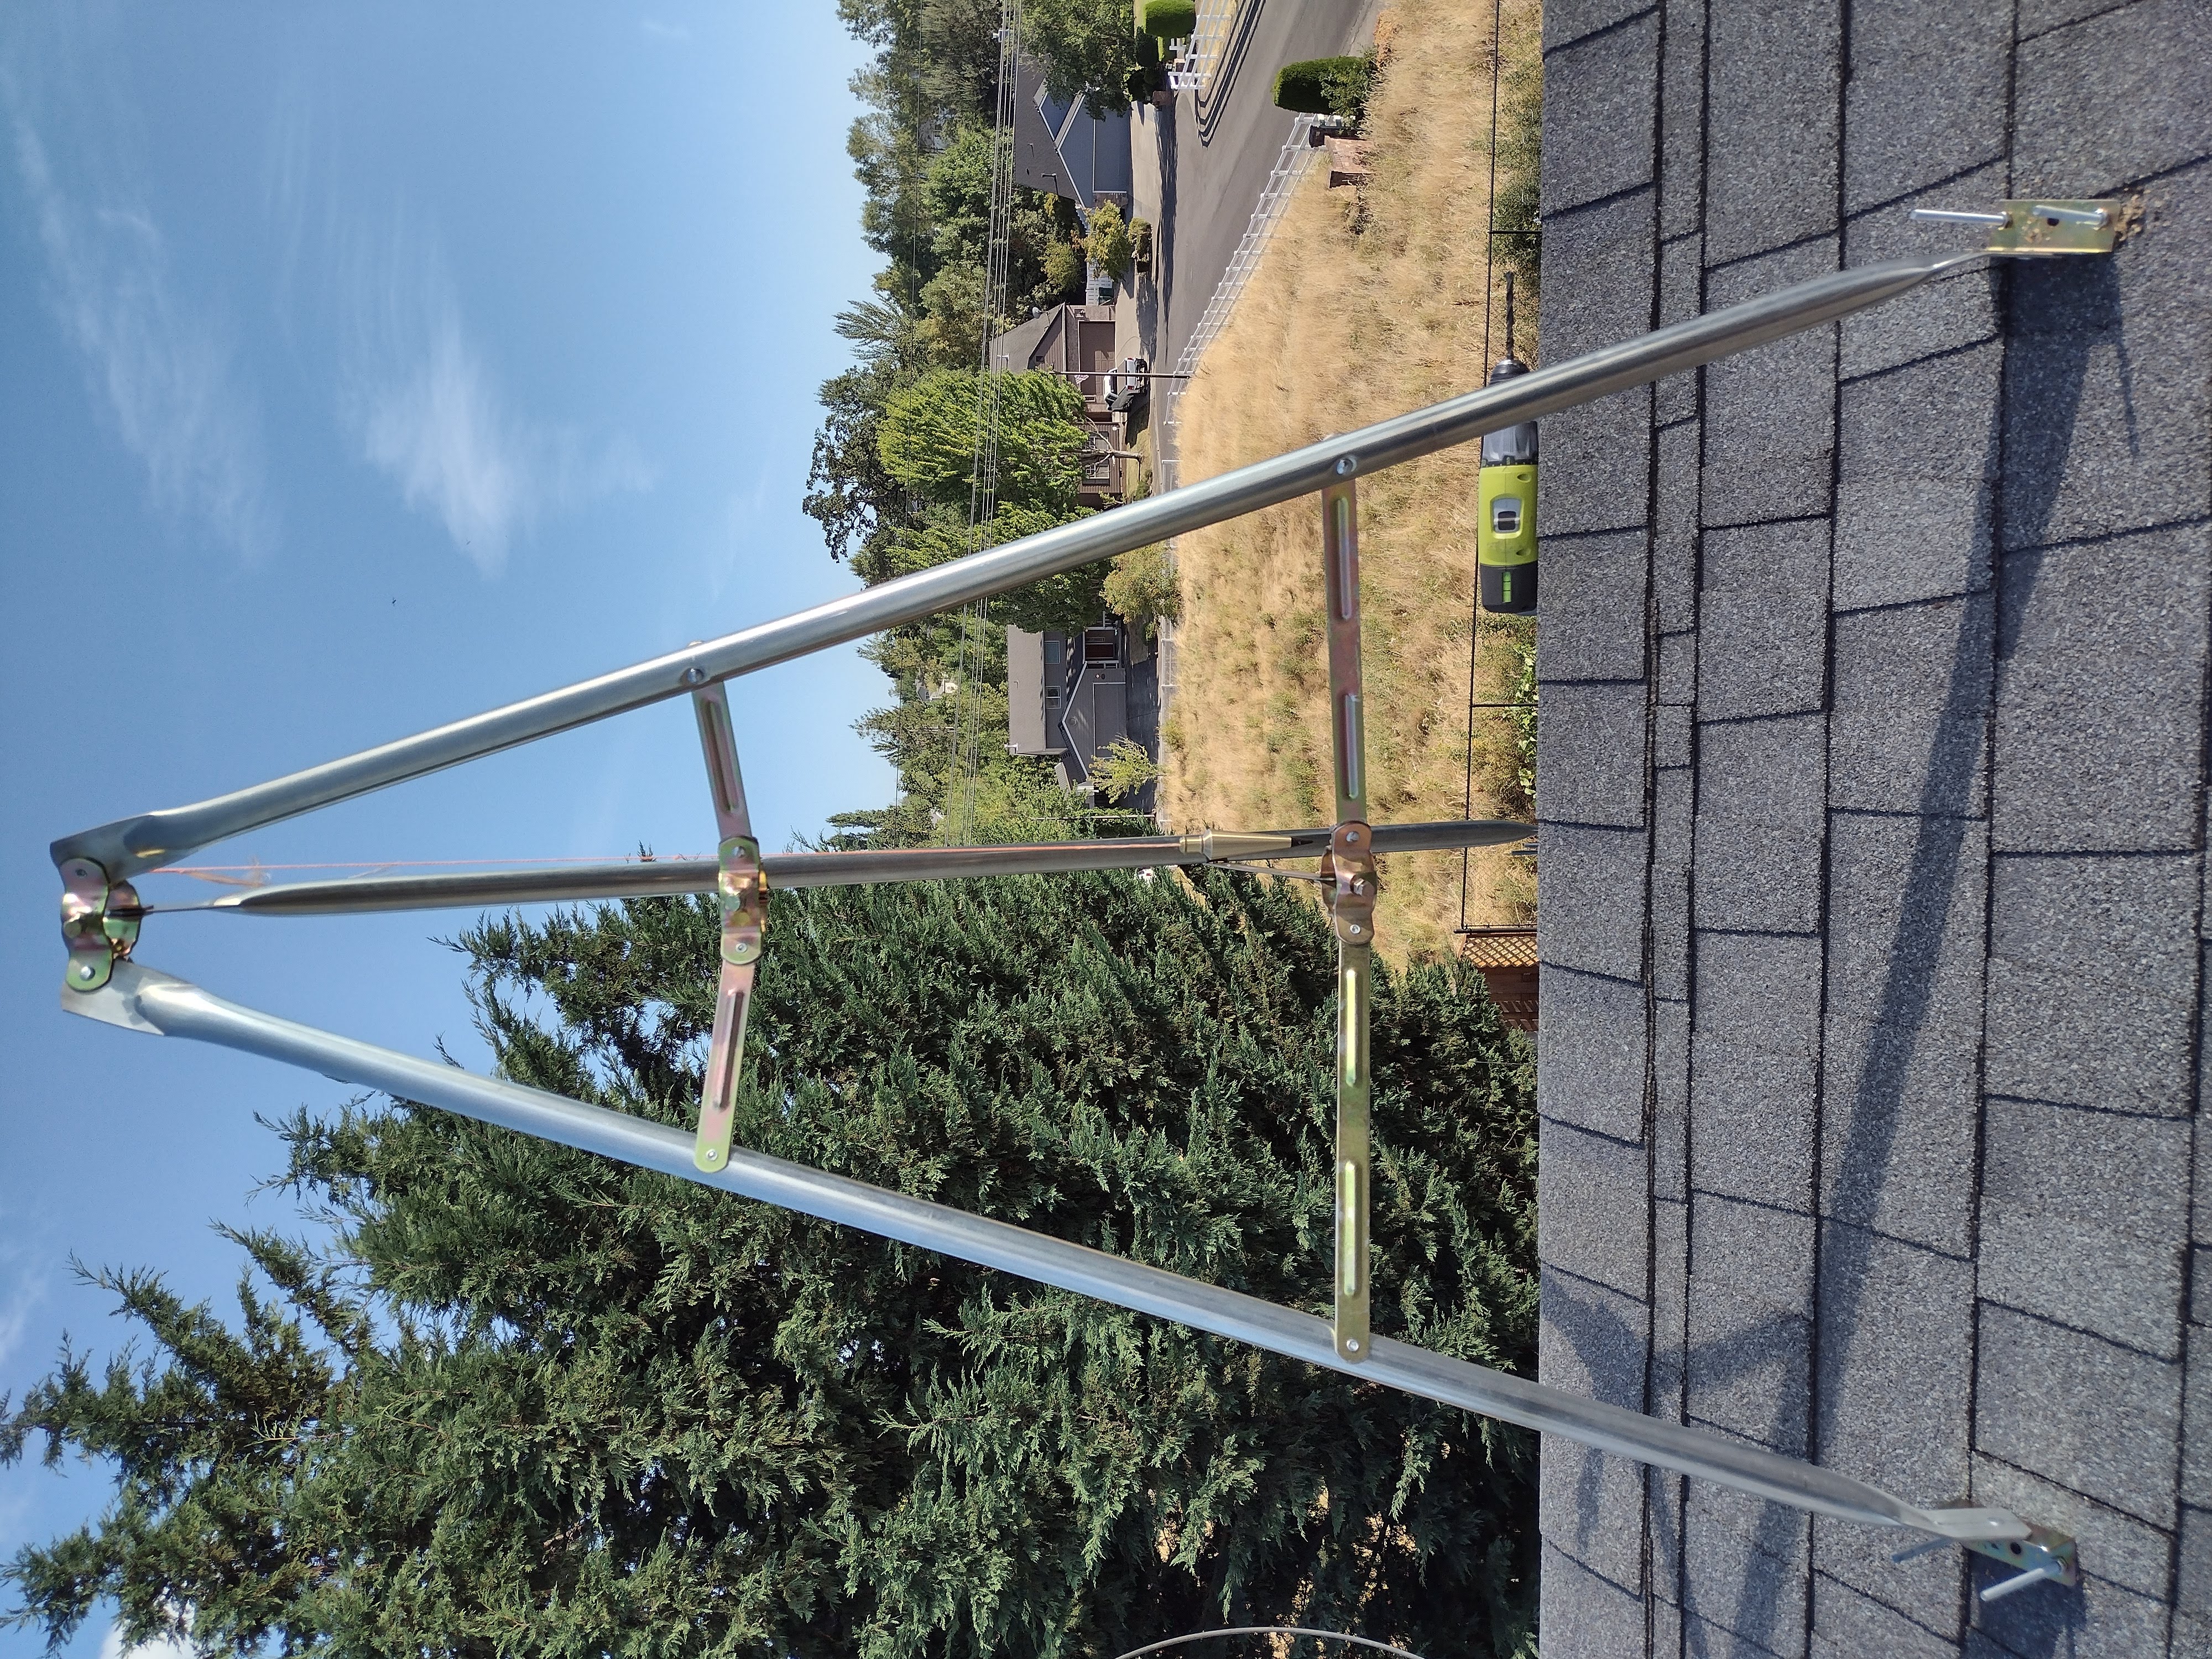
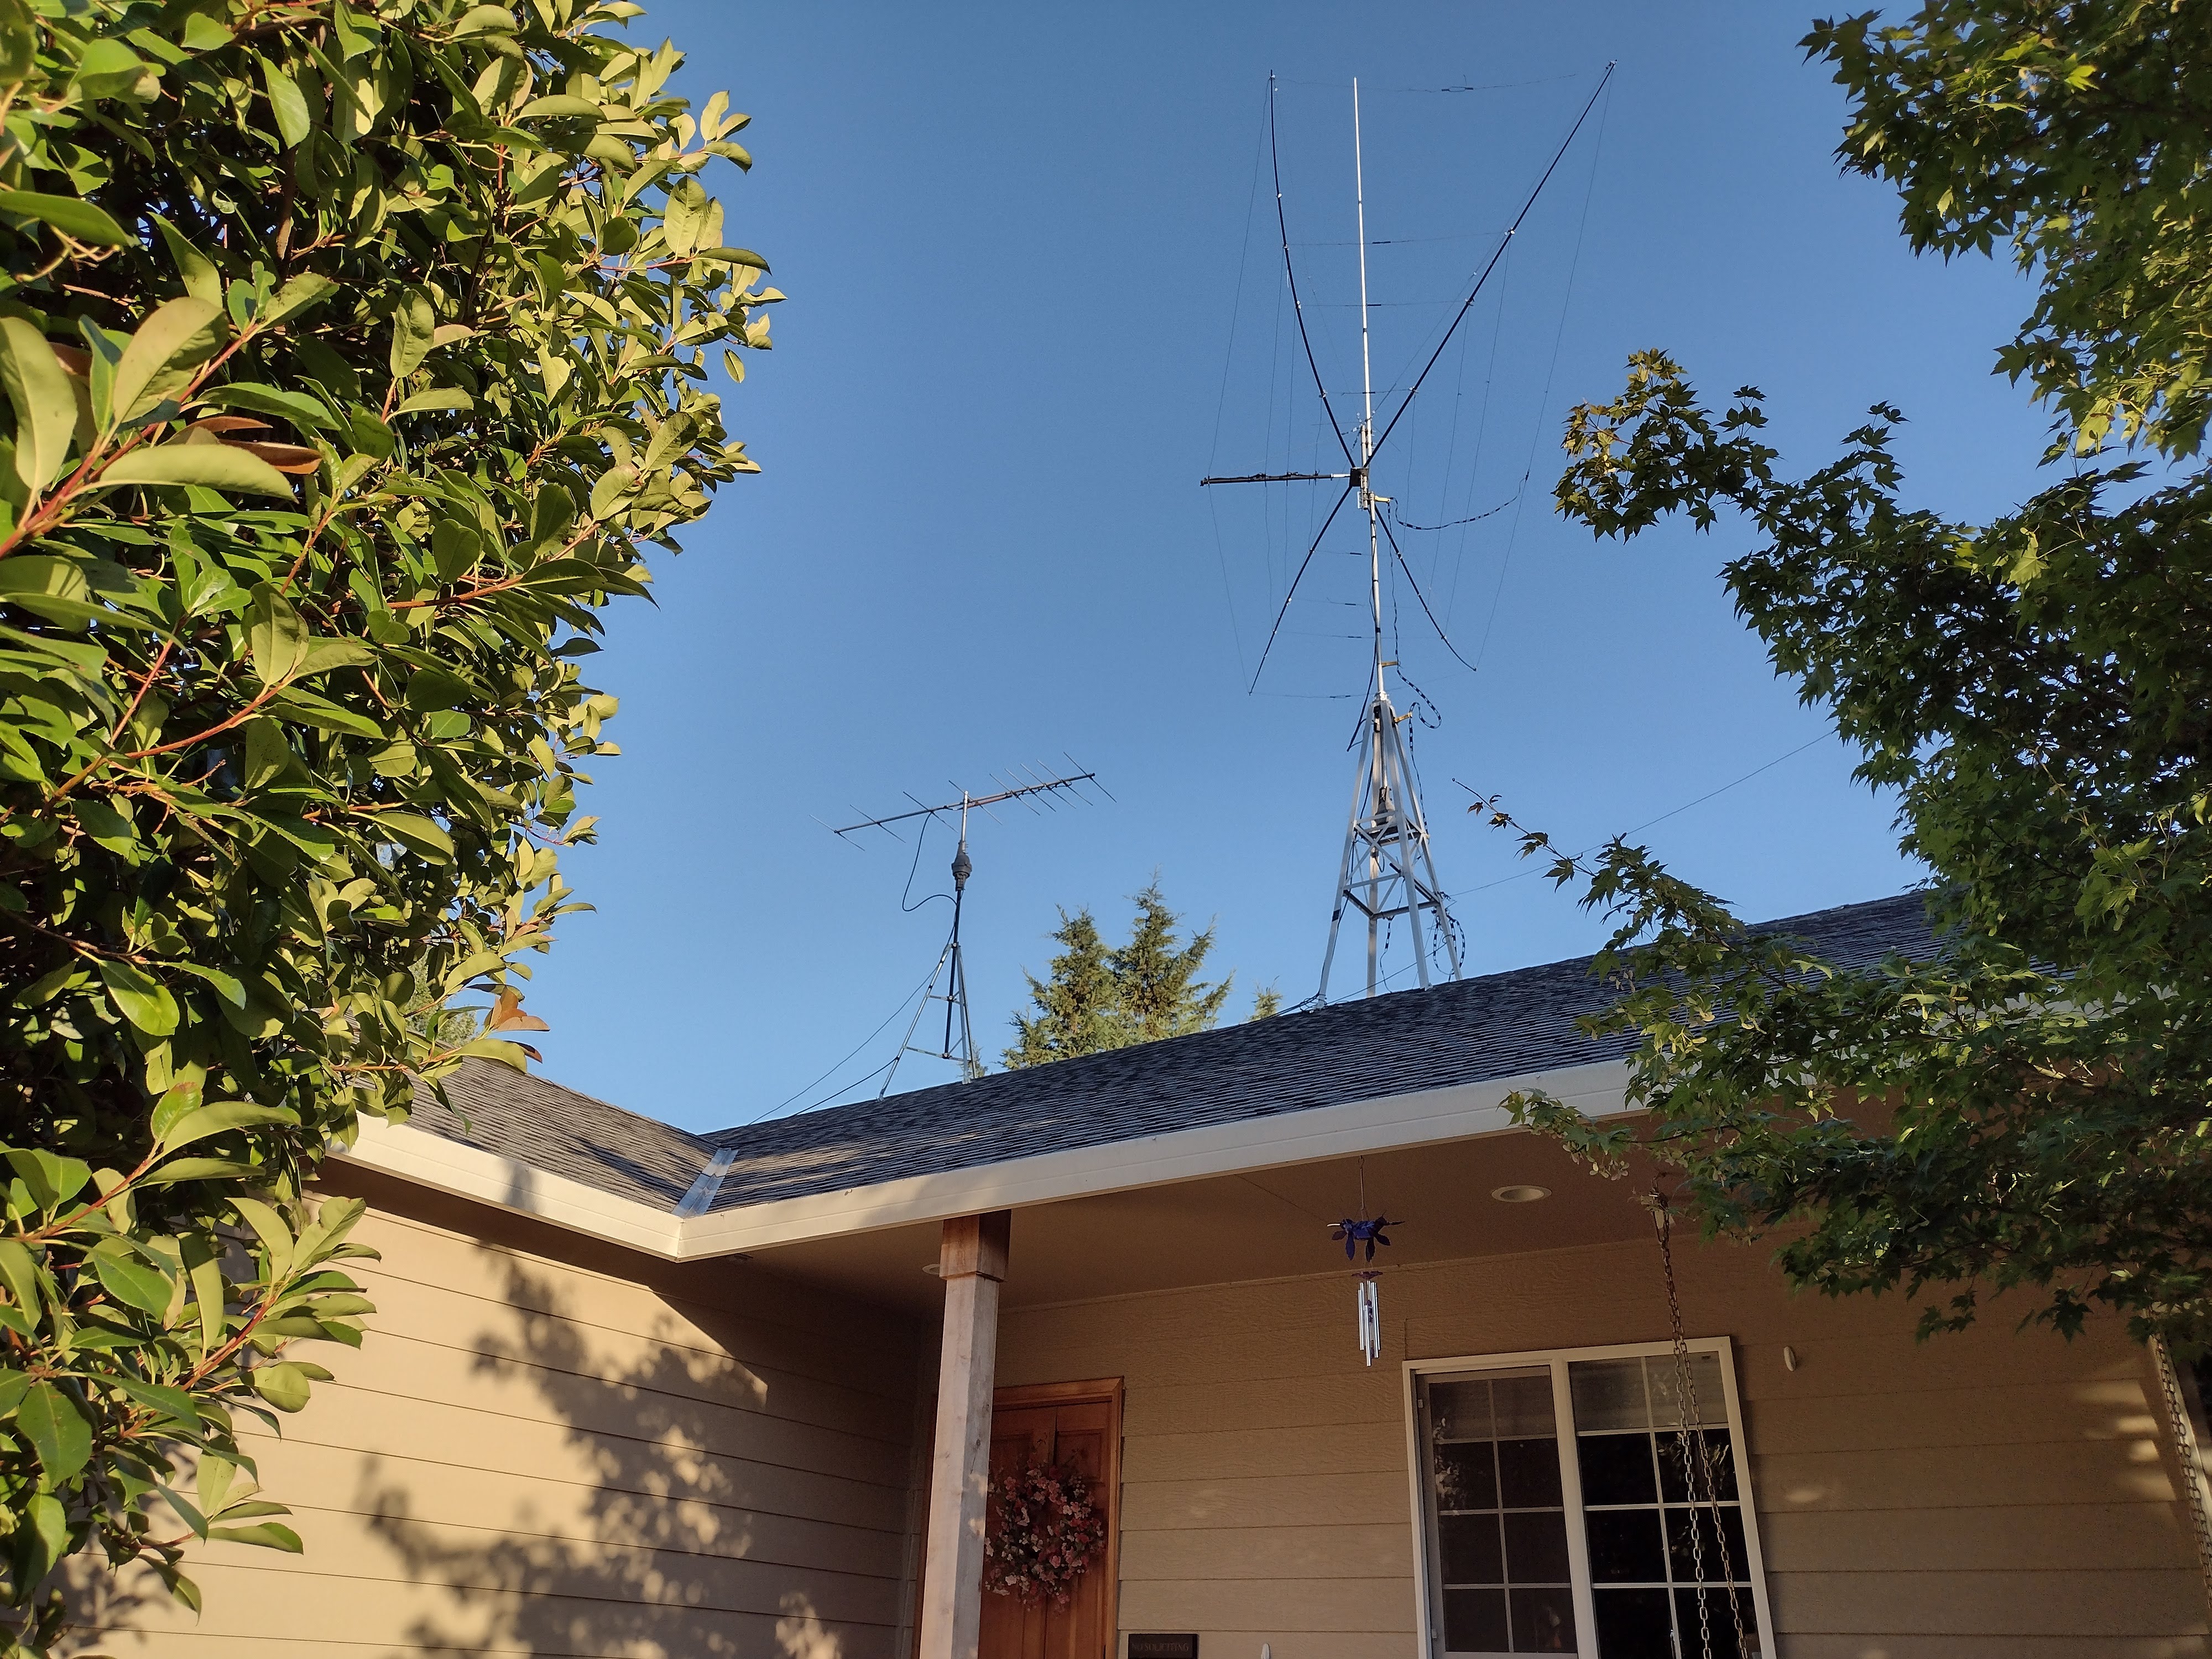
Completed bracing and blocking and the as-installed tripod. To install this required non-trivial effort, but it is well worth it!
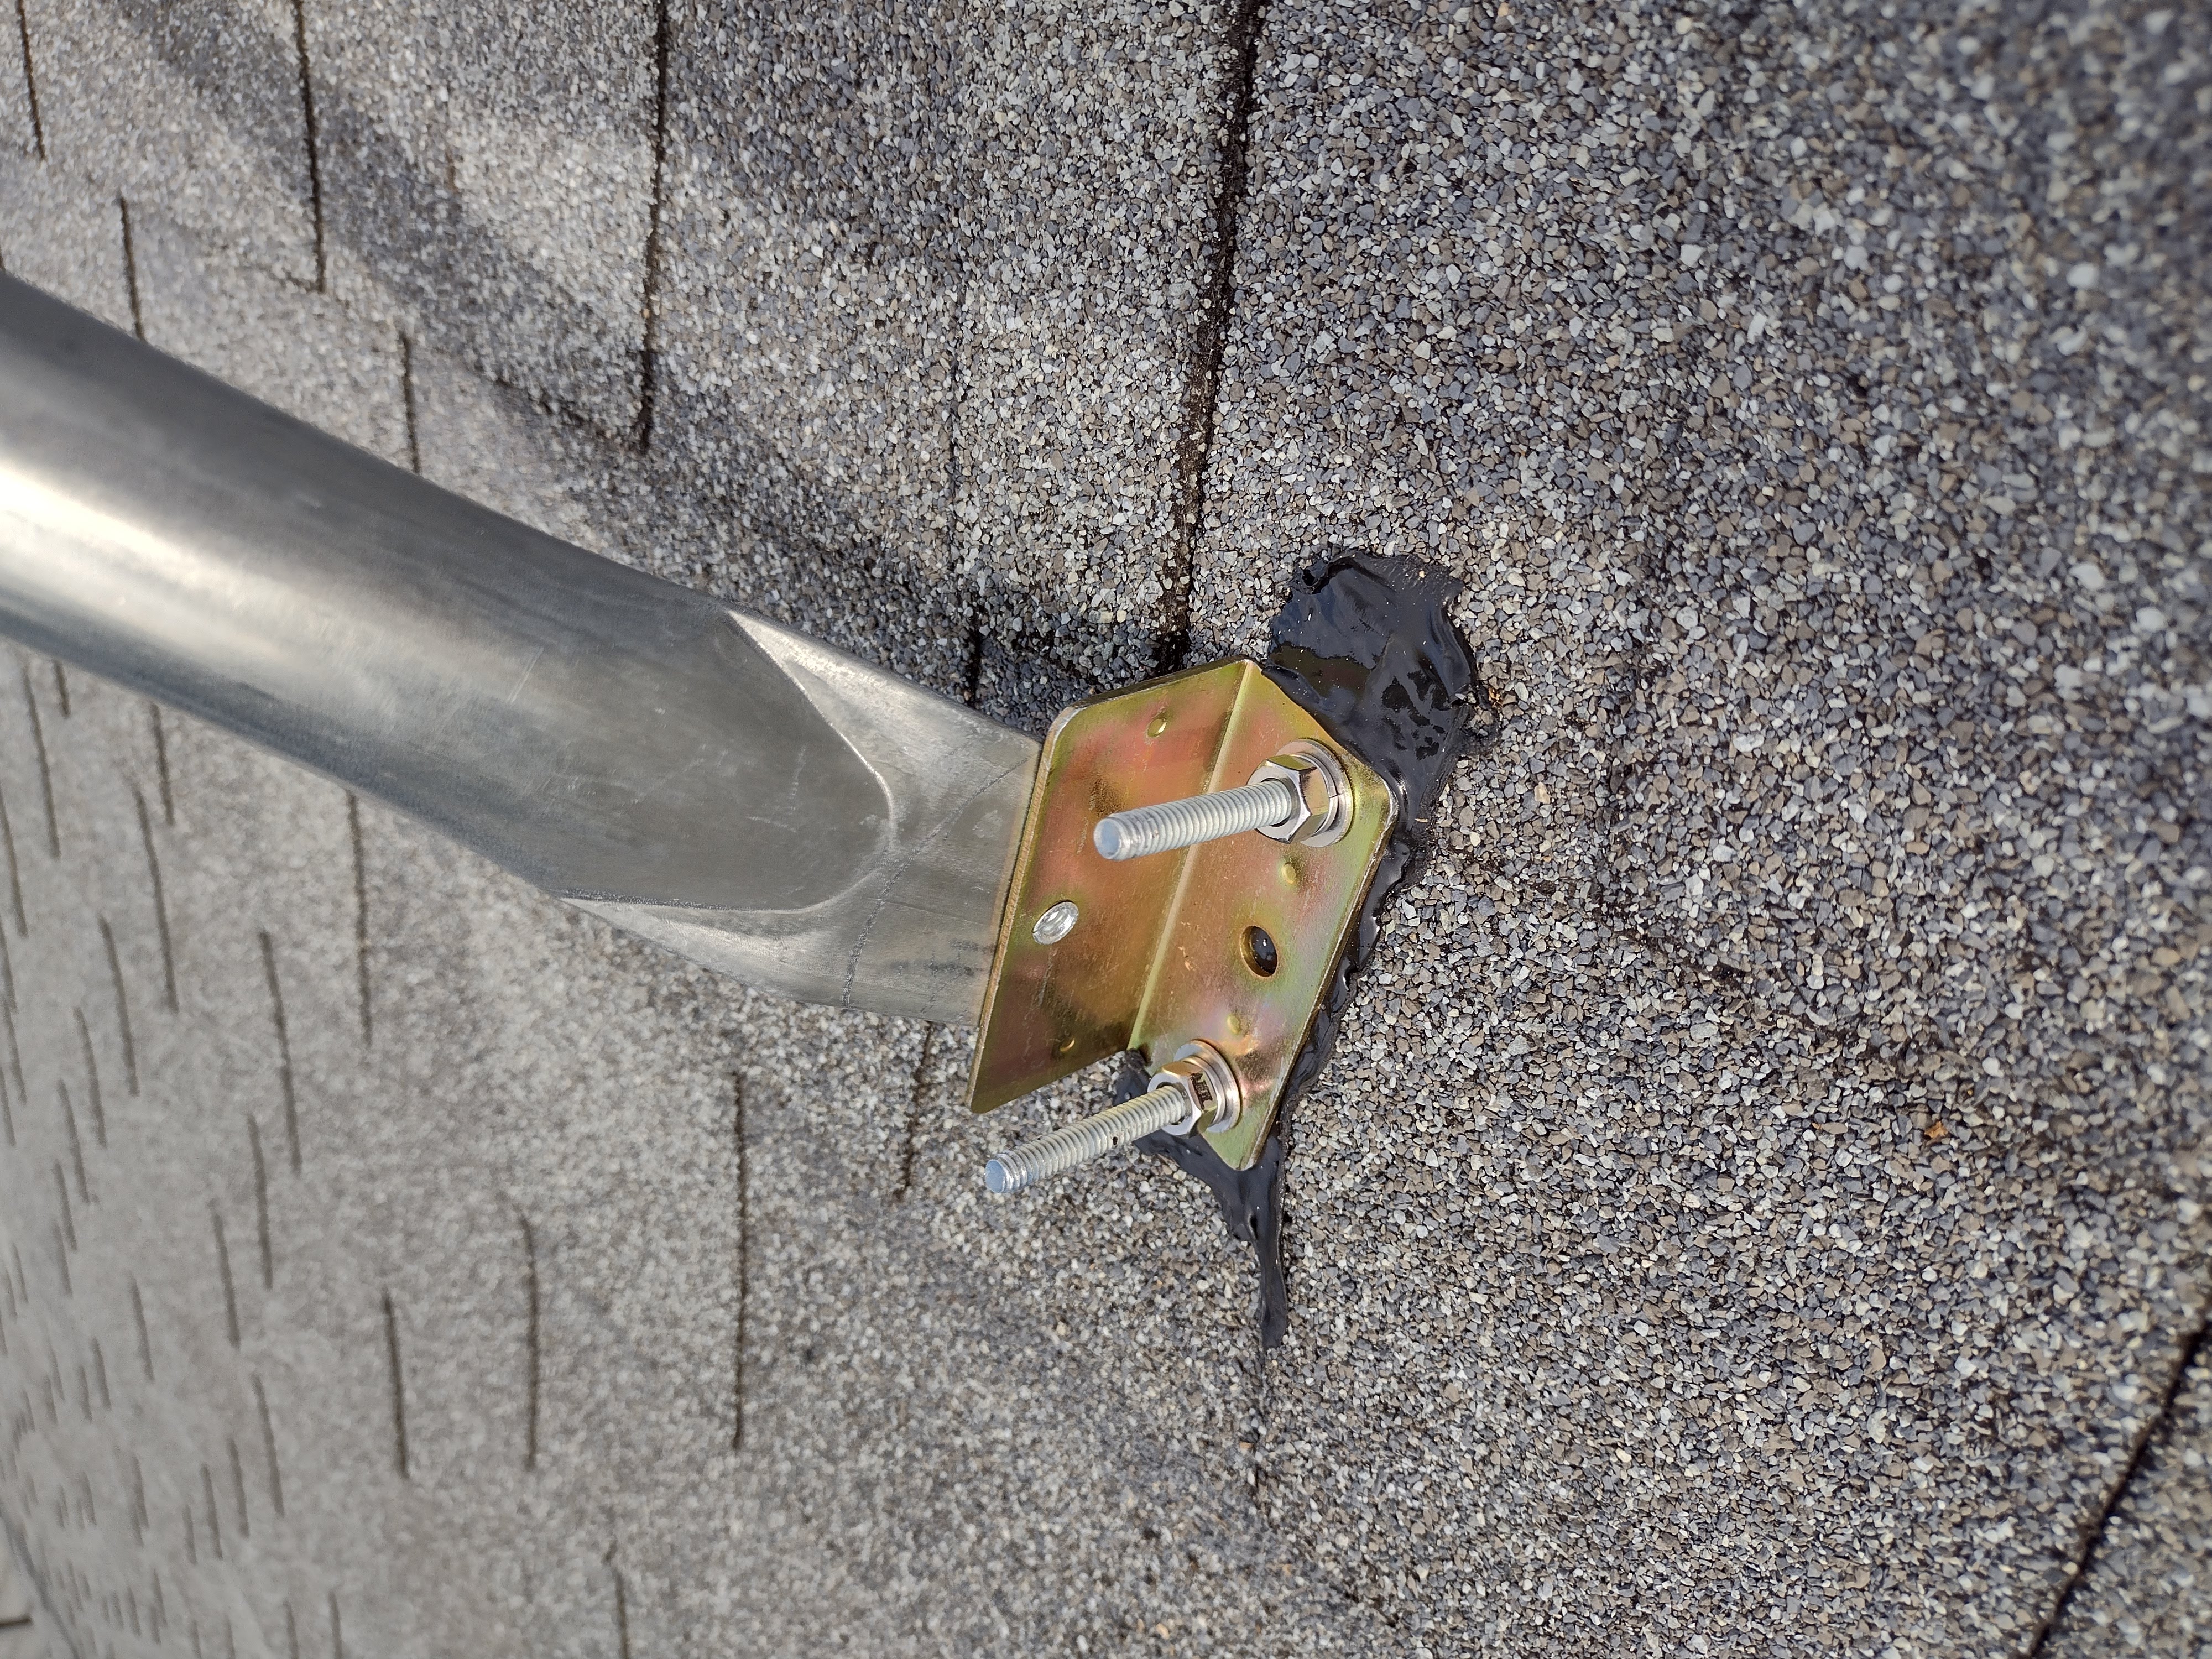
Tripod footing with tar pad to seal the hole in the roof, and a view of the threaded rod after tightening down. Note that I used fender washers to distribute the pressure of the tightened down nut where it meets the wood.
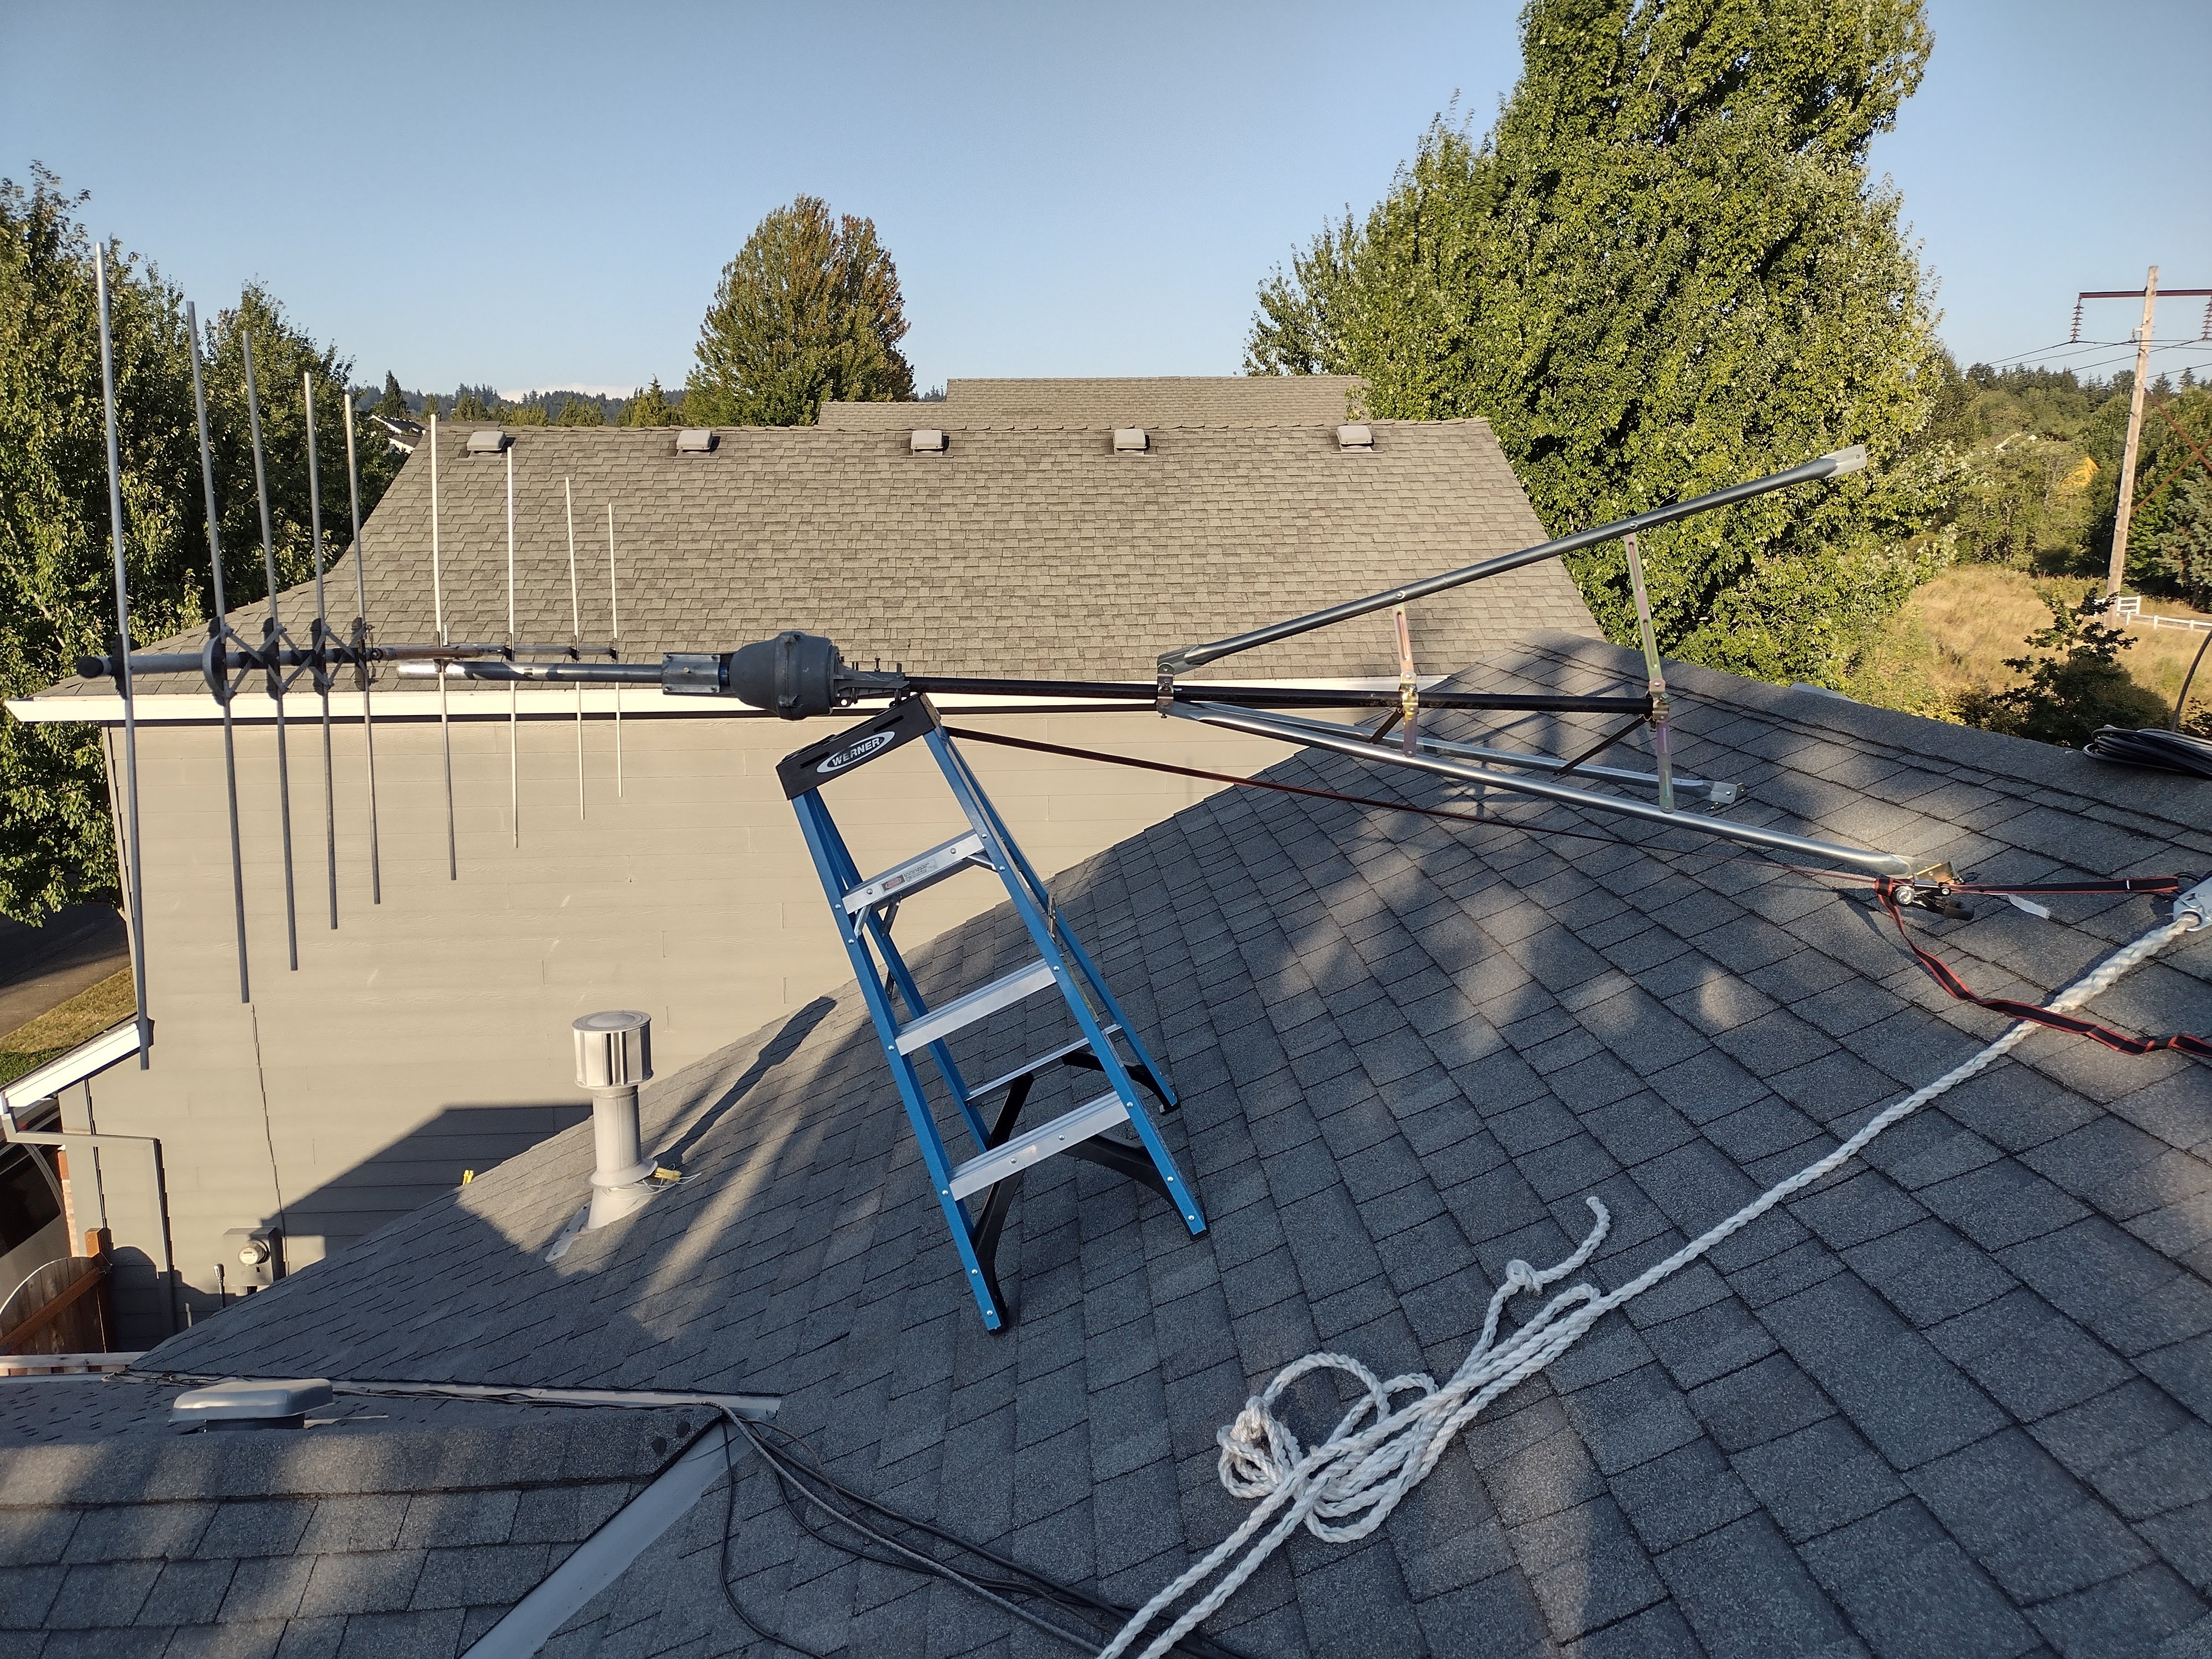
Tripod tilted down for antenna installation and completed installation!

Created 27 August 2022.
end of line.