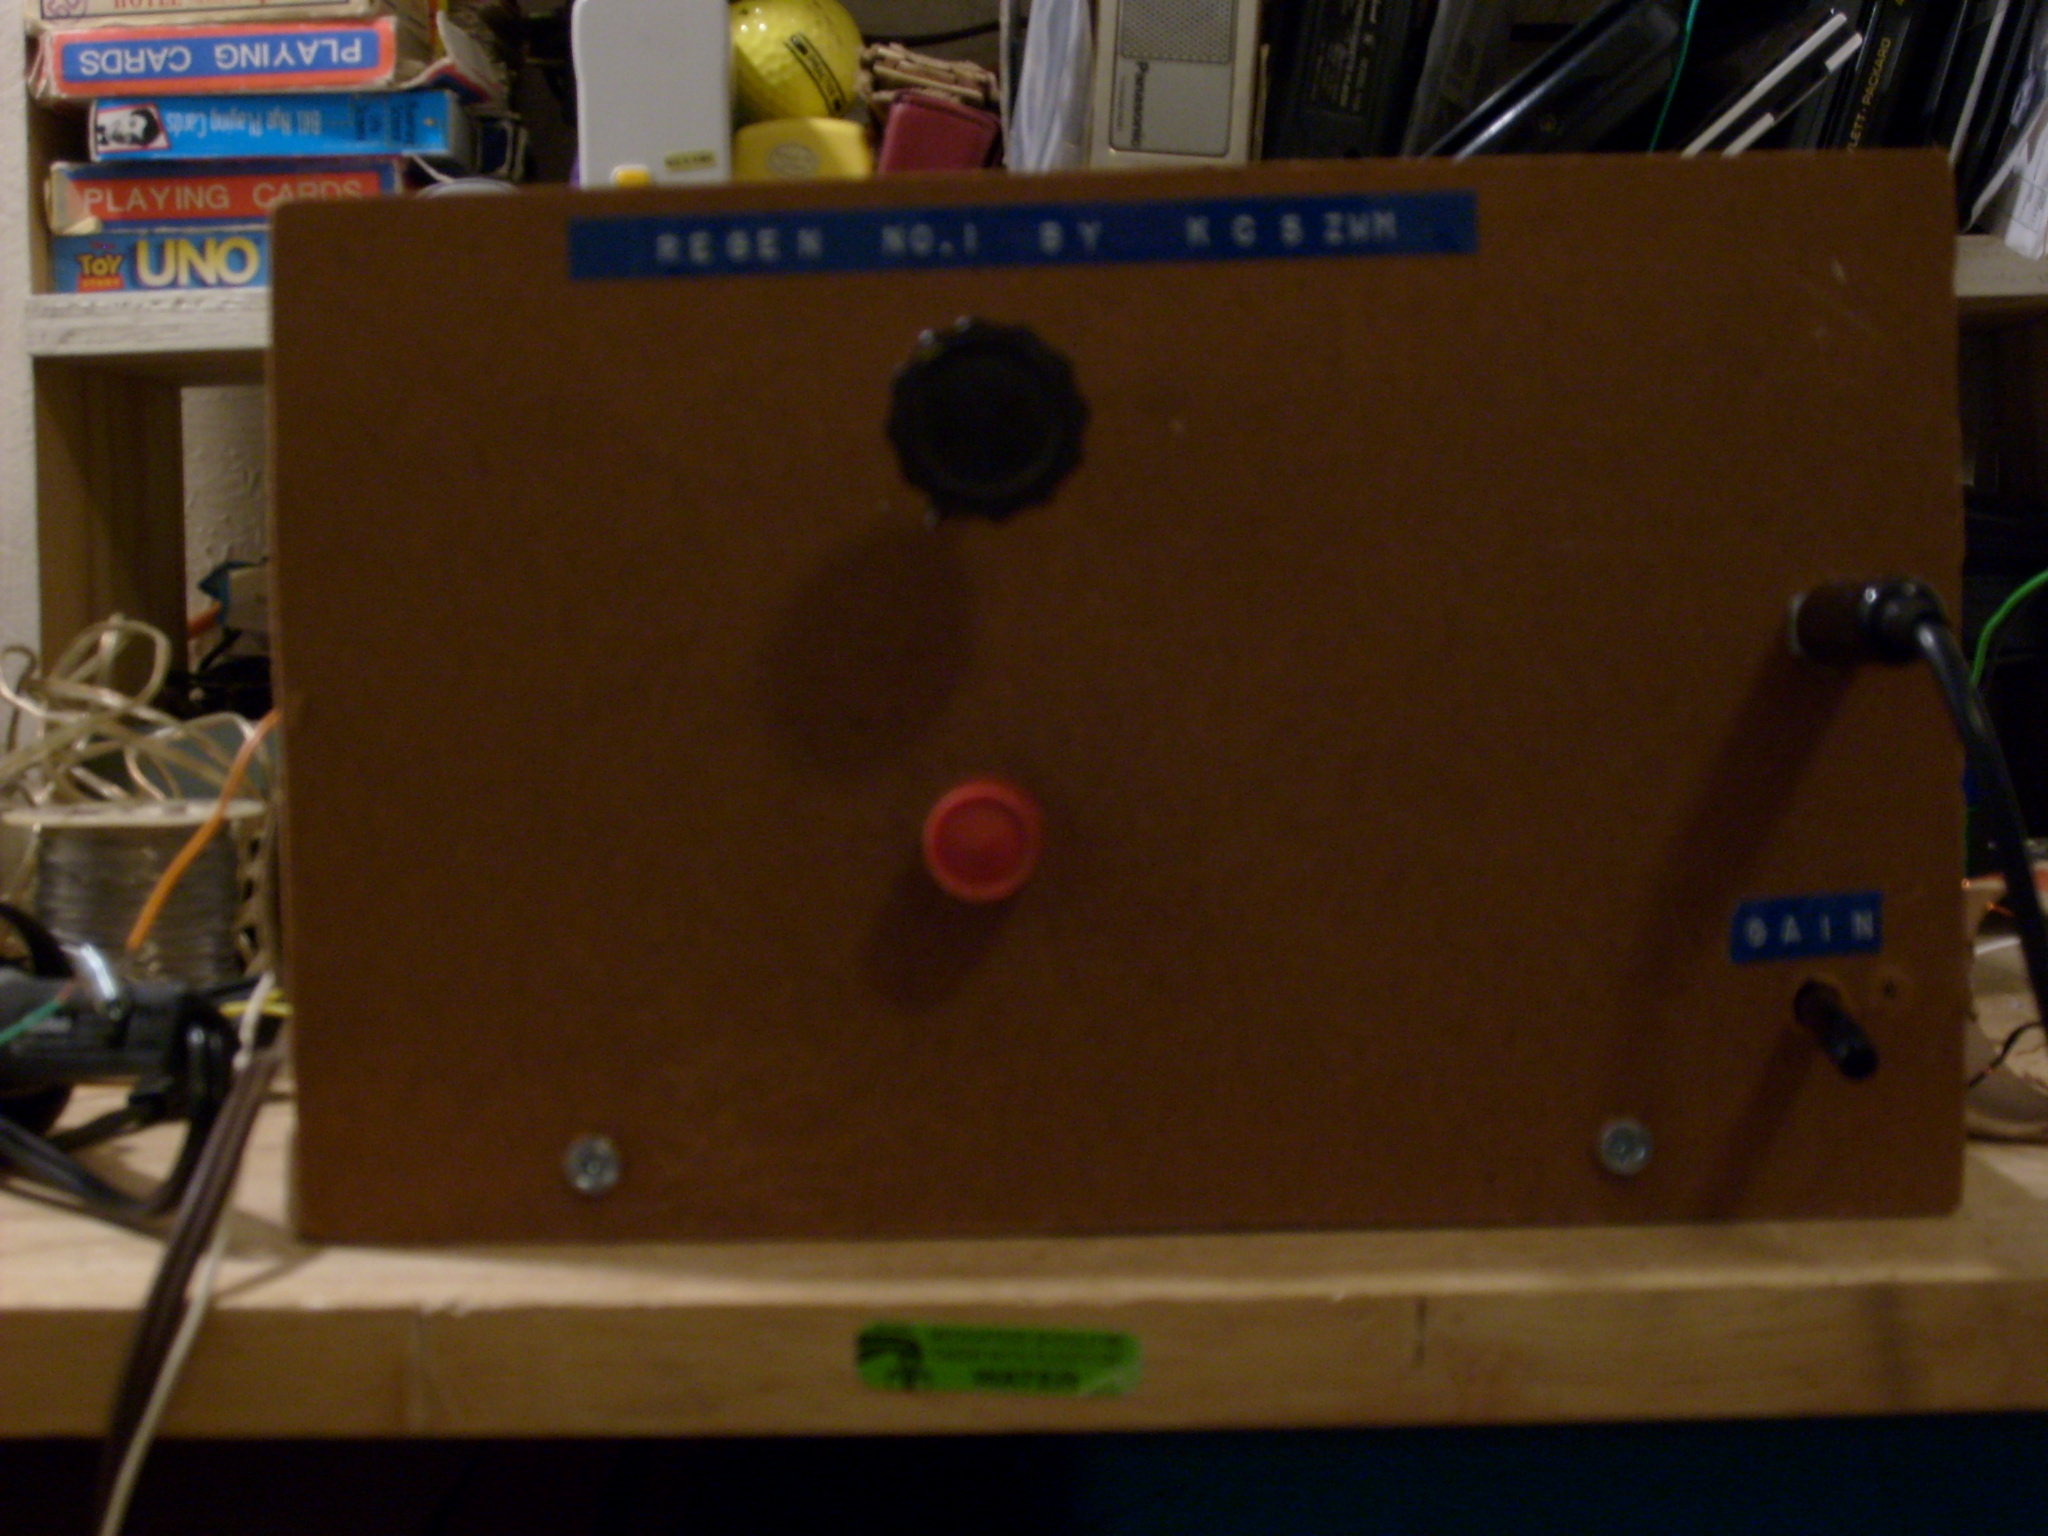
Palmer's Regenerative Receiver No. 1
HomewardHere is the culmination of my first regenerative receiver. I just used a typical Armstrong circuit, which is the introduction of feedback via the 'tickler' coil.
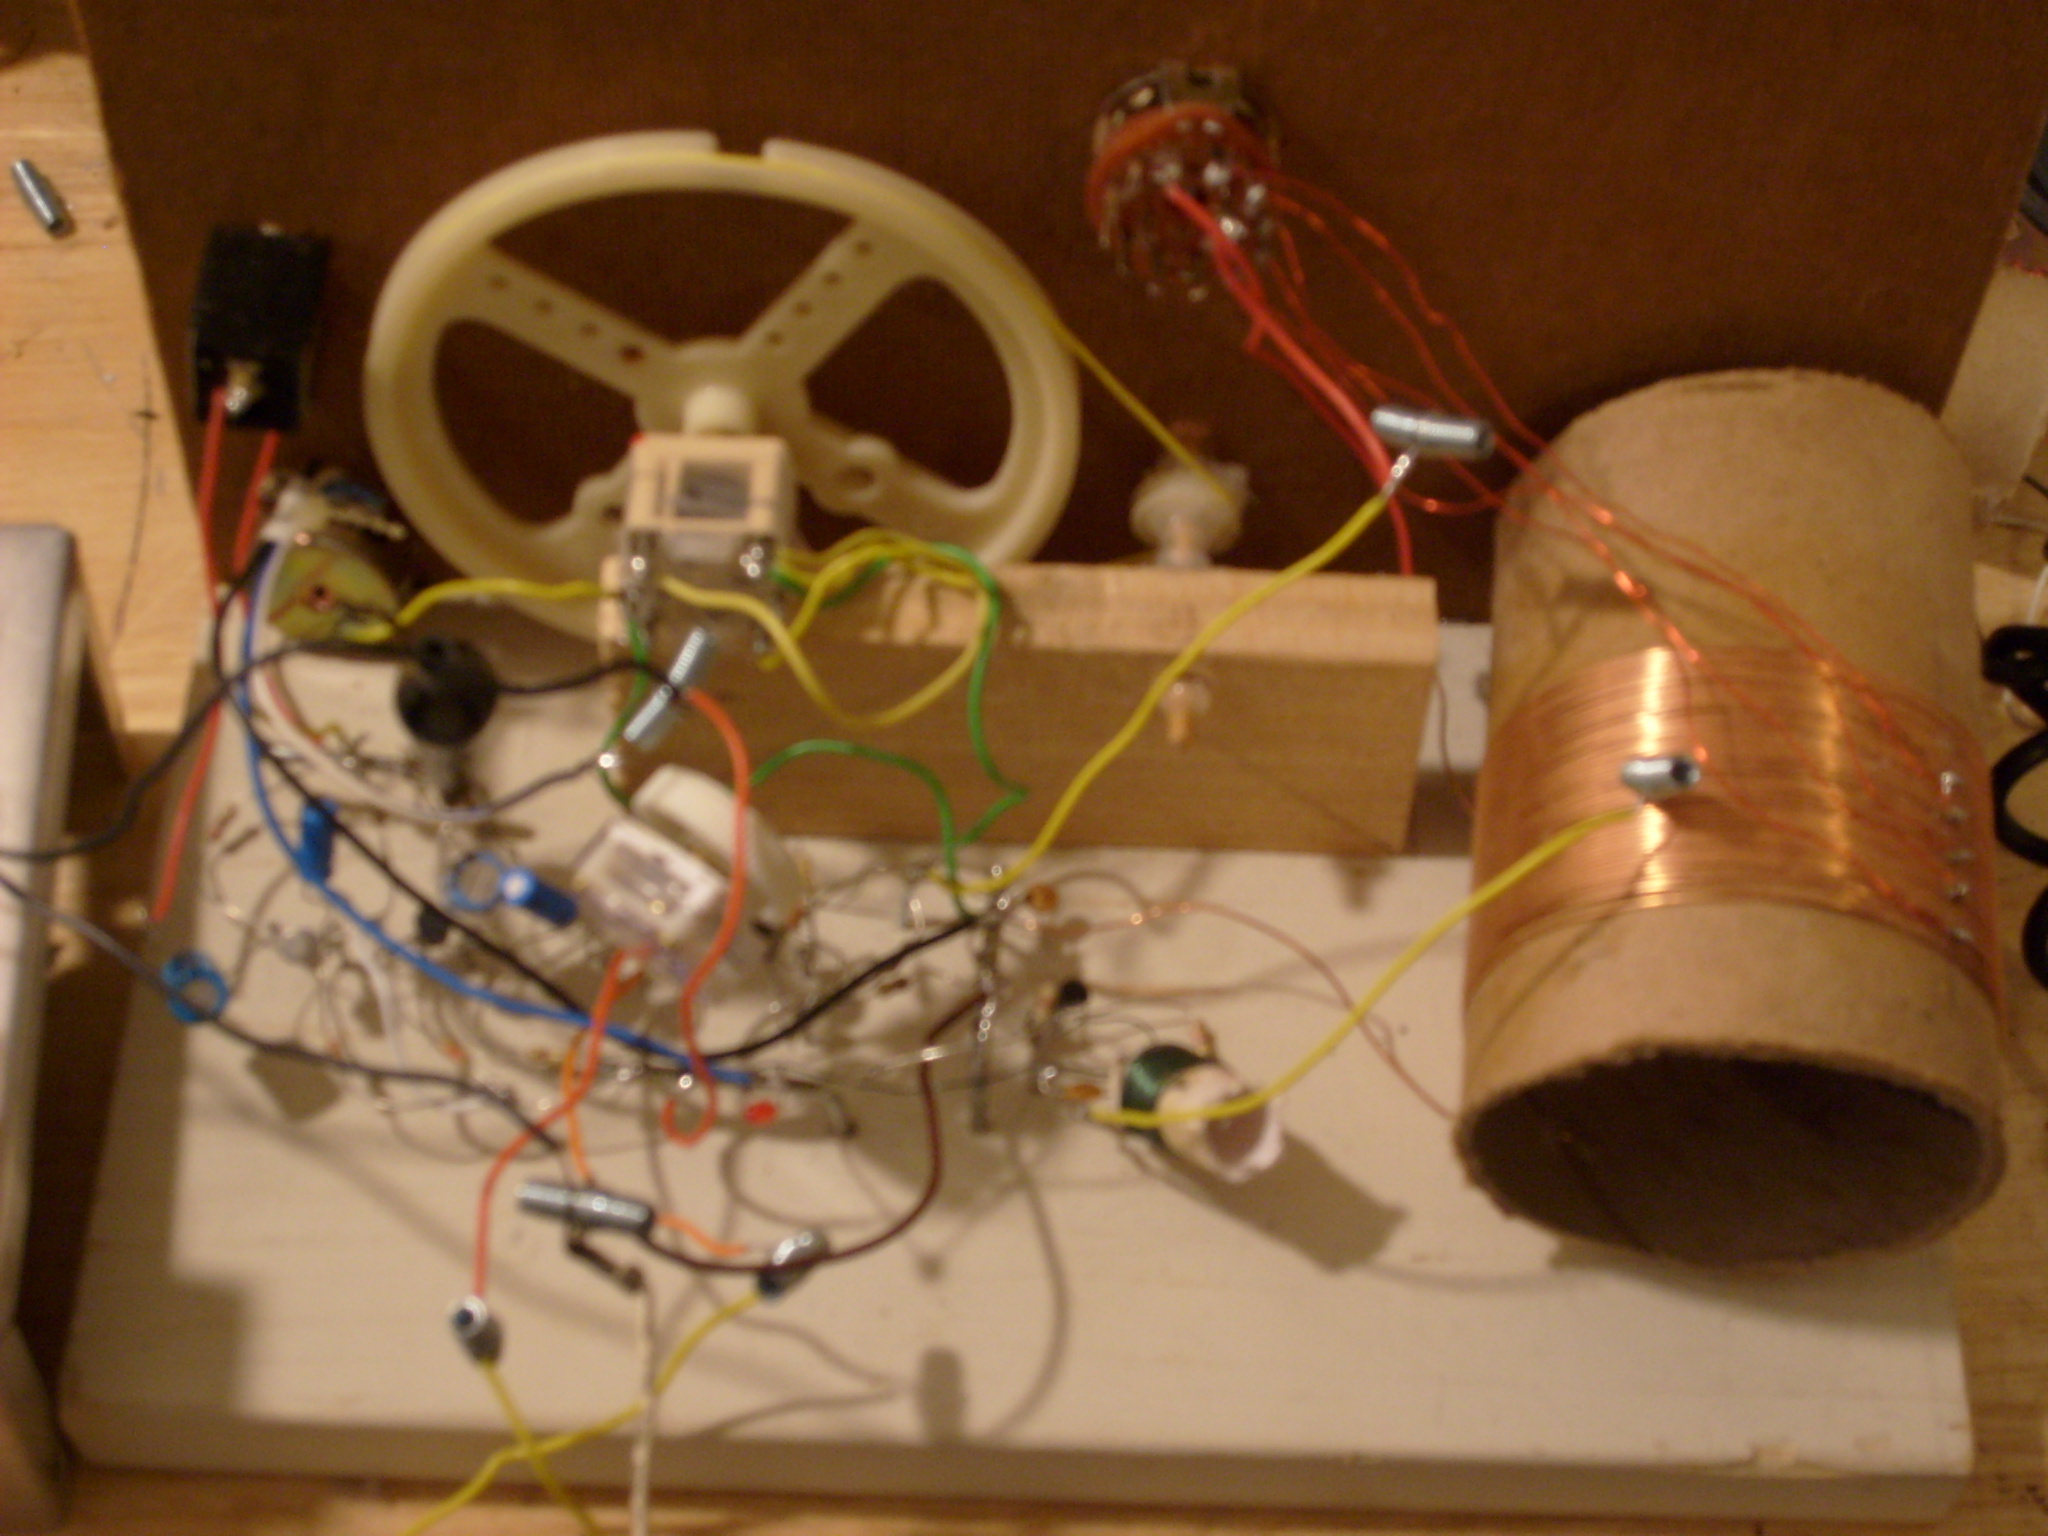
Varying the potentiometer will vary the power to the transistor, which provides a control for the gain. Alternatively, the capacitor connecting between the tickler coil and ground may be varied to adjust regeneration. Or you can simply move the tickler coil nearer or farther from the tank circuit to vary the gain.
The tickler coil need not be much more than a quarter of the turns you wind for the main inductor, and a 10-60pF variable out to do for its regeneration control.
The resistor and capacitor connected in series with the base serves as the venerable "gride leak" detector, providing the transistor enough bias to detect signals. The 10 ohm emitter resistance helps increase the input impedance to the transistor.

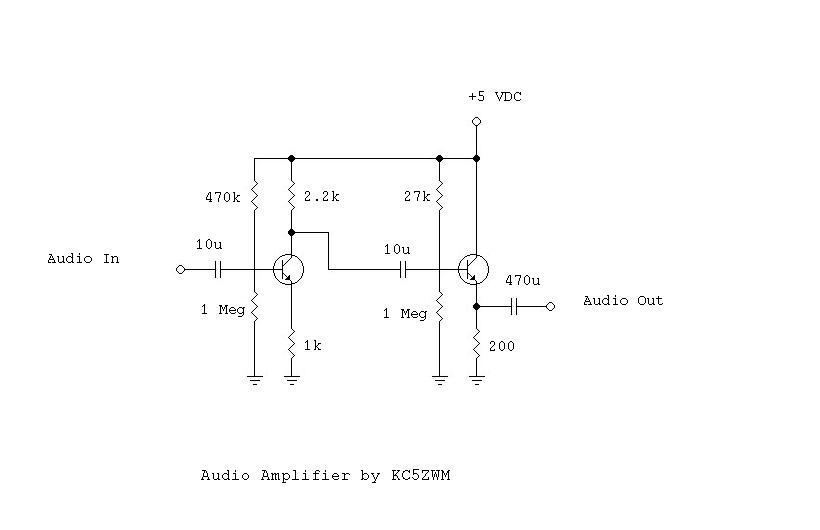
The receiver can be coupled to a RF amplifier and audio amplifier, which is what I did in my actual construction. I used a simple 1-stage RF Amplifier and then a 2-stage audio amplifier that was capable of driving low-impendance headphones or loudspeakers. Note that if you put a capacitor across the 1k resistor in that audio amplifier, you can greatly increase its gain, if need be. If you don't want to use an amplifier, high impedance headphones, such as the ceramic earpieces you can get from Radio Shack, will work nicely as well.
Overall the performance is good. Careful adjustment of the feedback coil and gain control yield selective tuning and enough sensitivity to make stations quite loud. Reception of amateur radio stations is even possible on occasion. So far I've received WWV, Radio Habana, the Voice of Russia, WLO, and WWCR amongst many other stations.
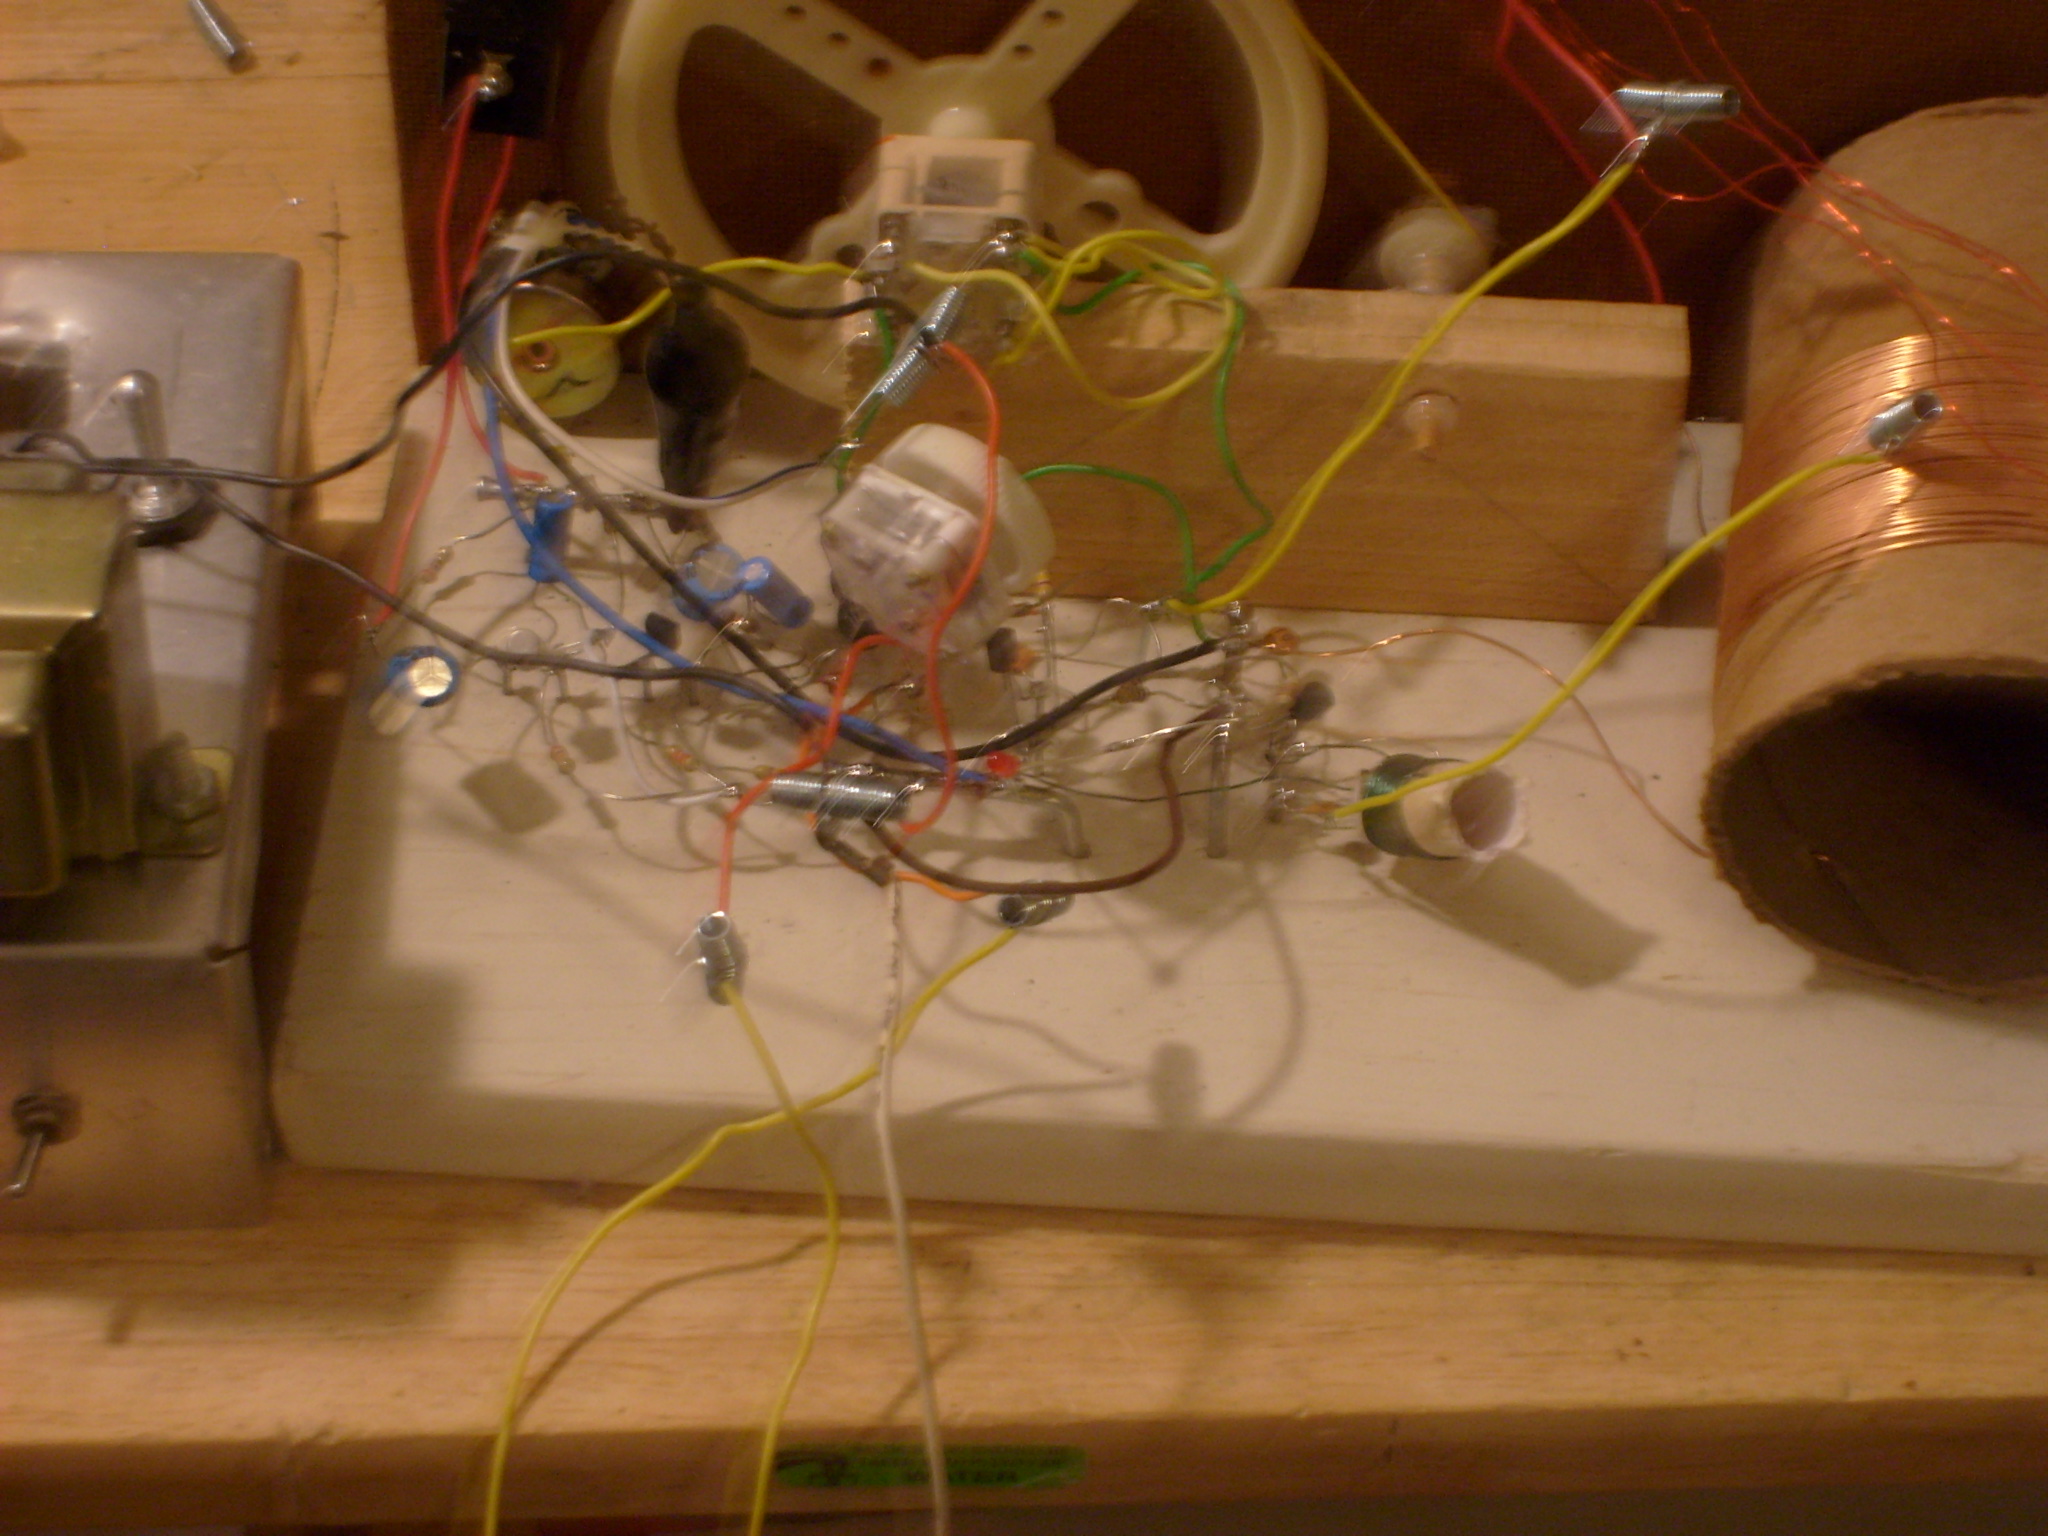
Here are some views of the completed project. I used simple point-to-point construction on a wooden base, using nails for soldering posts. Not to shabby, I think.