I have had a couple of requests
asking how I set-up the HamAlyzer software, so I thought the easiest
way was to post a couple of pictures. I hope it is of help!
To use the software and graph your audio you need to have VAC enabled.
However you need to have the input as your mic input rather than
Virtual audio cable 1. This then captures your mic, output can be
virtual audio cable 2 - which is then used as a feed to the HamAlzyer
software. You can immediately see changes to your audio as you enable
the EQ, pre-amp etc etc. By recording the settings using the HamAlyzer
overlay window, it makes it easy to see differences in settings.
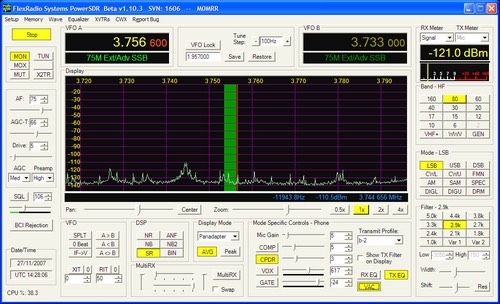
Here is the PowerSDR console - you can see that VAC is enabled
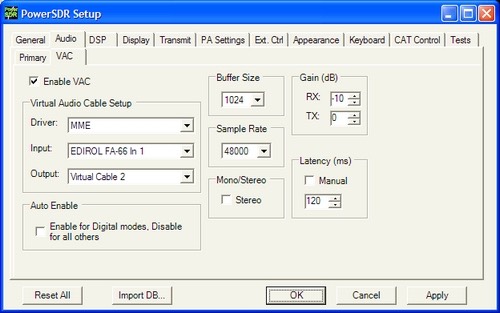
Here you can see the VAC set-up tab, and input is showing the line 1 input from the FA66 soundcard
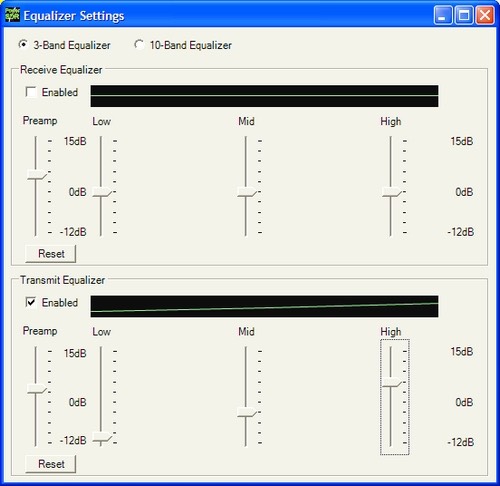
Here is the 3 band EQ - you can vary the controls and immediately see changes in the HamAlyzer spectrum graphs.
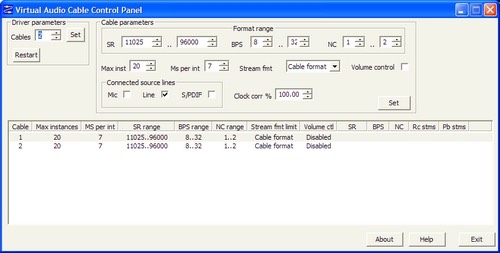
Here you can see the VAC console - I have not enabled VAC in the PowerSDR software
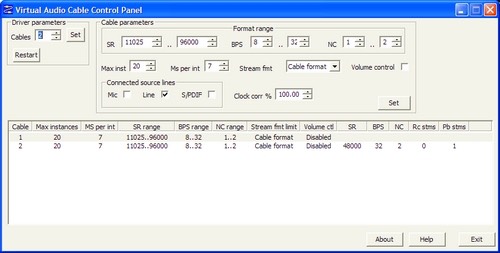
Here you can see the VAC console with VAC enabled in the PowerSDR software as well as the HamAlyzer program running.
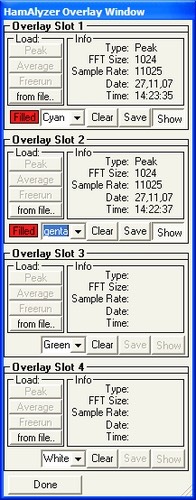
Here is the HamAlyzer overlay window
This
window appears under the main HamAlyzer window - you can see that
Virtual Cable 2 is selected as the source, you can vary the amplitude
and frequency spectrum by selecting different FFT and Sample rate
settings.
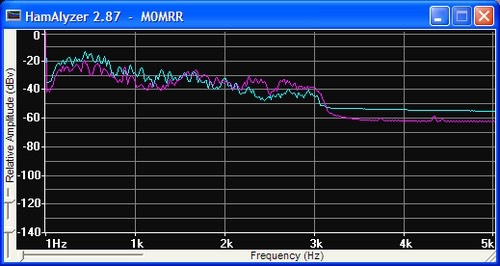
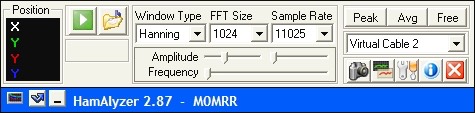
The main HamAlyzer window