I have been planning on trying a "Hamstick Dipole" for some time, and finally got all the bits and pieces together when I had time to put it together (due to COVID-19 house arrest). This is definitely not an original design; they have been used for at least a few of decades.
Hamsticks are designed to be electrically one-quarter wavelength but physically about eight feet long. As an antenna element is shortened with coils it reduces efficiency and bandwidth proportionally for the amount it is phsically shortened. (A bit simplified, but a close enough approximation.) There are three foot long "shorty" hamsticks that are much less efficient than the 8 foot version. For the higher HF bands hamsticks are still fairly efficient. In fact on 10 meters the eight foot hamsticks are barely shortened. A full length 15 meter quarter-wave is about 11 feet, so a hamstick is about 8:11 physical to electrical length, which is about 73% efficient. I find hamsticks have acceptable performance on 20 meters and up, but as you go down in frequency they lose so much efficiency that I just don't use them. If you need an HF rubber ducky, hamsticks are okay, but generally do not perform as well and as a full length quarter wave.
The hamsticks are adjusted for frequency by moving the whips in and out, held by setscrews. You do have to be aware of how far the stinger is inserted into the lower section. In generalshortening an antenna raises the frequency, but if the steel stinger is inserted enough to enter the loading coil it will increase the inductance and lower the frequency. So, shortening the antenna may lower the frequncy until it hits a minimum and then starts back up. you need to trim the stinger to be able to adjust the frequency higher. I usually work digital modes, so I rarely tune for the top sections of the band, but I do have some stingers cut to allow tuning high.
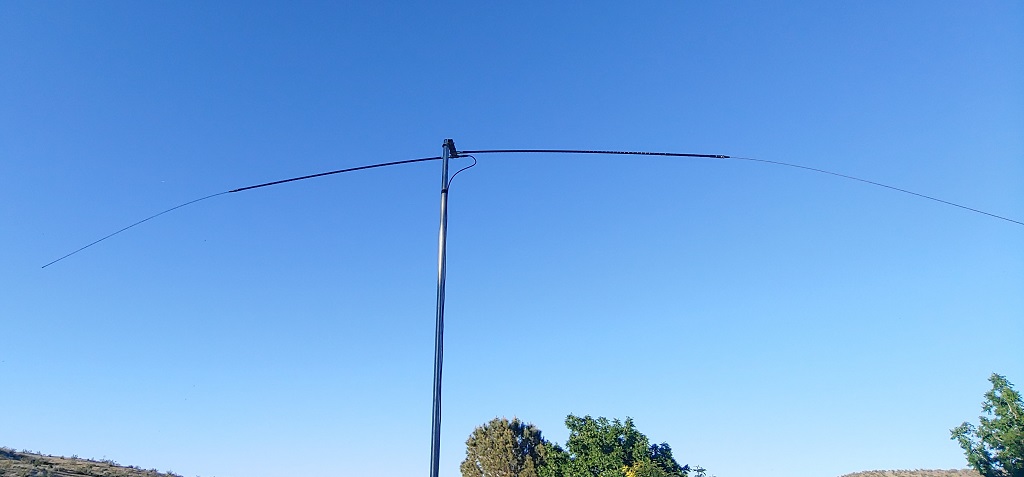
I got this antenna adjusted for a minimum SWR at 28.4 MHz of 1.16:1. SWR at 28.3 was 1.20:1 and at 28.5 was 1.21:1. The 1.5:1 points were 28.14 and 28.77, for 630 KHz bandwidth. For the Technician sub-band this is very usable without a tuner. During a band opening I worked a station near San Antonio, Texas, with 59 reports in both directions, using my HTX-10 at 25 Watts P-P. With a pair of 15 meter hamsticks the bandwidth was about 460 KHz and with 20 meter about 320, both with a minimum SWR of 1.15:1.
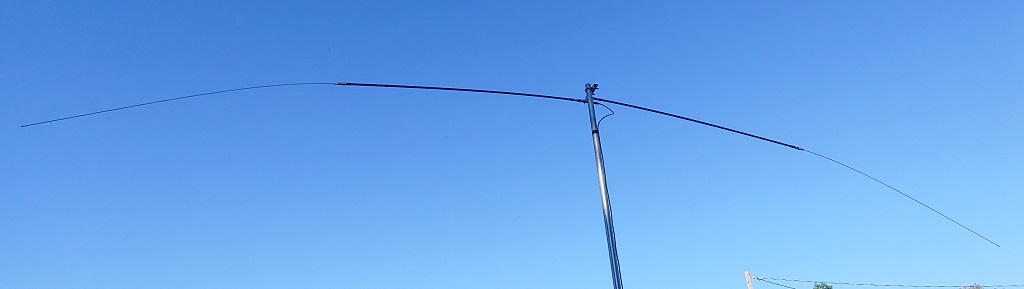
I used a ten foot piece of 1" EMT conduit and an antenna tripod for support during testing. I will normally be using these with fiberglass mast sections to get the antenna about 20 feet off the ground.
In general I have gotten better results with a balun fed dipole, but this antenna does not make it easy to use one. I do usually either wind a coax choke, or use 5 or 6 ferrite beads on the coax to minimize RF current on the shield.
This antenna mount also makes experimentation very easy. I have used them with the hamsticks arranged vertically. I have seen another ham use one that had a normal 8 foot hamstick on the top (and connected to the center conductor) and a "shorty" three foot hamstick on the bottom. I have also seen varients with the U-bolt in the middle and a hamstick on each side of the mast. Feel free to play, since the angle stock is fairly cheap and you can drill multiple sets of holes. If you don't like one result, flip to the other plane of the angle stock and try again!
On the subject of experimenting, while these are usually referred to as "hamstick" dipoles, you can actully use any 3/8"-24 antennas. So you can use 2 meter, 220, dual band, etc., and get the same kind of results. Using one of these with high gain 2 meter antennas is a very easy way to get on SSB, which is usually horizontally polarized. You can also use one of the 17 foot telescopeing antennas for a full length dipole on bands from 20 meters and shorter.
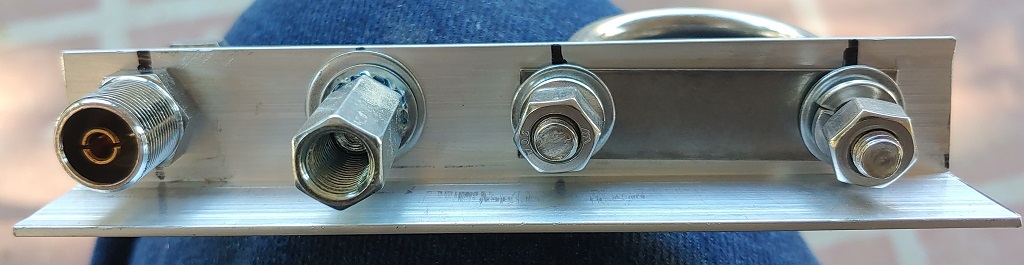
There are a variety of popular antennas for portable use, but I like how easy it is to set up and take down this system. Since the hamsticks have standard 3/8"-24 antenna hardware it is easy to find the mounting fitting that goes in a 1/2" hole and has an SO-238 connector on the other end. The side connected to the coax center conductor goes on this fitting and the side connected to the coax shield simply needs a bolt, barrel nut, and some washers. The coax shield is electrically connected to the mount and the center conductor side is isolated from the mount. Hopefully this will be made clear in the photos below.
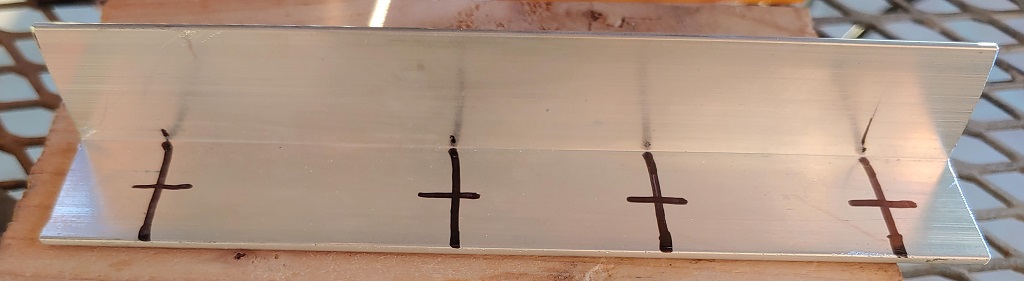
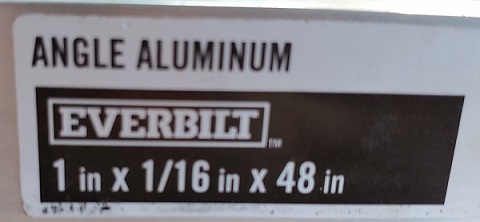
For the main mounting bracket I used 1" by 1" by 1/8" (or 1/16") thick aluminum angle stock. It is quite strong, but very easy to work with and is a great conductor. I use a 6" piece of angle stock, and then drill holes for the mounting U-bolt and antenna hardware.
I space the U-bolt about 5/8" from the end of the angle stock. I mark every thing off before cutting the angle stock so I can test the spacing and make sure things are not too bunched up. You want enough clearance between pieces to be able to tighten the mount on themast, and connect the PL-259. I put the shield size mounting about an inch and a quarter (1.25") from the U-bolt hole, and the center conductor side another inch and a quarter from that. This leaves about 5/8" to 3/4" inch to the end. For the 5/16" U-bolt I use an 11/32" drill, for the 3/8"-24 bolt a 13/32" drill, and a 1/2" drill for the coax connector. These sizes give a bit of clearance so things go together easily. The coax adapter you use may need a different size, so check the instructions for the one you actually use.
I use a jig saw with a medium metal cutting blade (24 TPI) to cut the angle stock. You could also use a hack saw, since the aluminum cuts easily. The holes are also easy to drill, and I use a 1/8" pilot drill to verify the spacing.
All in all, the fabrication is pretty easy with fairly modest tools. No need for a full machine shop, or machinist.
Once the holes are drilled it is quite easy to assemble the bits and pieces. The regular bolt doesn't require a lot of torque. Basically tightening down on the lock washer is plenty. The coax adapter has a plastic washer that electrically isolates the hamstick and center conductor from the mounting bracket and rest of the antenna. It is very important that this plastic washer be installed correctly and not over-tightened. I put the adapter in just finger tight and do continuity checks. The center conductor on the SO-238 should have continuity to the hamstick connector on the other side, but not to any other part of the antenna. The sheild threads of the SO-238 should have continuity to the mounting bracket, but not to the center conductor. After the initial check I tighten the adapter and then repeat the contiuity check.
The hamstick that connects to the coax adapter should be pointed out the side of the mounting bracket that does not have the other plane of aluminum. This prevents any capacitive couple to the bracket. I doubt you would lose much power, but I have seen some wonky SWR readings. The other side is electrically connected to the bracket, and shield side of the coax.
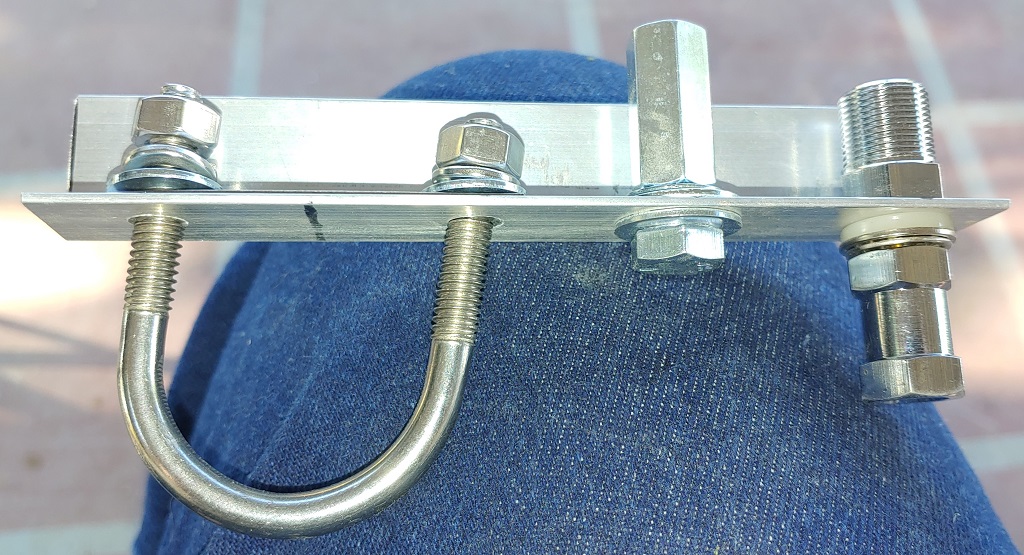
I put the coax adapter at the outside, but it would probably work just as well if the other hamstick was on the outside. I prefer to use flat washers to spread the load a bit better on the aluminum, and lock washers to hold things together without a lot of torque. The steel bar that comes with the U-bolt keeps the angle stock from bending if you do torque it onto the mast, but it really doesn't take much torque to hold.
It is much easier to visualize with the hamsticks installed. I have seen people use a lock washer at this connection, but for a portable antenna that wll be taken down for transport it never seemed needed. Just a got finger-tight connection and the weight of the elements keep them locked in place pretty well.
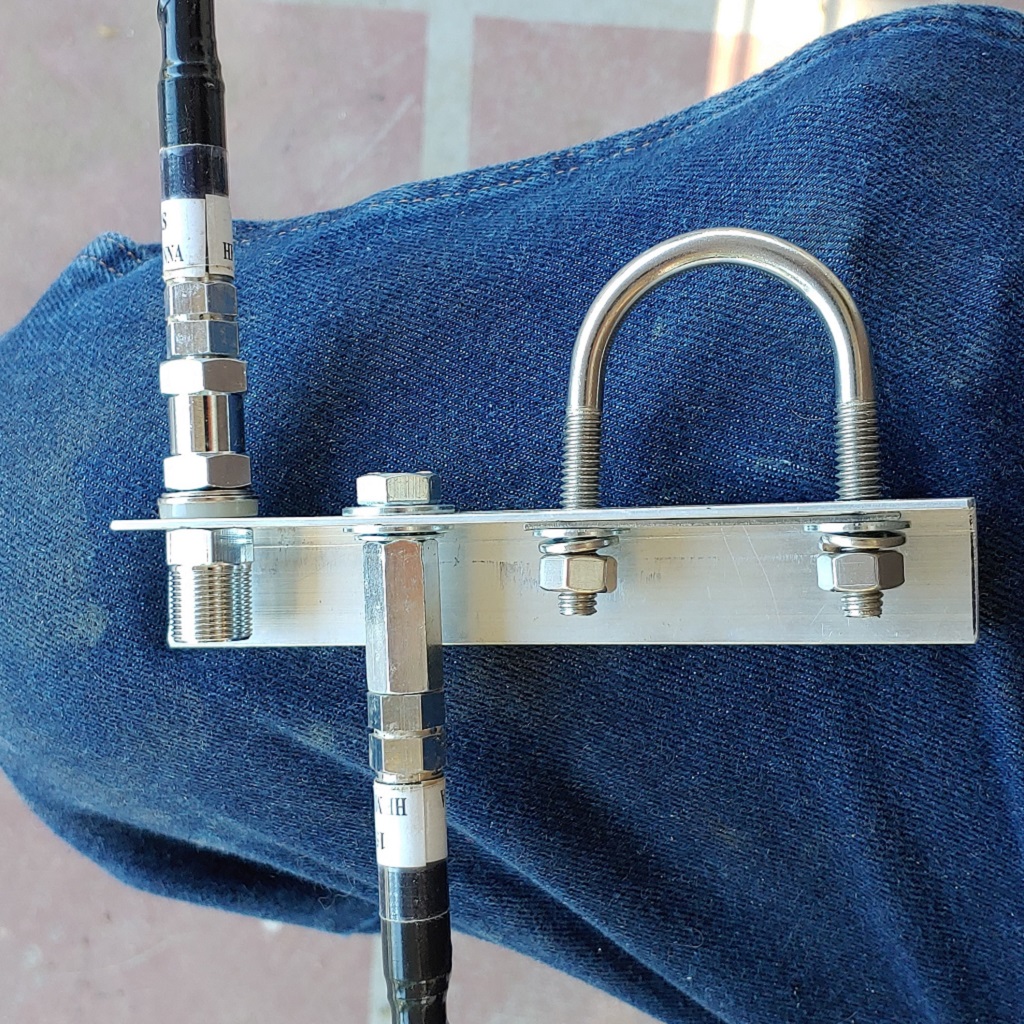
The size of mast that this antenna works with is determined by the size of the U-bolt. With this 5/16" by 1-1/2" U-bold it will mount easily on 1" to 1-1/4" masts. This includes segments of 1-1/2" mast with a swaged end. If you wnat to use a larger mast, simply use a larger U-bolt and lengthen the bracket to fit.
One of the big advantages to a hamstick dipole is how easily it takes down for transport and storage. The hamsticks have a four foot long coil section and a four foot long whip. By taking one hamstick out of the socket and separating both whips from the coils the whole antenna is just over four feet long and can be zip-tied or velcroed together. When used with four-foot sections of fiberglass mast, the whole antenna system fits easily in the truck of most cars and can be set up by one person.

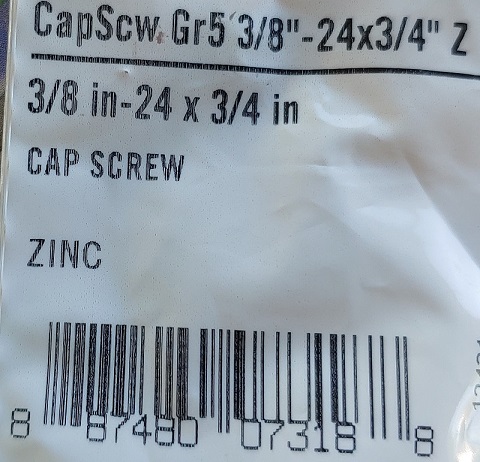
Some of the parts can be found at your local home center, but some are a bit harder to find. 3/8"-24 is common for antennas, but most hardware you find is 3/8"-16. Of course for washers it doesn't matter.
Published 05/02/2020, updated 02/08/2026