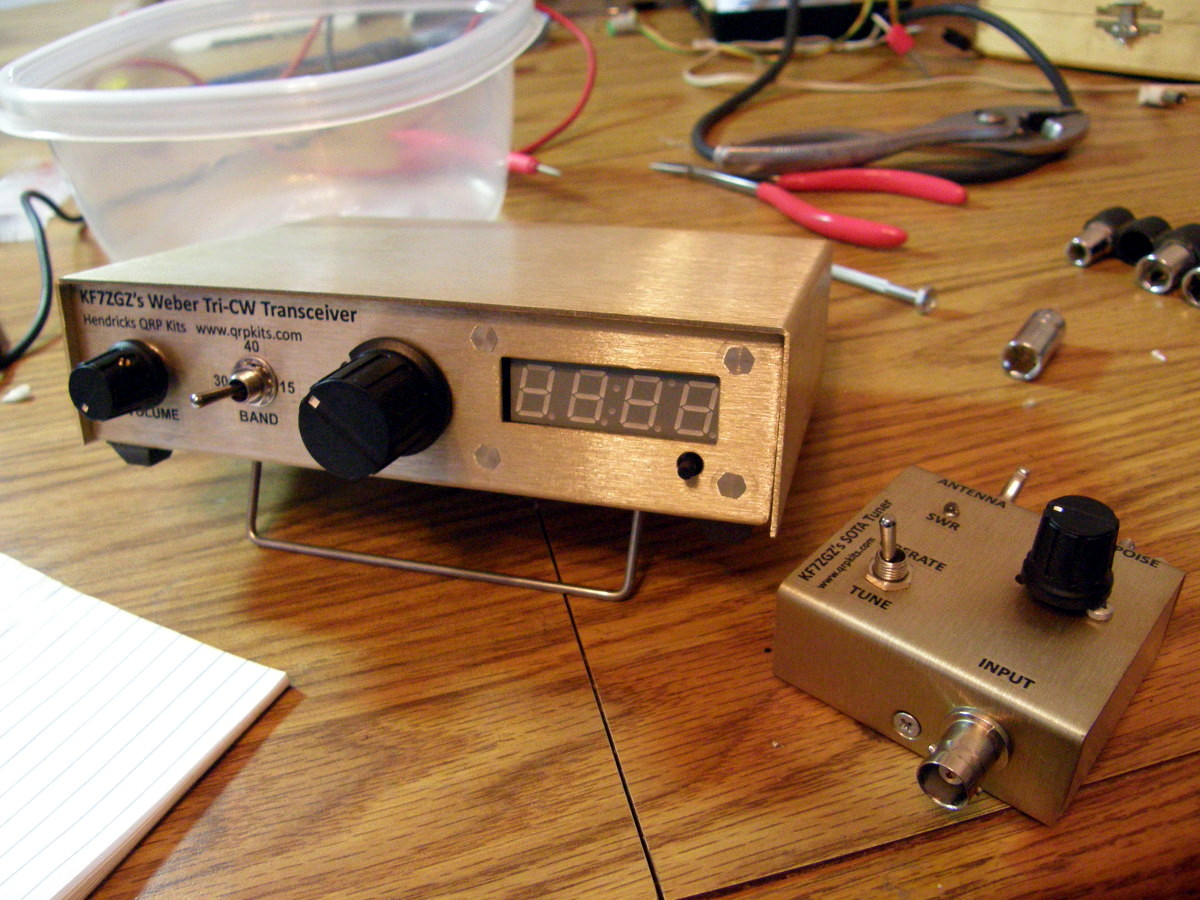
My first radio kit! The Weber is a tri-band CW transceiver that can be constructed for 3 bands with your choice among 6 - 15,17,20,30,40,60 and 80 meters. For this build I chose 15,30 and 40 meters both for ease of portable antenna construction and in a hope my 5 watts QRP does not get squashed by everyone running a big linear. Next to it is the SOTA Tuner, a capacitance tuner with a simple SWR meter built in. Should help fine tune the long wire antennas I plan on using with the Weber. I got both from Pacific Antenna, formerly Hendrick's QRP. QRPKITS.COM
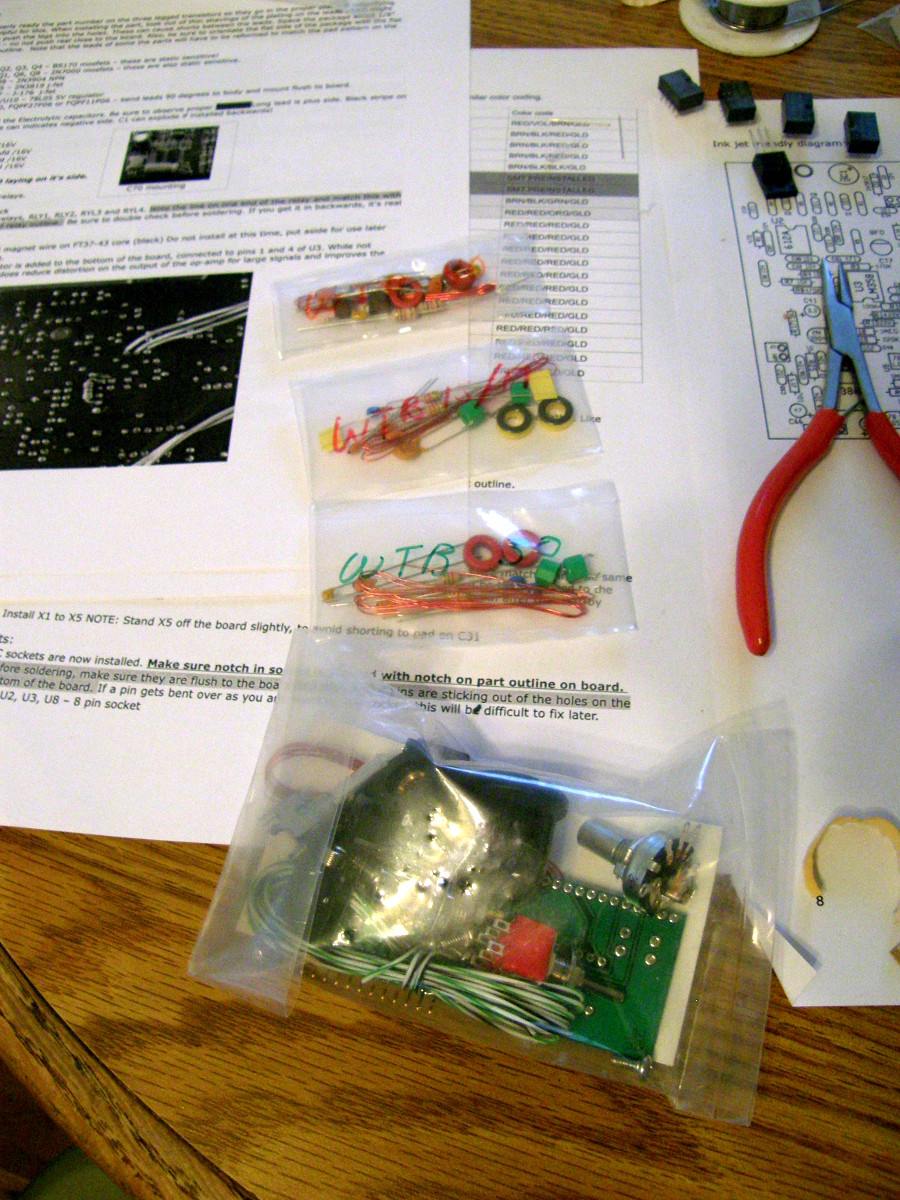
A quick shot of the parts neatly separated by band in the bags. I made sure to read through the manual a few time to orient myself with the order of things before getting started. The manual is very through and well thought out. Straight forward assembly and operation instructions on a 42 page manual. It might be a little ambitious for a first kit, but I hadn't done much radio related assembly up to this point and I got through it just fine.
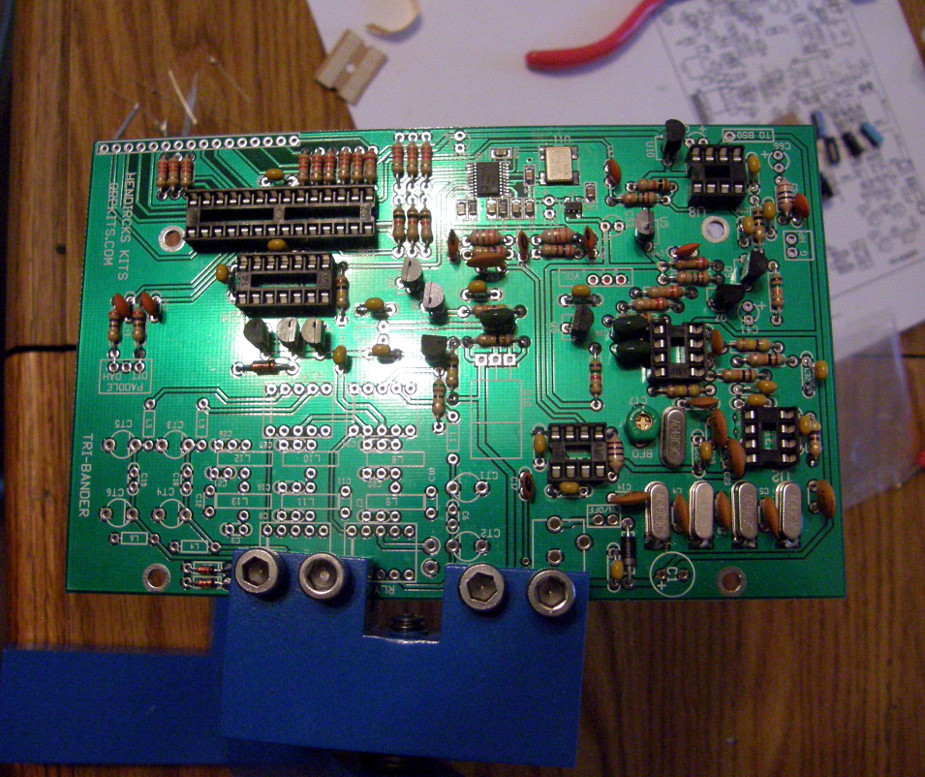
Very pleased with the quality of the PCB and its layout. Through-plated holes and clear silkscreening made this very enjoyable to put together. Everything went together very smoothly except for two wires on the band selector switch that got put in backwards. Stare at the layout picture for the switch for a long time, and make sure you know which direction on the paper represents the top of the switch!
During the testing and adjustment phase whereby you insert the ICs one by one and complete the appropriate tasks there is one step where after inserting the SA162A chips into U1 and U2 you power on the unit and begin the BFO adjustment. Adjustment is accomplished by using the keyer paddle as an input control to adjust the BFO trimmer to peak signal. You can find the peak either by ear or with an oscilloscope; and it can take longer than you think. I started by tapping the Dot and Dash paddles nearly 20 times in both directions, and could discern no change either by ear or with the oscilloscope in the feint tone signal.
Out of frustration I ended up holding the Dash paddle for about 50 clicks, and what do you know- I started to hear a tone change! A few clicks later and the tone had gotten loud enough to hurt with the headphones on. I confirmed my findings with the oscilloscope, but once the tone finally starts to change its volume changes a lot with each step. Just tuning the trimmer to the highest volume of tone can be very accurate by ear if you don't have a scope to check it.
Now that the BFO is adjusted for maximum amplitude the trimmer capacitors for each band are adjusted to peak. Switch to the lowest band and adjust each capacitor for maximum tone.The capacitors are very peaky so you will know when you have it right. The receiver is quite deaf without these caps properly peaked, but it is easy to do.
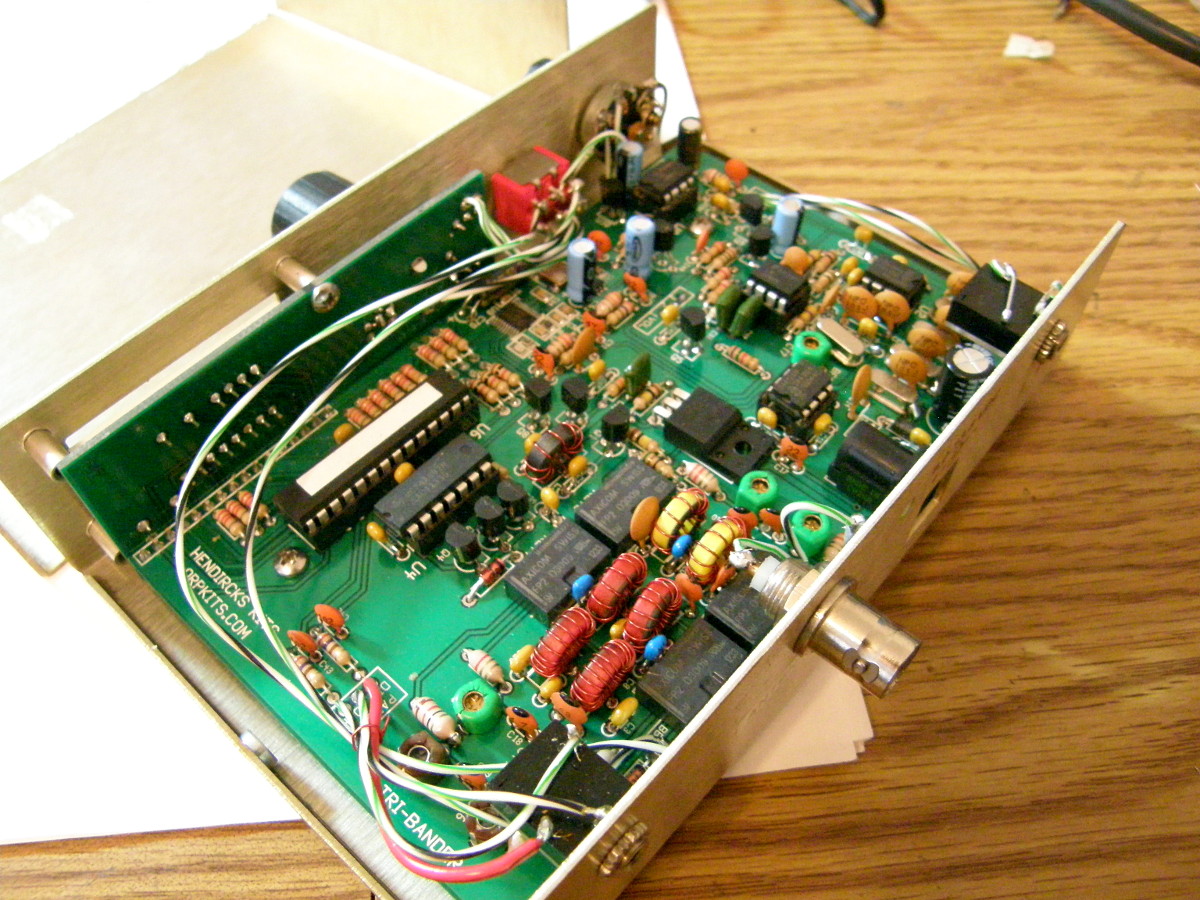
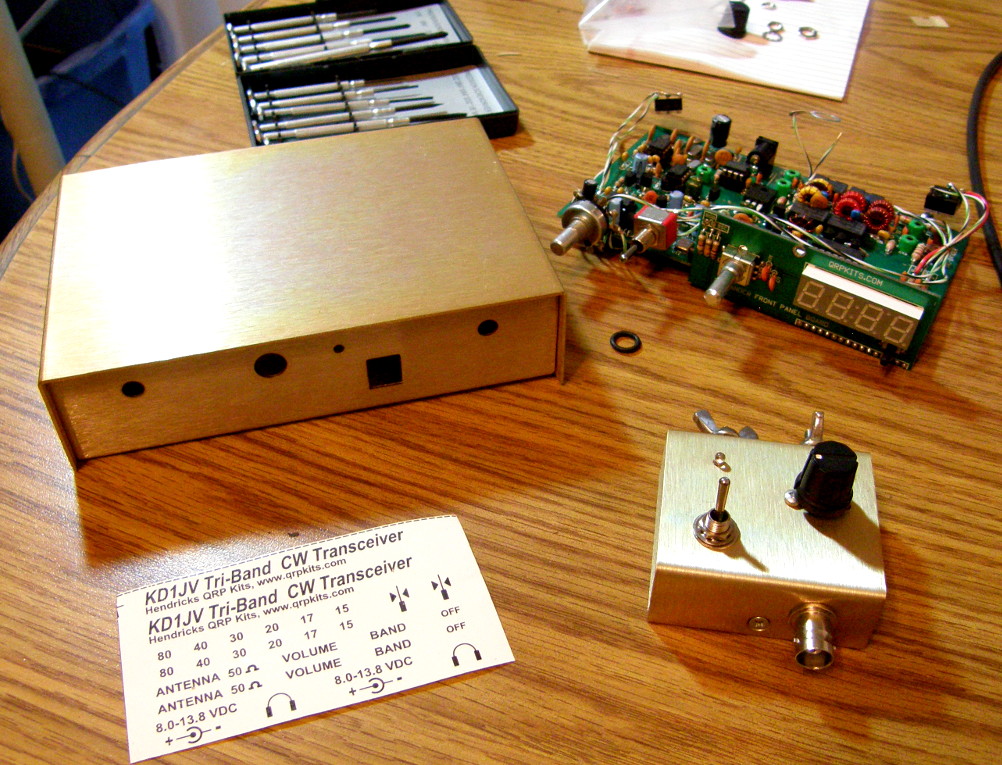
Here is the tested radio PCB and the SOTA tuner I got with it ready for applying the decals. Just because I can't be content to assemble anything with customizing it in some way, the gold color you see is the application of Alodine 1201 to the aluminum case. Alodine is a two part acid-etch process used mostly in the aircraft industry for corrosion protection and for creating and excellent base for paint. Added bonus is that it creates a pleasing look on well finished parts, but it is not very wear resistant. I followed with a spray on layer of acrylic to protect the alodine and provide a smooth surface for the waterslide decals, followed with another layer after the decals to protect them. With the build complete, time to hook up the o'scope and test it out: Part 2: testing