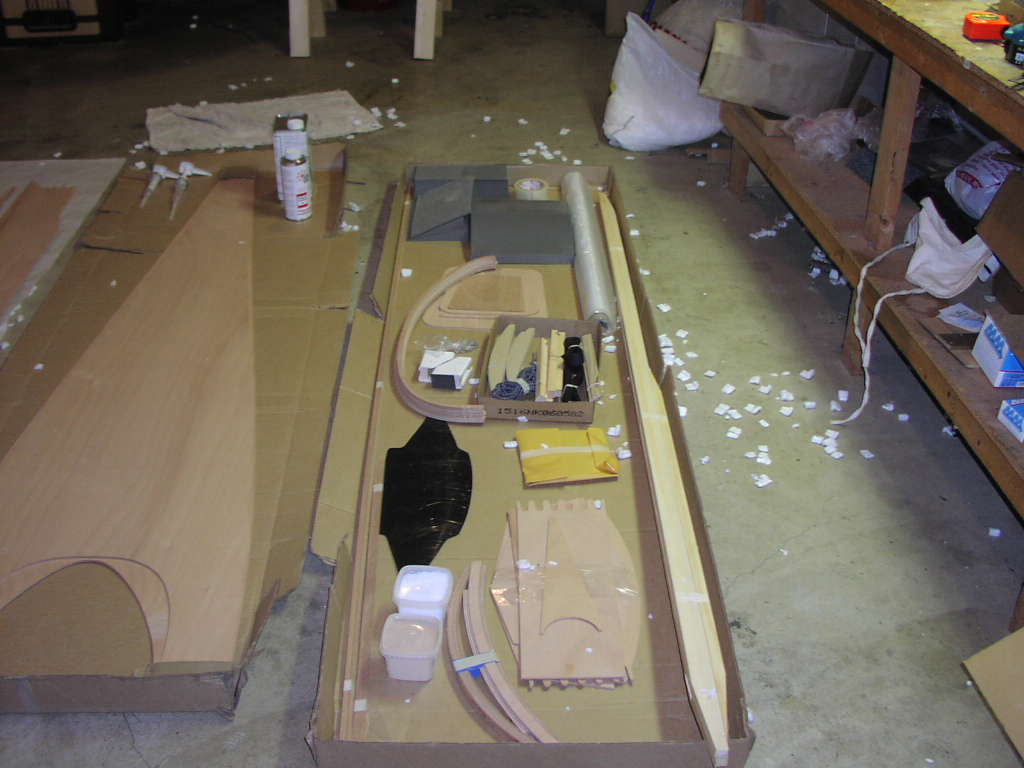
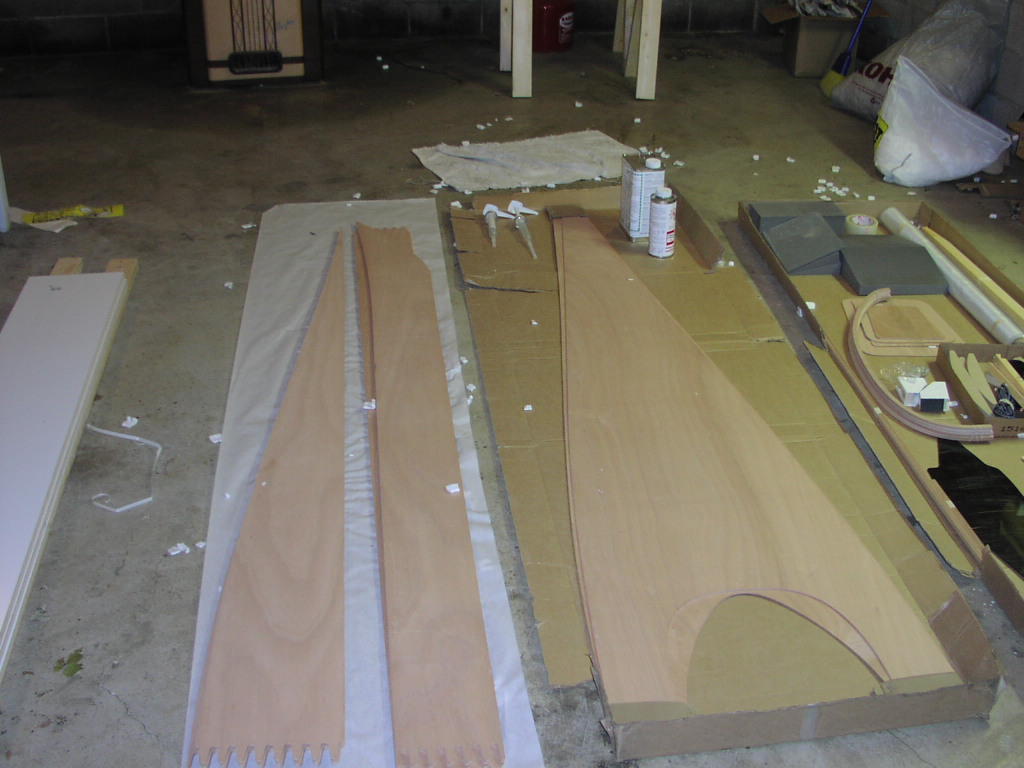
The first day where I had the opportunity top spend significant time on this project. First I shoveled packing peanuts into a bag so I could more easily do a parts check. And here is some pictures of the results (click for big version)

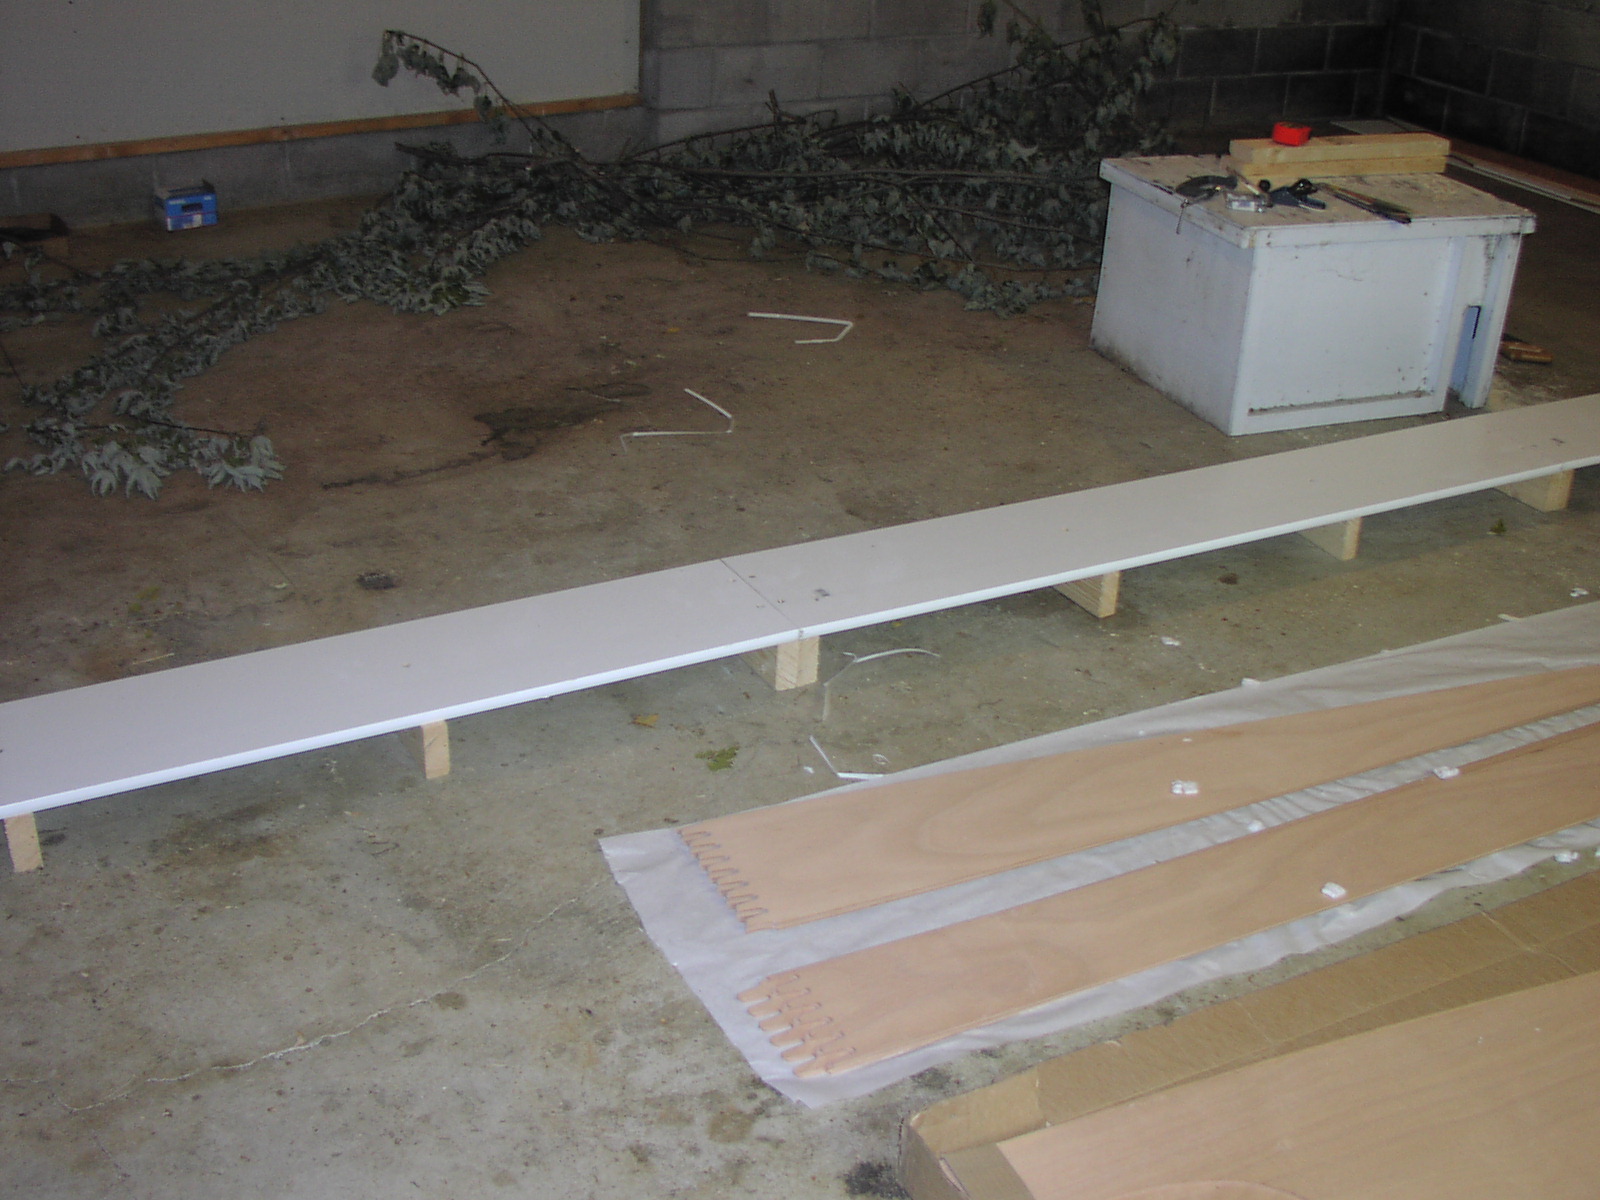
The left picture shows a top-down picture of the work table. The white box to the left is my air conditioner cover, which worked well as a cutting bench. There is a kerosene heater in the background along with some saw horses.
The right picture shows more of a side view. The "joists" are 24 inches apart, which is probably over kill for the weight the table needs to support. The end "joists" are held by 2 screws, the others only one. Each table segment is held to its neighbor by a carriage bolt. The table top is 73" (long) by 11 - 1/4" (wide) cheap shelving. So my table is 18' 3" by 11 - 1/4 ". You may wonder why I didn't make it taller. It will only be used for epoxying panels together. I didn't think it was worth it to make it a more ergonomic height. Besides, it would take more lumber.
Glossaryprevious entry index next entry
3.0 hours, 3.4 hours total.