muita ohjelmia
webcam-is-working
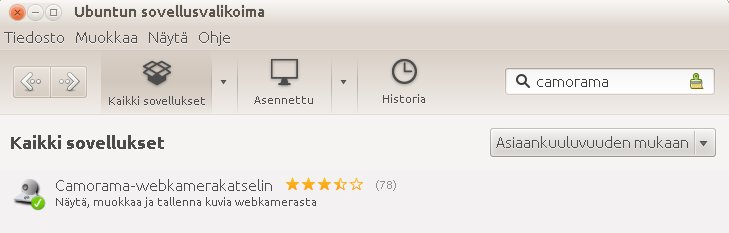
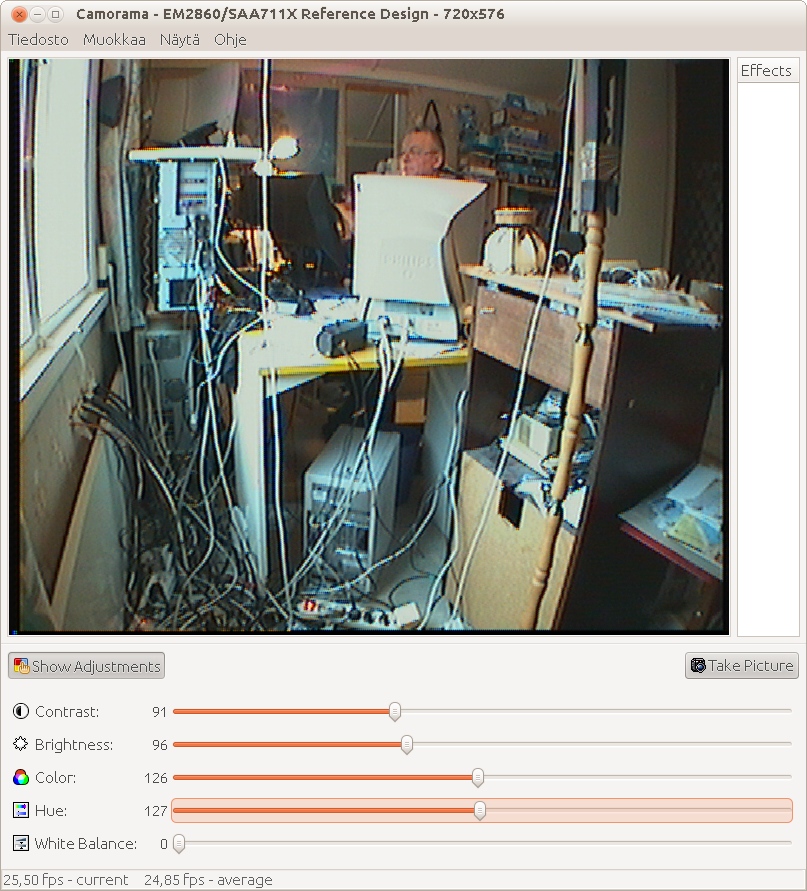
Camorama options
ensin testaa
kameraa noilla Camorama
jolla toimii FTP 32 bit version koneissa mutta ei 64 bitin koneissa,
tällä toimi myös omalle apache2 serverille ajastettu capture myös 64
bit koneissa eli webcam toimii jo tällä ohjelmalla (kuin windows
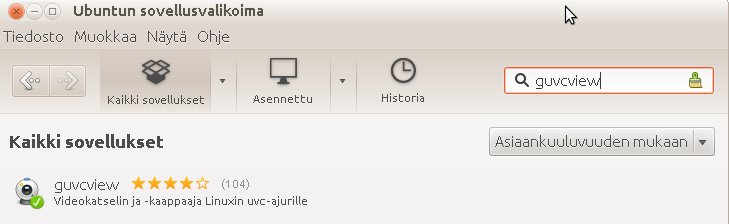
tyylillä) tai Guvcview ohjelmilla jolla vain still ja
video kaappaus.
"Sudo camorama -x800 -y600"
päätteessä jos teet apachelle tallennuksen.
ja muita ohjeita
help ubuntu
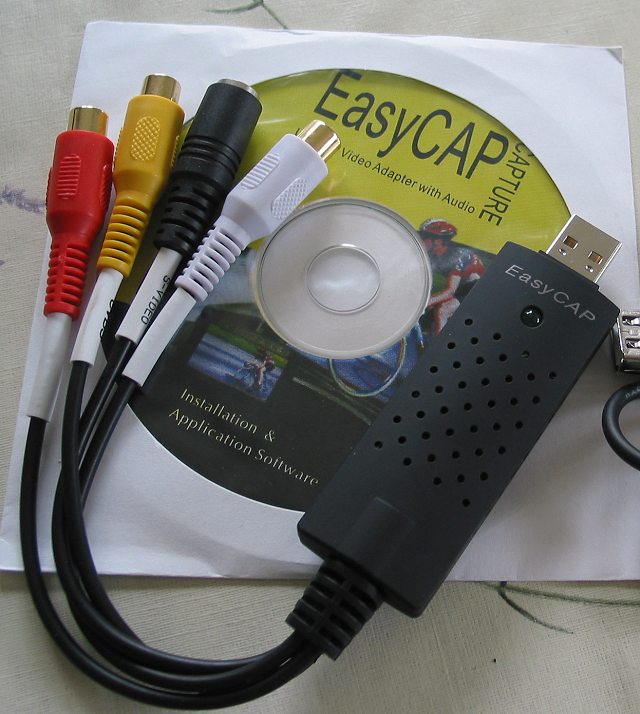
EasyCAP USB
EasyCAP USB 2.0 Video Adapter with Audio (version:3.1A)
Ubuntu support
sudo modprobe em28xx card=19 /etc/modprobe.d/local.conf
sudo lsmod | grep em28xx
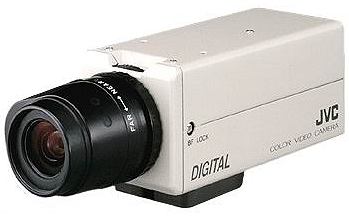
JVC TK-C700E Camera
USB 2.0 Video grabber / USB Video Capture / easycap (version 3.1 A)
also Linux Ubuntu 12.04.2 LTS 64 bit. support
Composite video-in works fine
DESIGN SOLUTIONS:
Video Decode: Philips SAA7113 (SAA7113H)
USB 2.0 Interface: 2860 (EMPIA EM2860
P4HL2-010)
Empia EasyCap wiki
EasyCap
USB 2.0 Interface: 2860 (EMPIA EM2860
P4HL2-010) USB works fine: VLC, Camorama, webcam and Guvcview sudo modprobe em28xx card=19 /etc/modprobe.d/local.conf
sudo lsmod | grep em28xx

Composite Camera is JVC TK-C700E
guvcview --control_only --device=/dev/video0
voi säätää asetuksia webcam tai fswebcam ohjelman ollessa auki
Also webcam .webcamrc support
#Kernel 2.4
#device = /dev/video0
#For Kernel 2.6.7 we had to modify this to video1 :
device = /dev/video1
text = Ubuntu + Easycap USB EMPIA 2860 %d-%b-%Y %H:%M:%S
#infofile = filename
fg_red = 255
fg_green = 255
fg_blue = 255
width = 720
height = 576
delay = 60
wait = 0
#input = Camera
norm = pal
rotate = 0
top = 0
left = 0
bottom = -1
right = -1
quality = 85
trigger = 120
once = 0
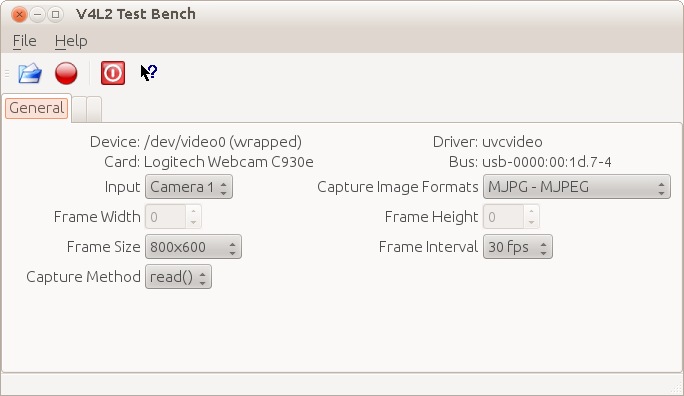
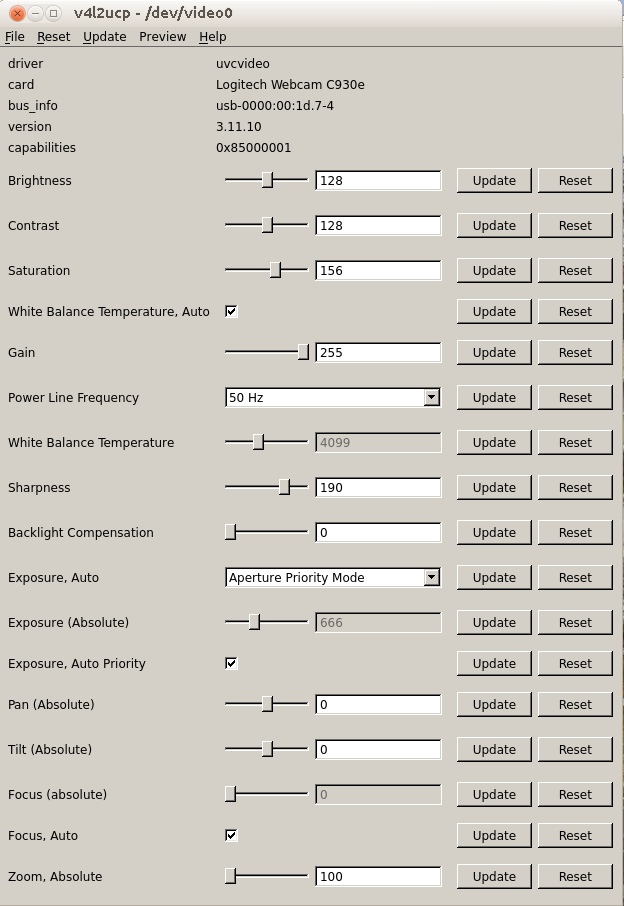
Alla olevilla QV4L2 ja V4L2UCP ohjelmilla voi säätää kuvan asetuksia kun webcam ohjelma on käynnissä
Linux Wirelees n 150 easy usb adaptor ubuntu
usb virta aina päälle (auto = auto sammutus) (on = aina päällä)
usb1 = 1 ja kaikkin eteenpäin monta usb:tä on koneessa
lukemat näkyy /sys/bus/usb/devices/
sudo sh -c "echo 'on' > /sys/bus/usb/devices/usb1/power/control"
sudo sh -c "echo 'on' > /sys/bus/usb/devices/usb1/power/level"
fswebcam + apache2 myös käytössä
fswebcam options fswebcam system info
To create a config file, use:
tee tiedosto ja tallenna nimellä.
.fswebcam.conf
The contents of my config file are listed below...
--------------------------------
device /dev/video0
input 0
loop 15
skip 20
background
resolution 320x240
top-banner
font /usr/share/fonts/truetype/msttcorefonts/arial.ttf
title "Own webcam"
timestamp "%d-%m-%Y %H:%M:%S (%Z)"
jpeg 95
save /home/viewcam.jpg
palette MJPEG
-----------------------
fswebcam -d /dev/video0 /home/pi/webcam.jpg -v
Usage: fswebcam [<options>] <filename> [[<options>] <filename> ... ]
Options:
-?,
--help
Display this help page and exit.
-c, --config <filename> Load configuration from file.
-q,
--quiet
Hides all messages except for errors.
-v,
--verbose
Displays extra messages while capturing
--version
Displays the version and exits.
-l, --loop <seconds> Run in loop mode.
-b, --background Run in the background.
-o, --output <filename> Output the log to a file.
-d, --device <name> Sets the source to use.
-i, --input <number/name> Selects the input to use.
-t, --tuner <number> Selects the tuner to use.
-f, --frequency <number> Selects the frequency use.
-p, --palette <name> Selects the palette format to use.
-D, --delay <number> Sets the pre-capture delay time. (seconds)
-r, --resolution <size> Sets the capture resolution.
--fps <framerate> Sets the capture frame rate.
-F, --frames <number> Sets the number of frames to capture.
-S, --skip <number> Sets the number of frames to skip.
--dumpframe <filename> Dump a raw frame frame to file.
-s, --set <name>=<value> Sets a control value.
--revert
Restores original captured image.
--flip <direction> Flips the image. (h, v)
--crop <size>[,<offset>] Crop a part of the image.
--scale <size> Scales the image.
--rotate
<angle> Rotates
the image in right angles.
--deinterlace
Reduces interlace artifacts.
--invert
Inverts the images colours.
--greyscale
Removes colour from the image.
--swapchannels <c1c2> Swap channels c1 and c2.
--no-banner
Hides the banner.
--top-banner
Puts the banner at the top.
--bottom-banner
Puts the banner at the bottom. (Default)
--banner-colour <colour> Sets the banner colour. (#AARRGGBB)
--line-colour <colour> Sets the banner line colour.
--text-colour <colour> Sets the text colour.
--font <[name][:size]> Sets the font and/or size.
--no-shadow
Disables the text shadow.
--shadow
Enables the text shadow.
--title
<text>
Sets the main title. (top left)
--no-title
Clears the main title.
--subtitle <text> Sets the sub-title. (bottom left)
--no-subtitle Clears the sub-title.
--timestamp <format> Sets the timestamp format. (top right)
--no-timestamp Clears the timestamp.
--gmt
Use GMT instead of local timezone.
--info
<text>
Sets the info text. (bottom right)
--no-info
Clears the info text.
--underlay <PNG image> Sets the underlay image.
--no-underlay Clears the underlay.
--overlay <PNG image> Sets the overlay image.
--no-overlay
Clears the overlay.
--jpeg
<factor>
Outputs a JPEG image. (-1, 0 - 95)
--png
<factor>
Outputs a PNG image. (-1, 0 - 10)
--save <filename> Save image to file.
--exec
<command> Execute
a command and wait for it to complete.
guvcview --control_only --device=/dev/video0
kuvan asetukset kohdalleen
guvcview /dev/video0
- brightness (int) : min=0 max=255 step=1 default=128 value=128
- contrast (int) : min=0 max=255 step=1 default=128 value=128
- saturation (int) : min=0 max=255 step=1 default=128 value=128
- white_balance_temperature_auto (bool) : default=1 value=1
- gain (int) : min=0 max=255 step=1 default=0 value=0
- power_line_frequency (menu) : min=0 max=2 default=2 value=2
- white_balance_temperature (int) : min=2000 max=6500 step=1 default=4000 value=4000
- sharpness (int) : min=0 max=255 step=1 default=128 value=128
- backlight_compensation (int) : min=0 max=1 step=1 default=0 value=0
- exposure_auto (menu) : min=0 max=3 default=3 value=3 (0: Auto Mode 1: Manual Mode
2: Shutter Priority Mode
3: Aperture Priority Mode)
- exposure_absolute (int) : min=3 max=2047 step=1 default=250 value=250
- exposure_auto_priority (bool) : default=0 value=1
- focus_absolute (int) : min=0 max=250 step=5 default=0 value=0
- focus_auto (bool) : default=1 value=1
- zoom_absolute (int) : min=100 max=500 step=1 default=100 value=100
asettaa manuaali tarkennuksen päälle
asenna ensin:
sudo apt-get install v4l-utils
Jos koneessa on useampi kuin yksi web camera, täytyy ajuri käsky kohdistaa oikeaan ajuriin.
Yleensä lappärissä on oma kamera se on /dev/video0
Toinen on siis USB lisätty kamera eli /dev/video1
Jos koneessa ei ole kuin yksi kamera kohdistus käskyä /dev/video0 ei tarvitse käyttää, mutta ei haittaakaan ole.
v4l2-ctl -d /dev/video0 --set-ctrl focus_auto=0
v4l2-ctl -d /dev/video1 --set-ctrl focus_auto=0
Kolmas kamera olisi v4l2-ctl -d /dev/video2 --set-ctrl focus_auto=0
Tämän hetken asetukset tulee näytölle: v4l2-ctl -d /dev/video0 --list-ctrls
v4l2-ctl --set-ctrl focus_auto=0
manuaali tarkennus
v4l2-ctl --set-ctrl focus_absolute=35
tarkennus
v4l2-ctl --set-ctrl sharpness=220
värit
v4l2-ctl --set-ctrl saturation=160
v4l2-ctl --set-ctrl gain=161
asettaa 50 hz
v4l2-ctl --set-ctrl power_line_frequency=1
kirkkaus
v4l2-ctl --set-ctrl brightness=117
v4l2-ctl --set-ctrl pan_absolute=0
v4l2-ctl --set-ctrl tilt_absolute=0
sitten päätteessä käyntiin
fswebcam -c .fswebcam.conf
lopetus
Ctrl+c
tai
pkill fswebcam
more info LINUX MEDIA INFRASTRUCTURE API
V4L2 all video options
Tee oma web-kamera sivu koodi ... make own webcam site code
only image code wizard
make your own webcam site ... ready code
if you use uvccapture
add text image bar
ImageMagick Examples
uvccapture -v -w -m -t60 -q75 -x640 -y480 -B110 -C37 -S48 -o/home/user/webcam/image.jpg
(uvccapture -> default file is snap.jpg)
-c options executed ... upload image FTP (if you want)
ncftpput -u USER -p PASSWORD YOUR-SERVER /remote/dir/image.jpg /localpath/to.png
or ... ncftpput -V -f login.cfg -S .tmp output.jpg webcam.jpg
Login details for the FTP server are stored in a file, here called login.cfg. For example:
host ftp.examplehost.com user myusername pass mypassword
ncftpput options
more info
wiki fswebcam
more info 2
pieni cameran kuva kaappari
stop uvccapture terminal:
pkill uvccapture
.. or ..
Ctrl+c
killall uvccapture
killall uvccapture
uvccapture
Webcam 4
OH7FES main site
Linux lubuntu ubuntu Motion
sudo apt-get install -y motion
Motion
Motion main site
Motion-Project motion
Installing and Building from Source
Tee oma webcam sivu
Webcam Refresh Script html code
Tee oma webcam sivu... kopioi koodi omalle sivulle
<script>
var refreshrate=60; //SECONDS BETWEEN REFRESH
var image="webcam1.jpg"; //IMAGE NAME
function refresh(){
document.images["pic"].src=image+"?"+new Date();
setTimeout('refresh()', refreshrate*1000);}
document.write('<IMG SRC="'+image+'" ALT="Alternate Text" NAME="pic" ID="pic" title="Camera 1 image" style="max-width:100%;" border="1" >');
if(document.images)window.onload=refresh;
</script> |
asetus:
style="max-width:100%;"
kuva skaalautuu näytönkoon mukaan
näin koodi toimii, kuva päivittyy 60 sec välein
webcam1.jpg niminen kuva pitää tietenkin olla samassa kansiossa.
Web kamera html koodi
Web kamerat testissa
Download OBS Studio

Windows Power by VisonGS PE
IP Webcam Power by Android
OH7FES main site