

| Home | GcmWin | Screenshots | Download | Linux Version | Make your own! |
Start page. This is what you see when you first start the program. Here you can quickly change the center pos by writing the new locator in the text box. If you click on the globe - a new map is made. When you made a map you can save it by clicking on the diskette. Next choice on the toolbar is the options dialog. The icon with the question mark will show the helpfile when it is available. For now the "About box" is shown. |
 |
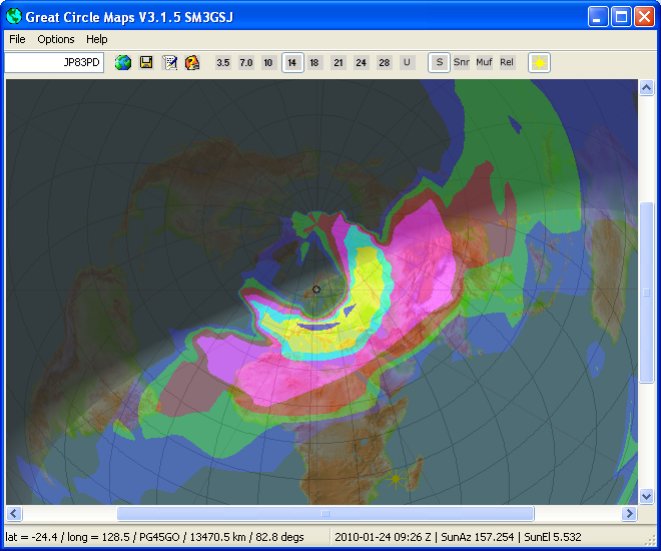
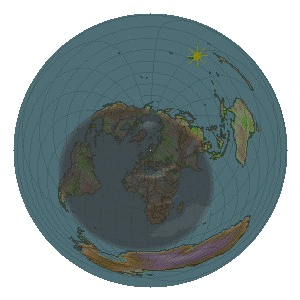
| If you made a map it might
look like this. If you plot propagation you can change frequency and parameters in the toolbar. The sun symbol switches on/off the shading of the night/day. |
 |
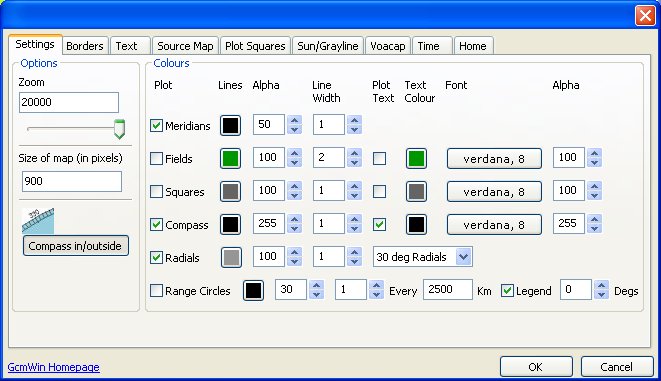
Options dialog Here you set zoom factor. (Km from center to the edge). 20000 is max and will show the whole earth. Size of the resulting map. (Might fail with large sizes) Different lines to plot. Alpha is the transparency value. 0 is totally transparent 255 is totally opaque. In version 3.0.3 you can add range circles. You can also print the distance at every circle. You decide where. 0 degrees is straight up, 270 degrees is ti the left! The font is the same as the compass font, but the transparency and colour is from the range circles. |
 |
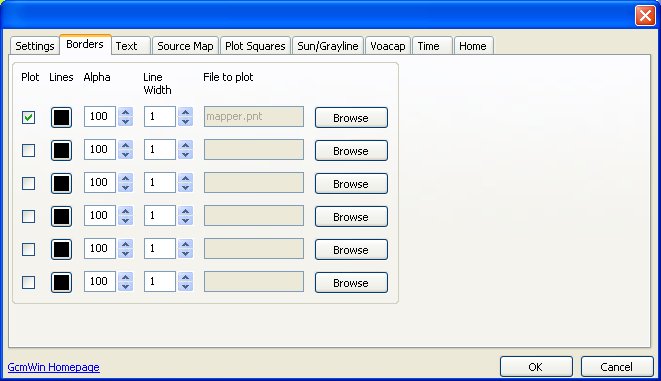
Options Borders Here you add different lines to plot. File must be in .pnt format. (binary format) A simple basic program can be found here |
 |
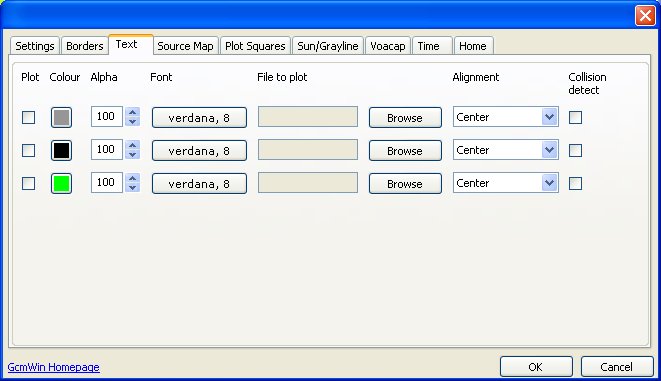
Options Text This is a text file. Open PrefixNew.dat in an editor to see the format. |
 |
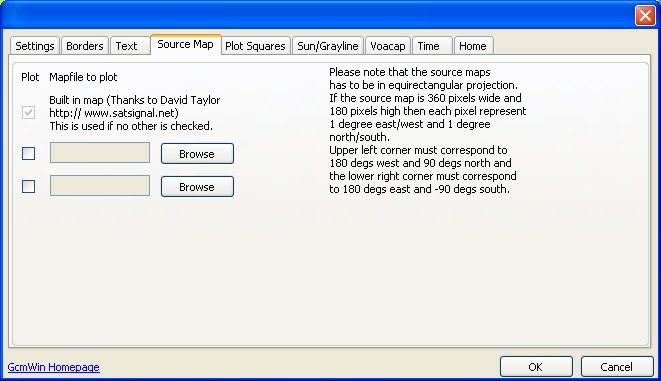
| Options Map You can choose any map you like for the background. |
 |
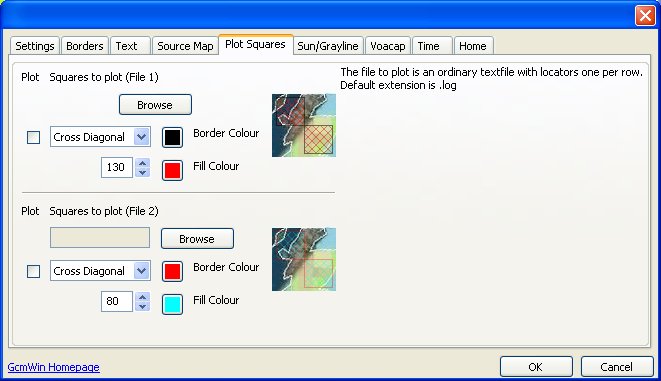
| Options Plot Squares You can plot two different locator files. Perhaps one for worked squares and one for confirmed squares. |
 |
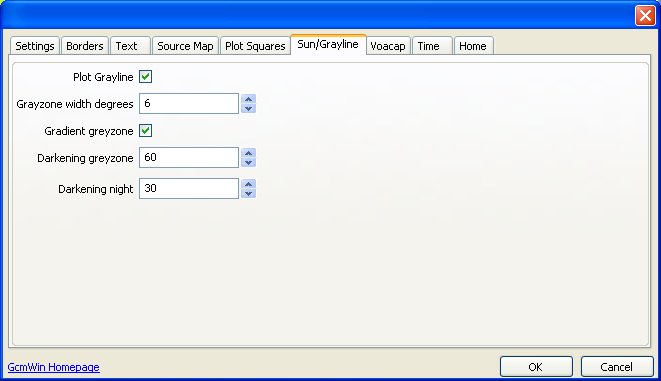
Options Sun/Grayline Darkening at the nightside of the map...
|
 |
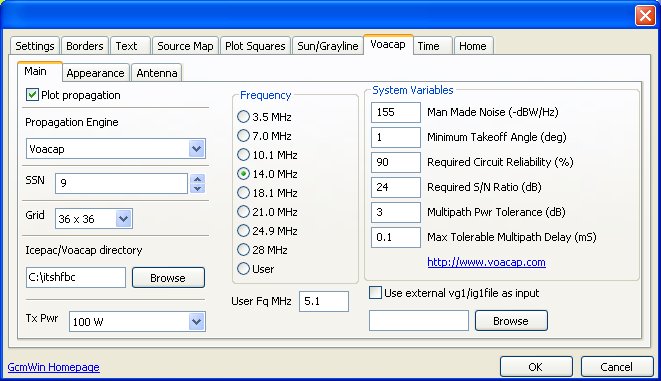
| The Voacap tab is now
divided into three tabs. You really has to know what you are doing if you change the parameters here. I can recommend http://www.voacap.com for a lot of information and tips. Engine : Icepac or Voacap. Icepac is said to be better for high latitudes. |
 |
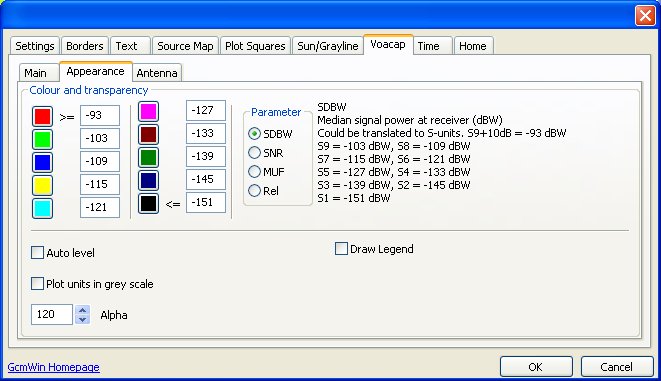
| Here you choose colours
for the different parameters. Beware that the colors are saved when you
click OK on the dialog. If you want to change all four parameter colours you
have to open the dialog four times and set the colour for one parameter each
time. The auto level checks the min and max values and divide the result in ten pieces. You probably want to check "Draw Legend" so you can see what levels corresponds to wich colour. |
 |
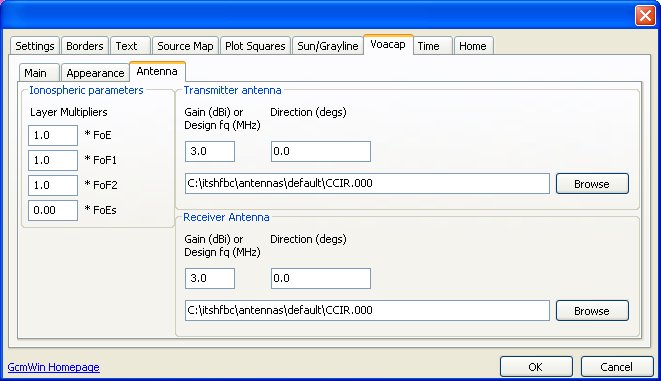
| Here you choose antenna
and layer multipliers. If the antenna is an isotrope you enter the gain in dBi.- for most other antennas it is the design frequency. |
 |
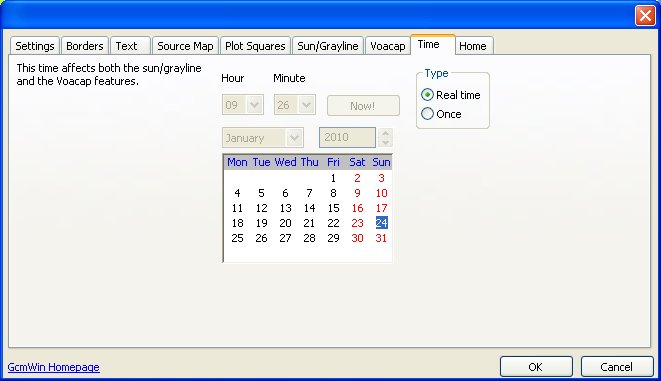
| Time for the sun
terminator and the propagation display. The calendar seems to have trouble
with january. I don't know why. Real time works ok. Propagation display don't care about the minutes! |
 |
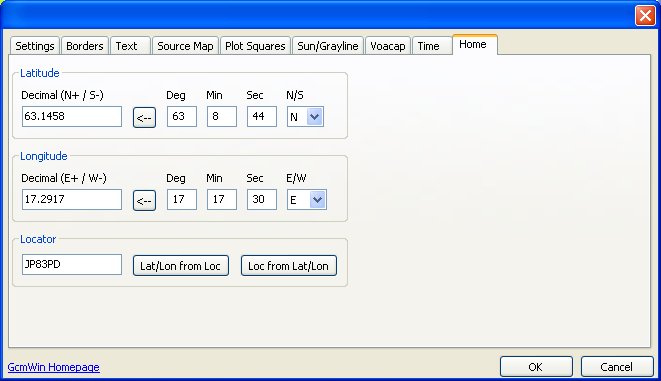
Options Home Here you define the center of the map. |
 |
| Prediction for december 6th 2009. 24 hours. 14 MHz. |
 |
| Prediction for december 6th 2009. 24 hours. 7 MHz. |
 |