Fine Motor Skills Practice (Cleaning a BT Mouse)
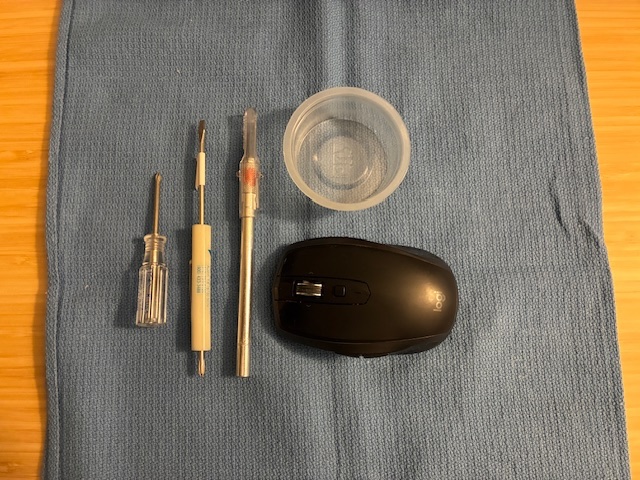
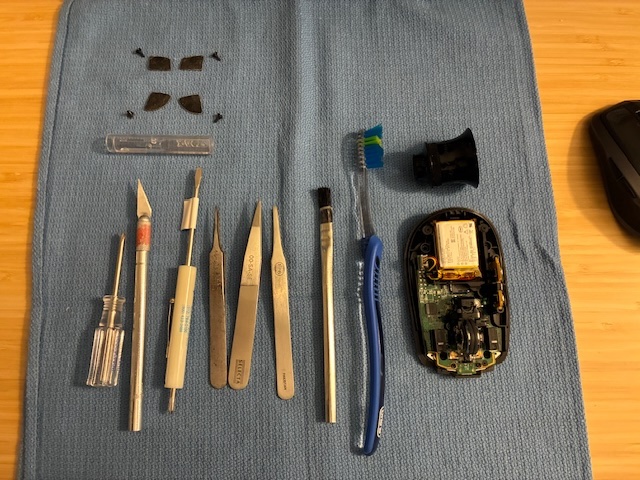
Being caught up on recent technical tasks around the home office gave time to help a family member with a bluetooth mouse that was not responding properly to center wheel movements. Will take it apart and clean as it has been at least a year since last attended to. Just a few tools are needed (X-ACTO knife and screwdrivers).
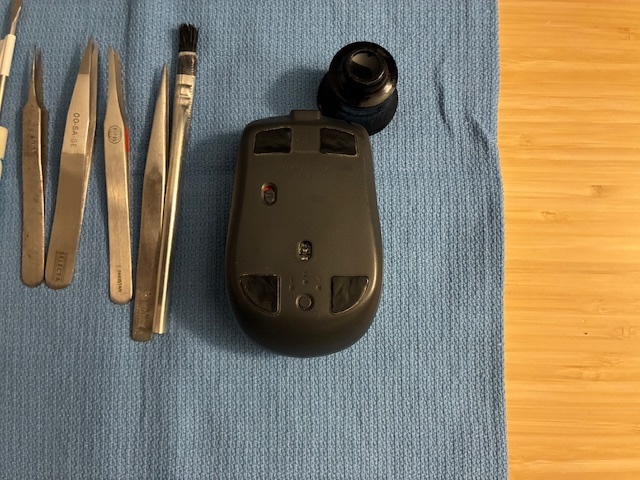
Opening up the mouse is a straightforward task - with the hardest part taking the smooth-surface feet off to gain access to the screws on the bottom. I used an X-ACTO knife to carefully lift the edge of the smooth foot at a corner while ensuring that the double-sided adhesive strip came off with the foot (and not remaining stuck to the plastic body of the mouse). This yields access to the four hidden screws holding the top and bottom halves of the mouse together.
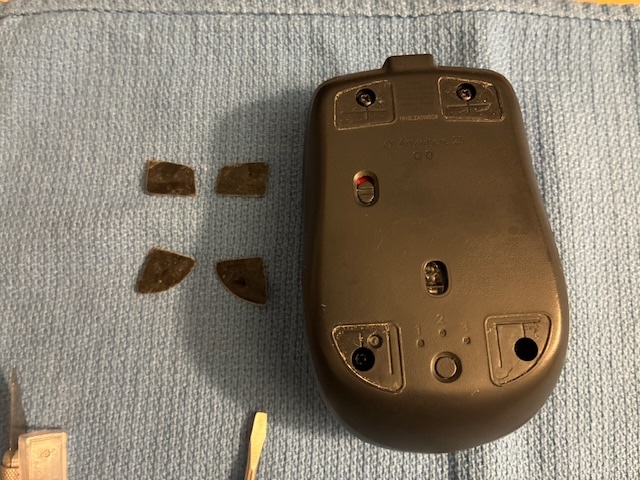
With care, the feet can be removed multiple times for cleaning the inside of the mouse. Be sure to keep the double-sided tape on the mouse foot side (as it will cover the screw holes if left on the bottom mouse casing). With the mouse separated into two halves, the need for cleaning is apparent.
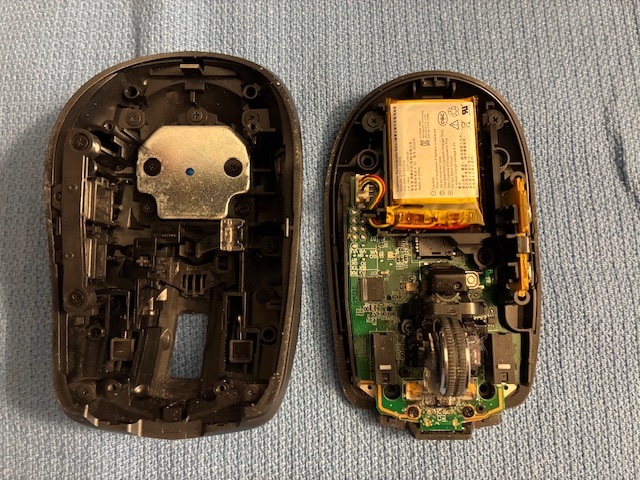
The top half can be attended to with a small brush (toothbrush, horse-hair brush, etc.) ensuring that all of the control buttons move cleanly without obstruction in any of the cracks or grooves. With the top half completed, it was time to look at the bottom half. Ugh! Finding lots of foreign material that should not be in there, wrapped around the center wheel bearings and throughout the mouse interior.
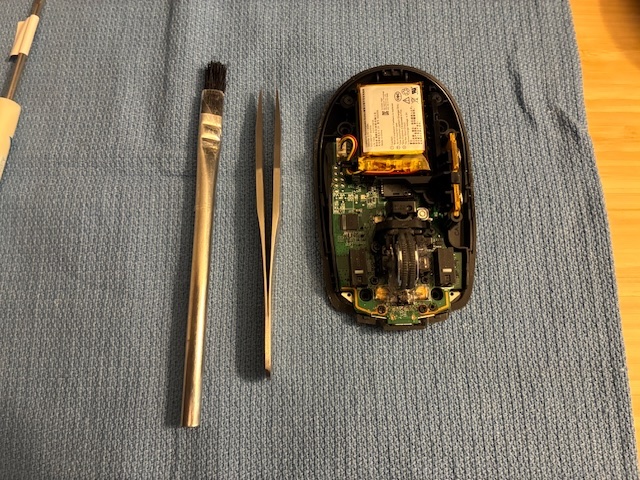
Tweezers and the brush worked well to clean all of that out. Ended up using my eye loupe to get a closer look. Found I needed an old toothbrush to clean the rubber surface of the center wheel. Required some TLC, but looks great now.
By the time I was finished, I had quite a few additional tools out. For this style mouse there were a lot of little spots that were hard to clean out without some fiddling with different tool types. YMMV.
Once both halves were clean, it was easy to just pop them back together, install the four screws*, and reapply the four smooth plastic feet.
* Screw Reassembly Tip: After placing the screw into the hole, turn it counter-clockwise a turn or two to get the threads aligned. You'll feel the screw drop into the hole a little when this happens. Then, it's OK to turn the screw clockwise to install/tighten it. This first left, then right method reduces the risk of cross-threading the screw into the existing threads in the plastic. (Have ruined a few expensive items not following this practice...)
With reassembly completed, the BT mouse is cleaned and ready for another year's travels (1,000 miles?) around the mouse pad. Achievement Unlocked: Took apart, cleaned, and successfully reassembled a family member's mouse. It works properly again!
All author photos taken with an iPhone 16e.