TinyGTC Unboxing & Checkout
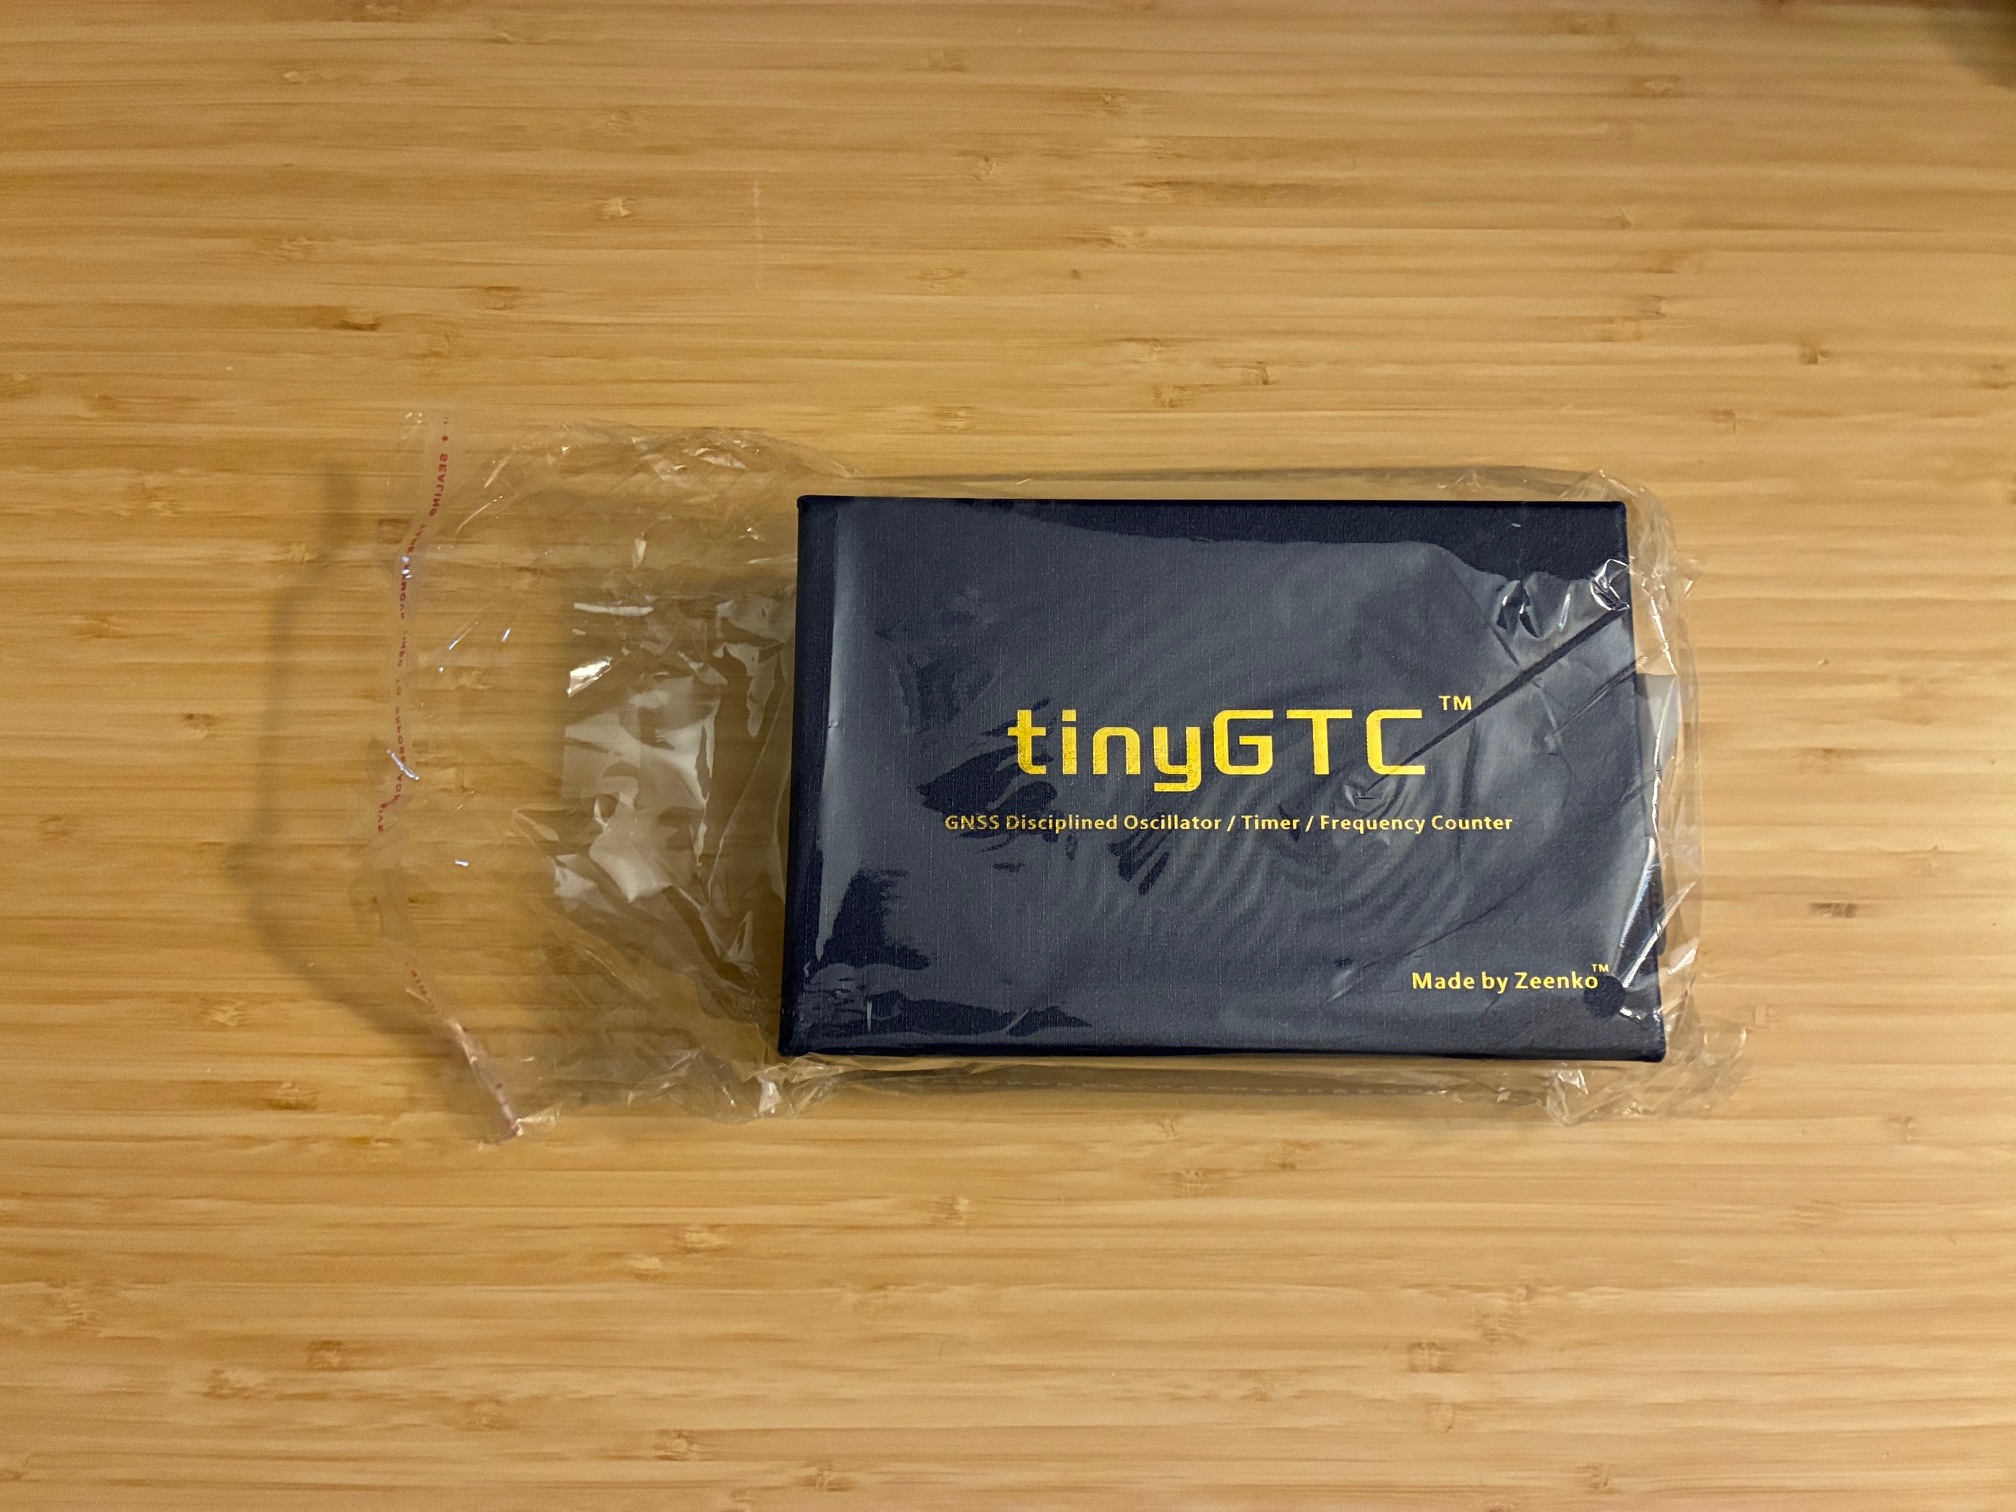
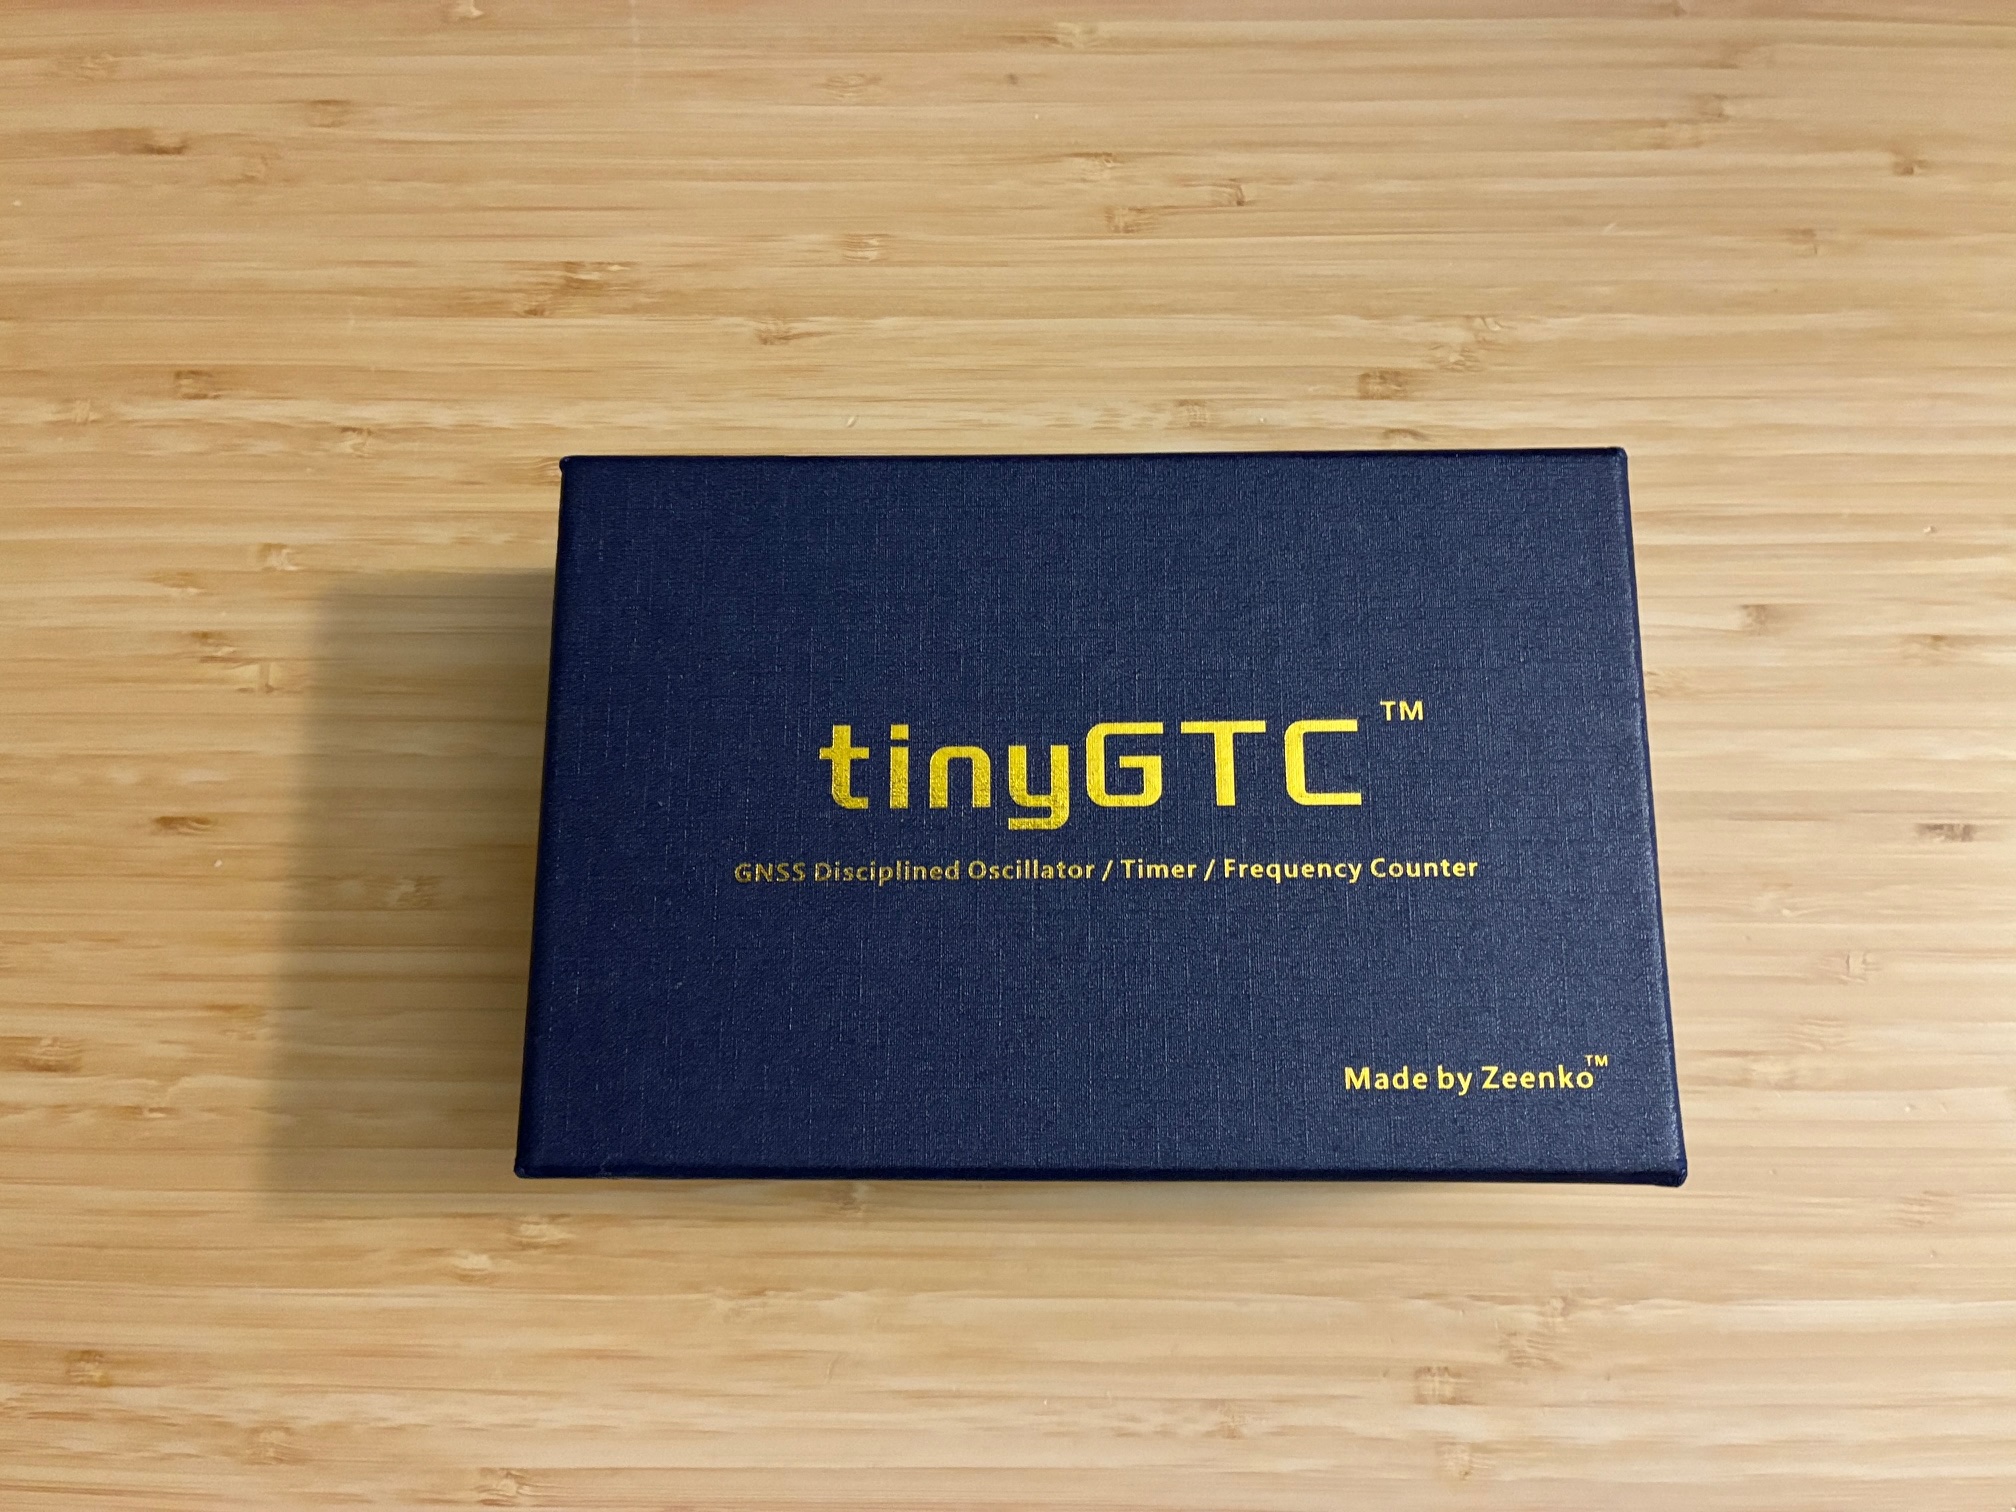
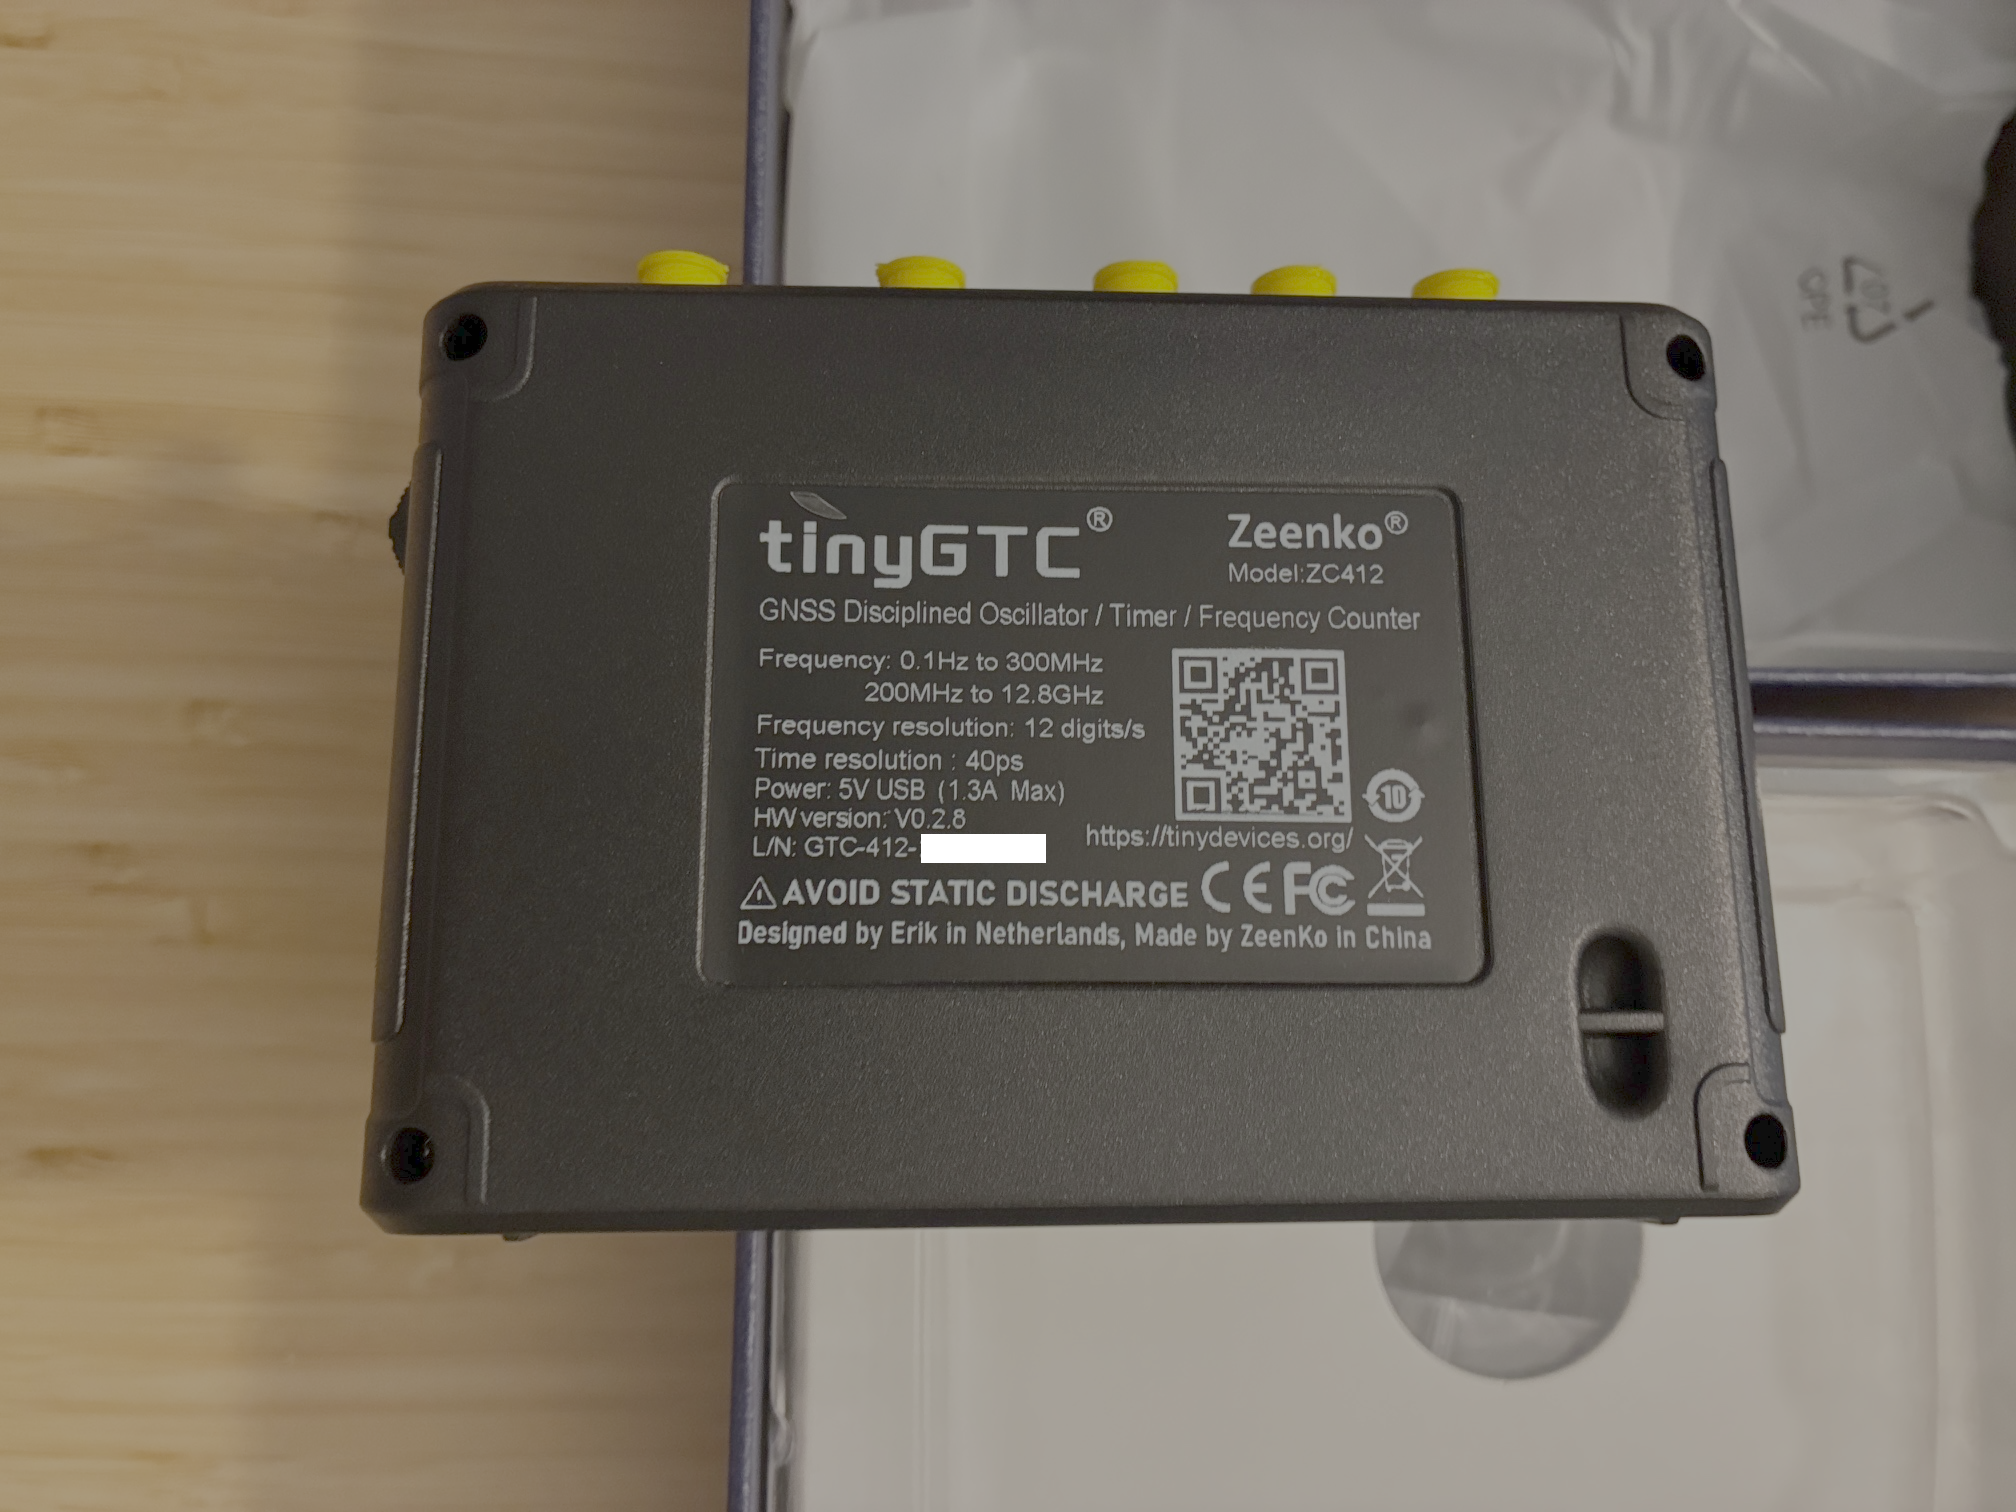
The latest home lab acquisition is a TinyGTC (GPS disciplined oscillator / timer / counter) by Erik Kaashoek. Here is an overview from the TinyGTC homepage:
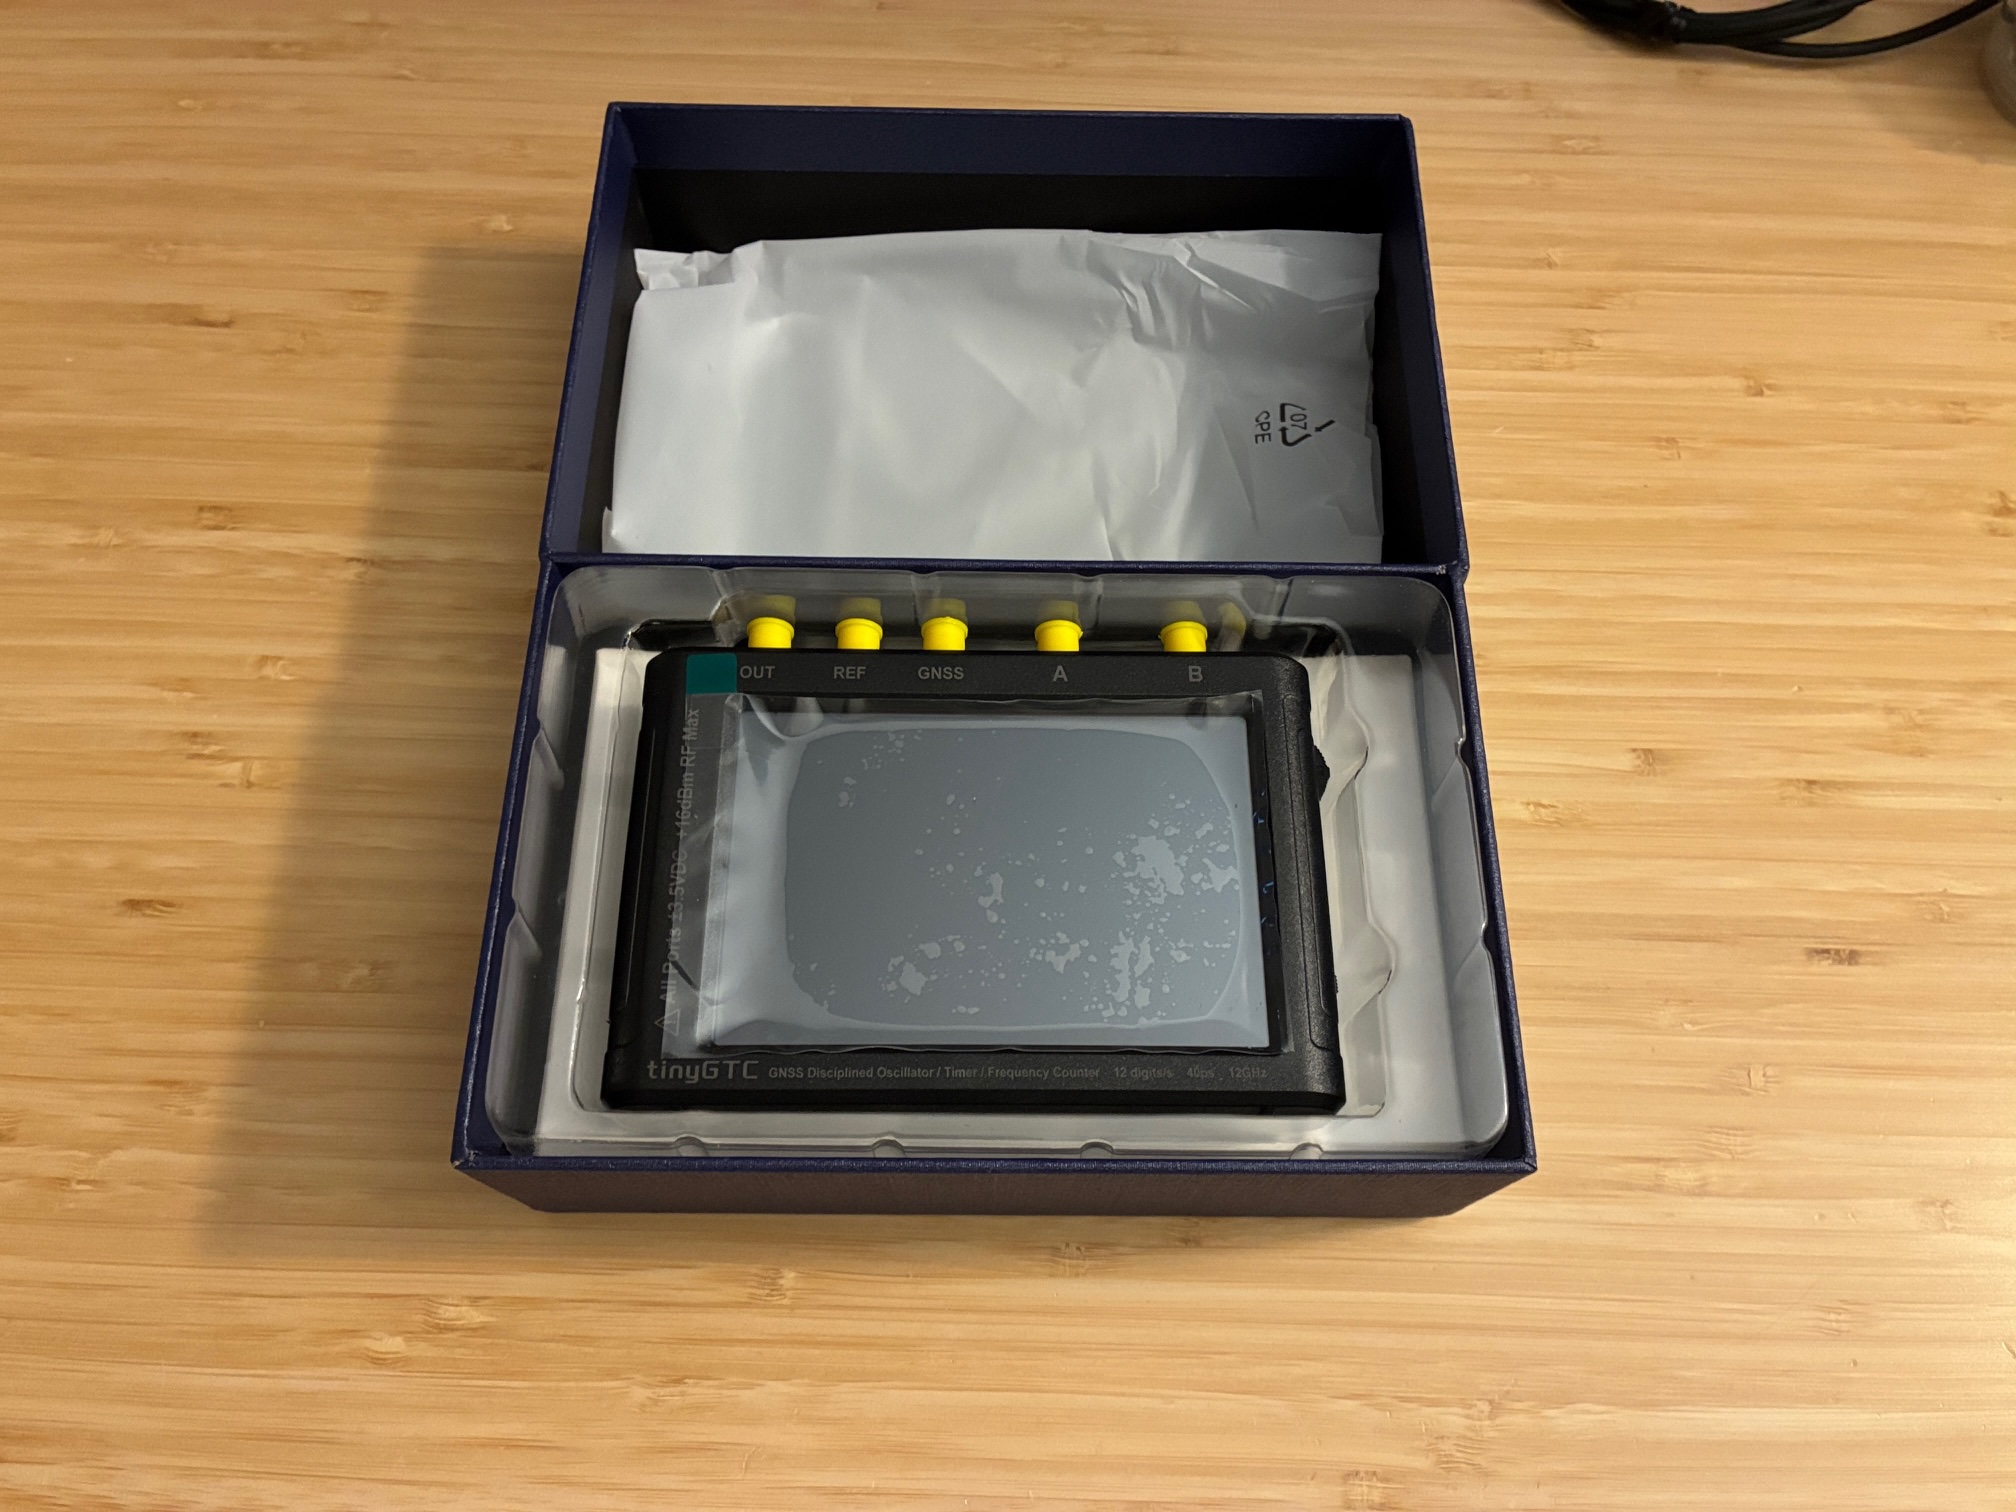
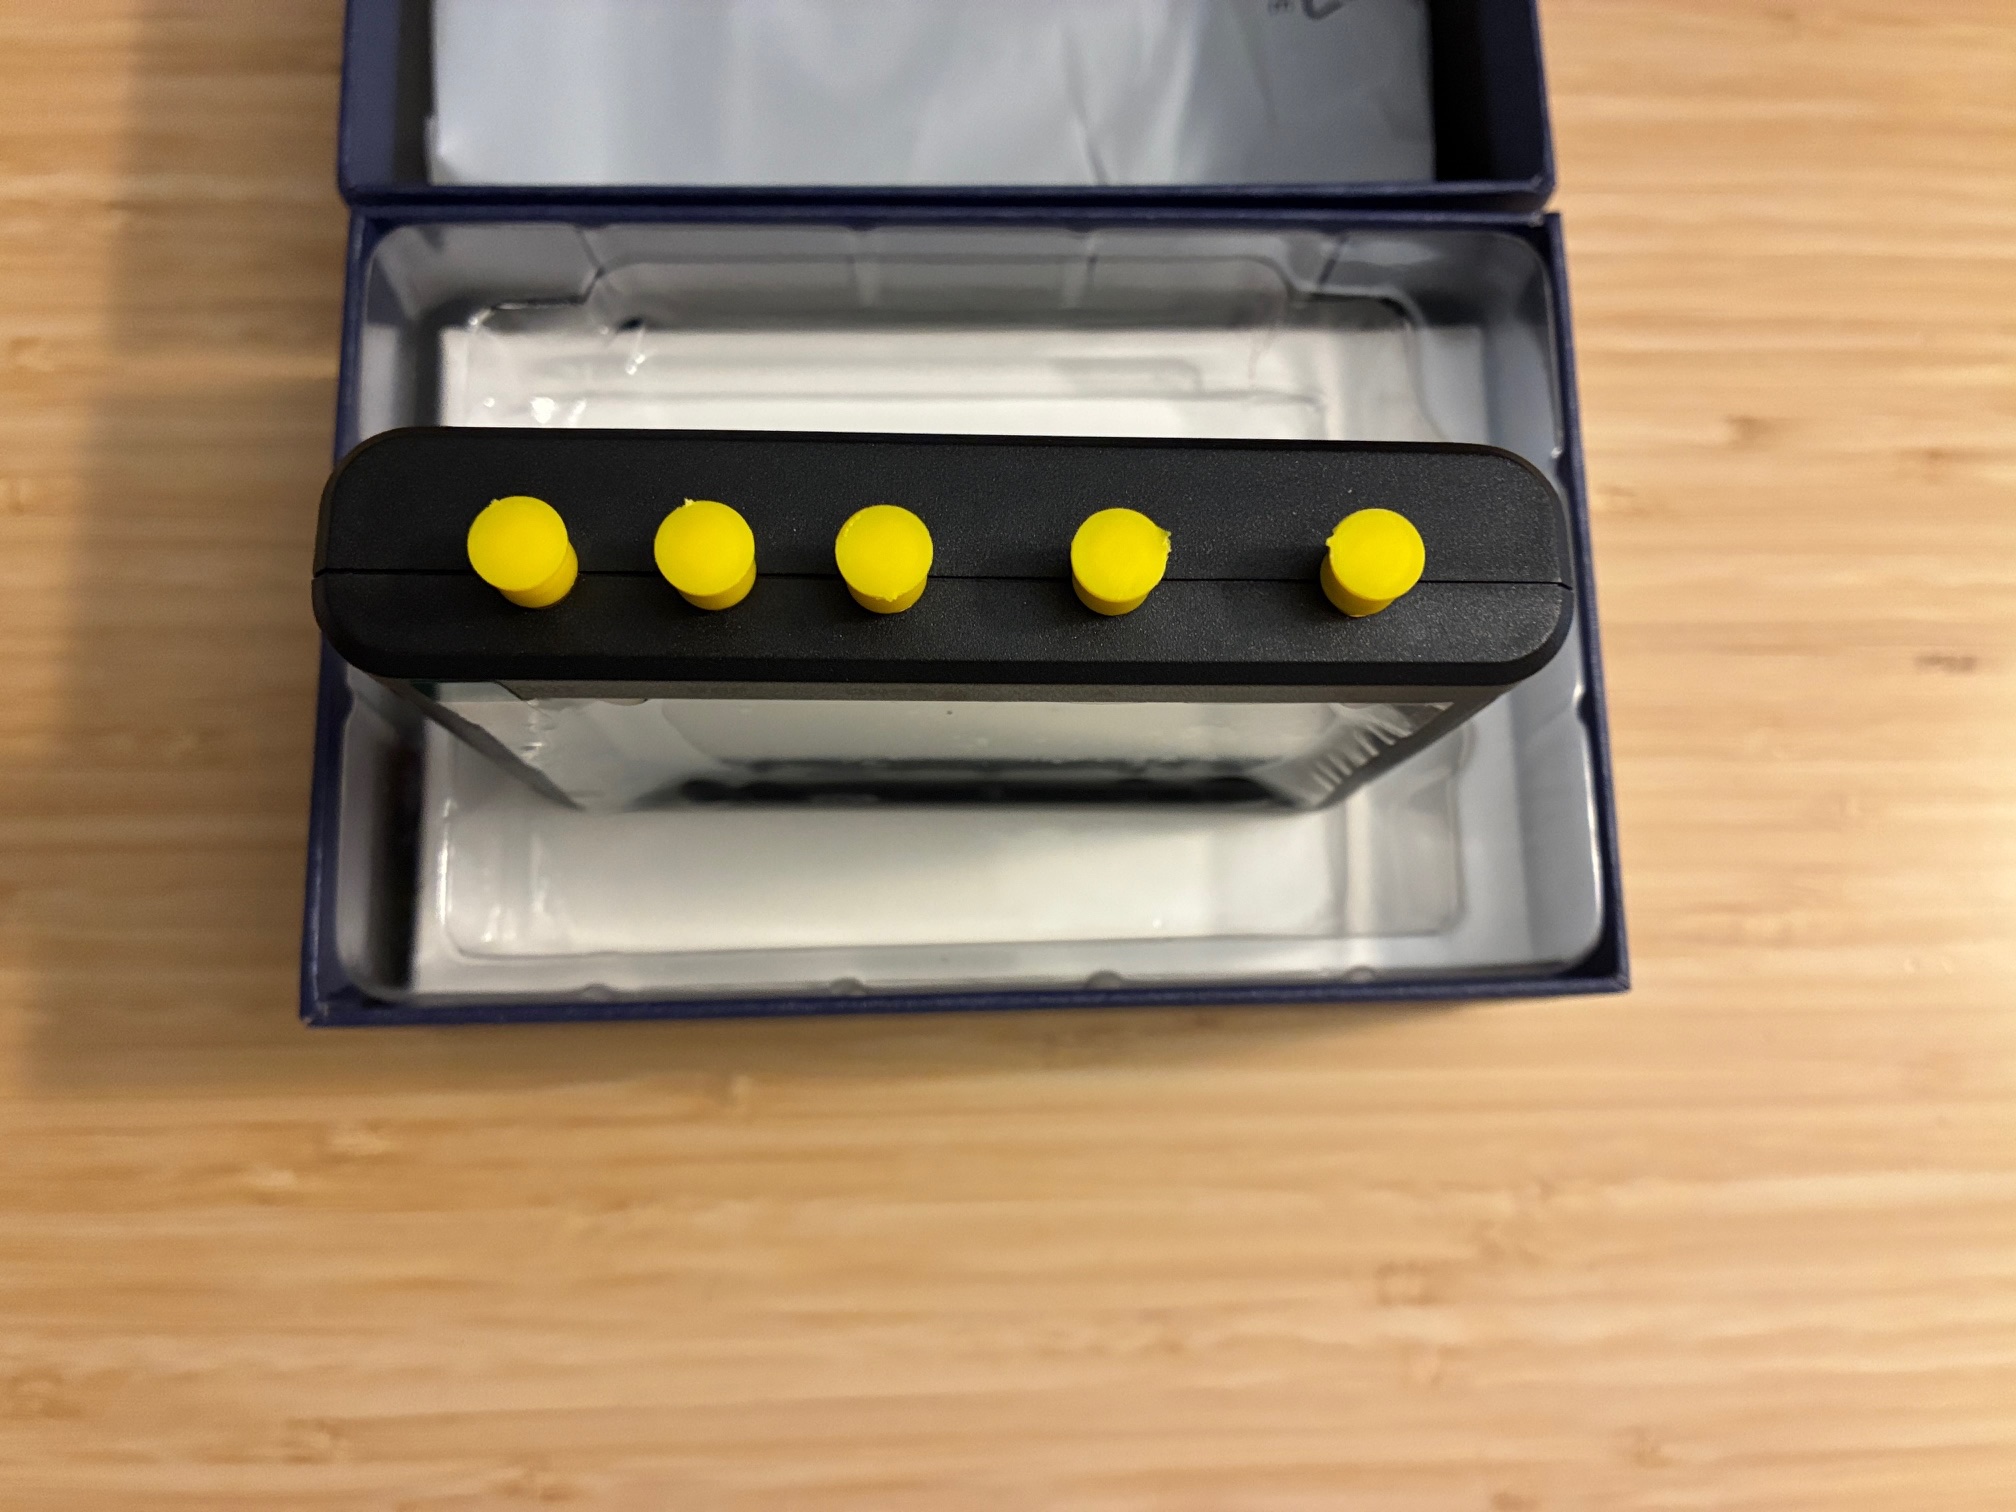
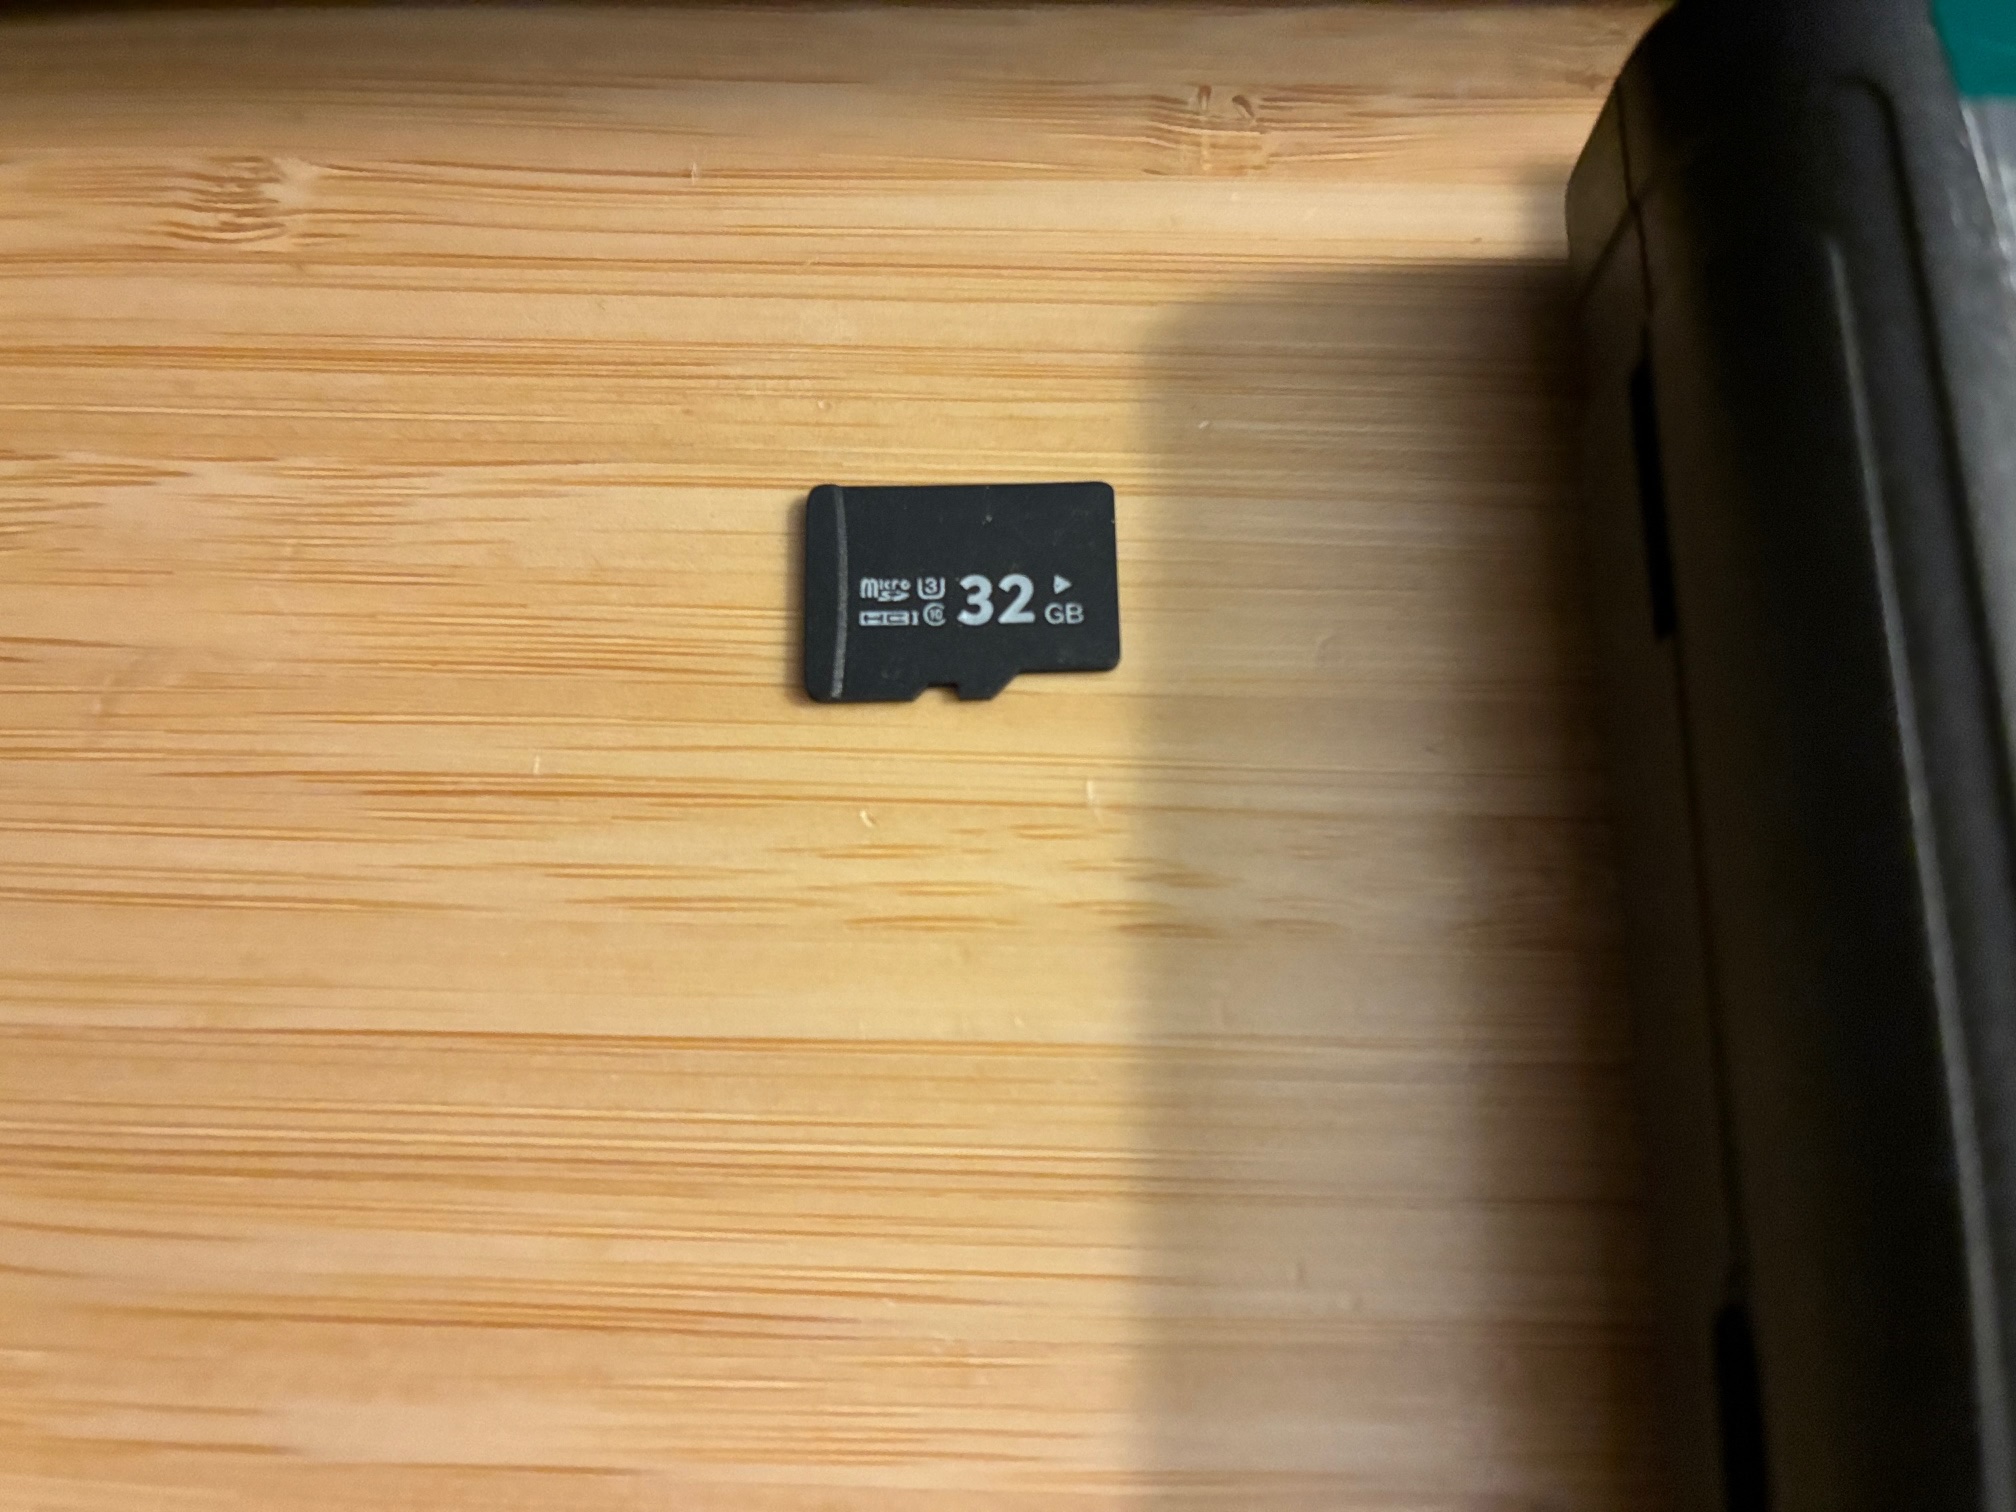
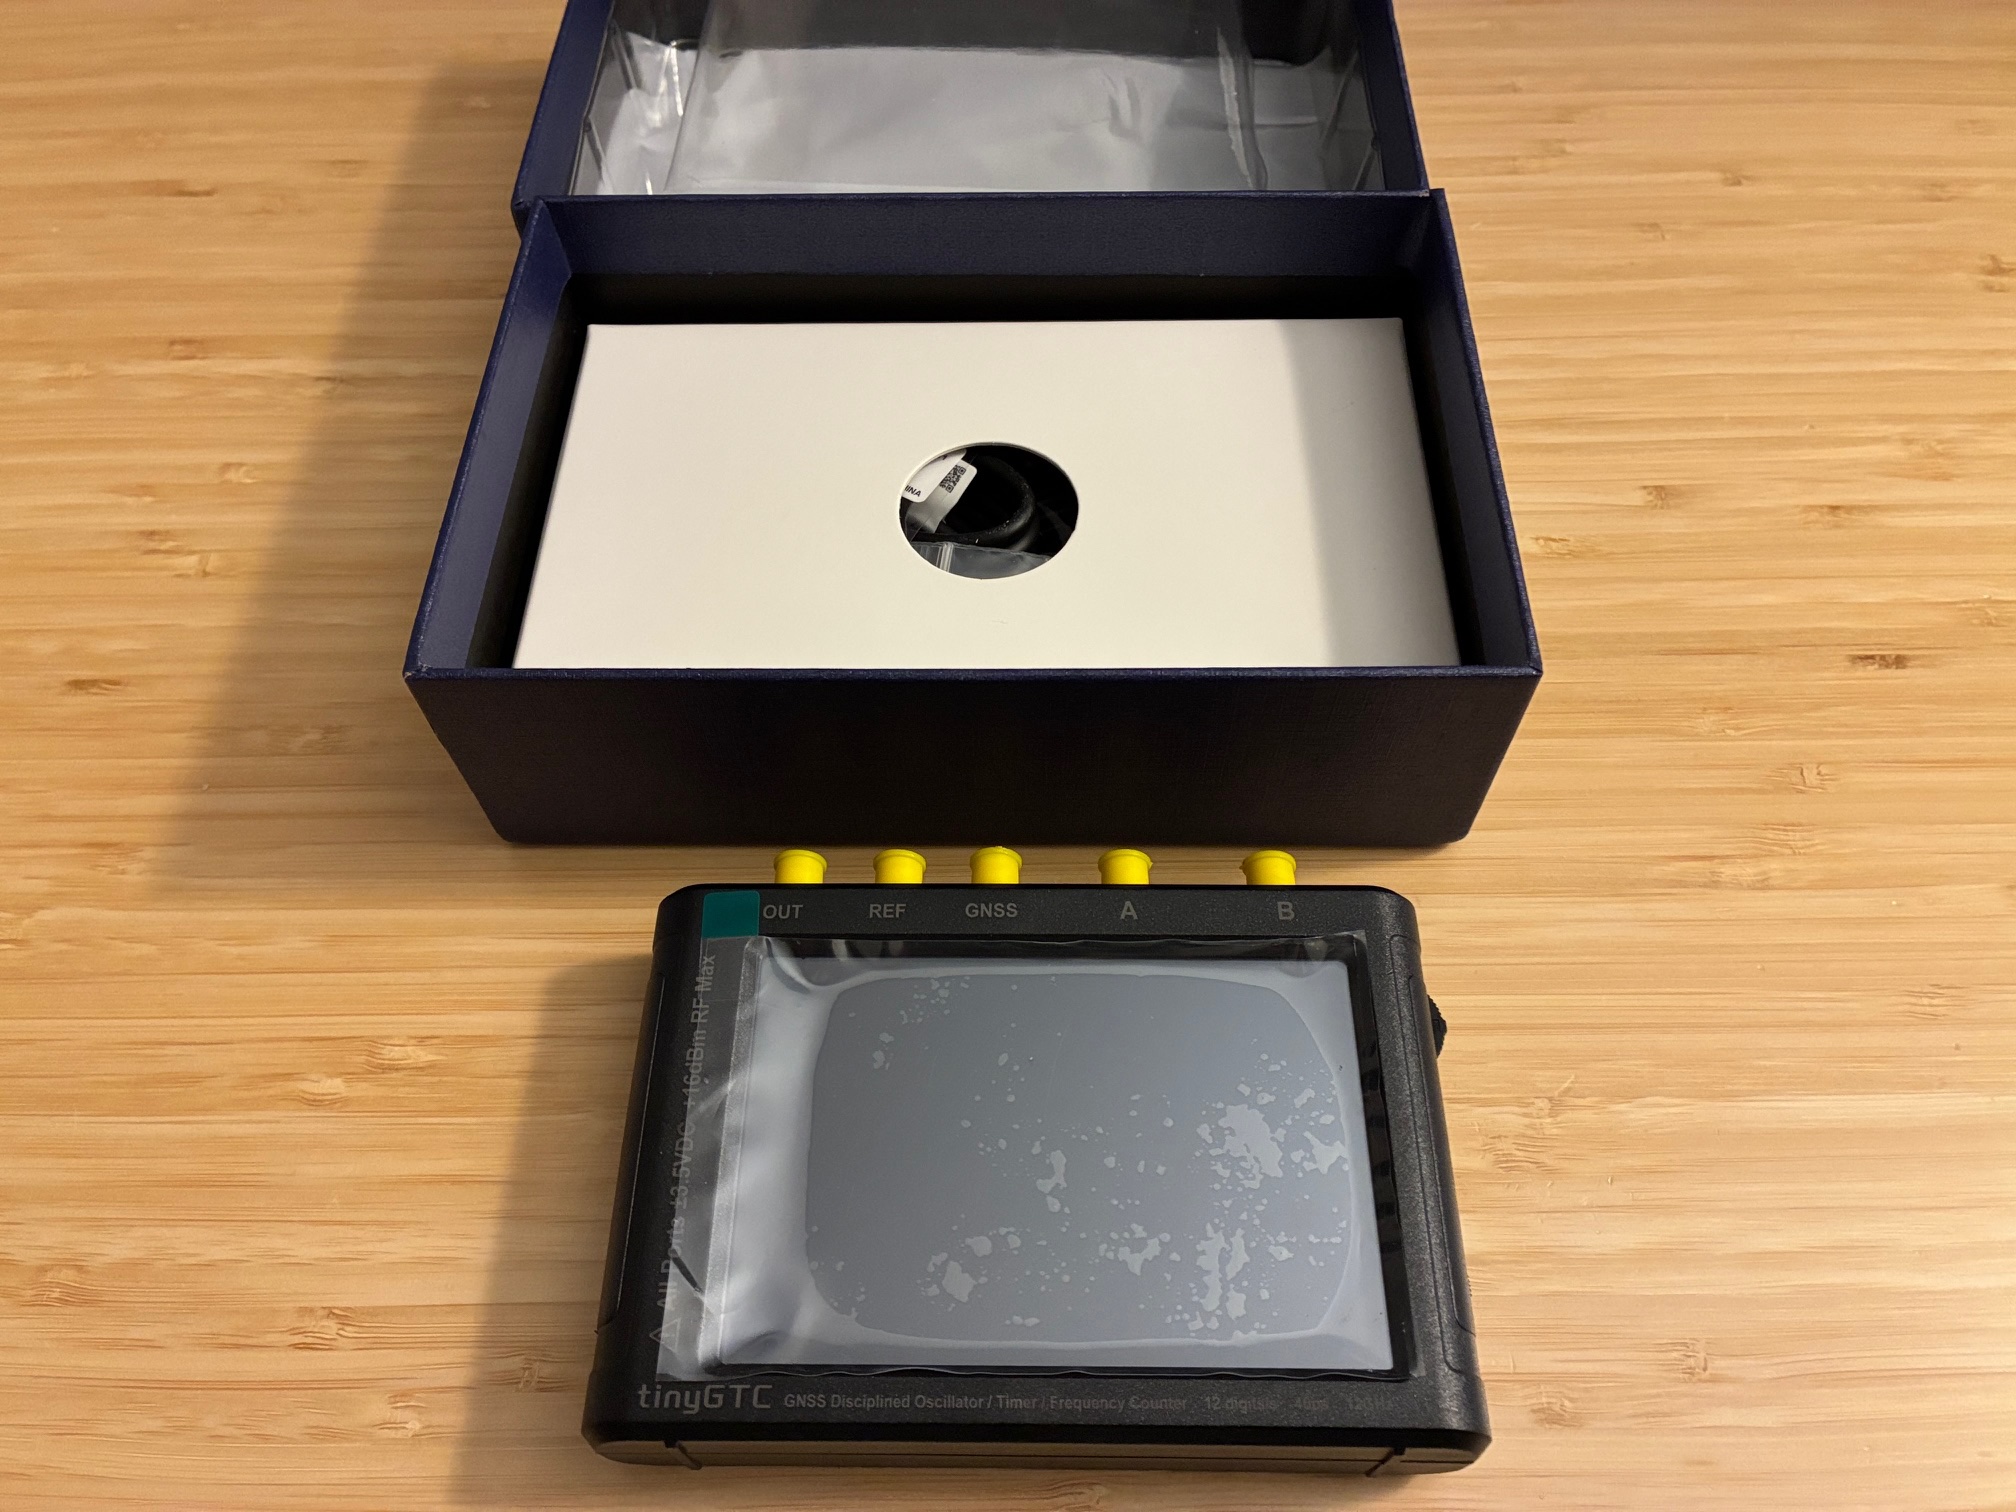
The TinyGTC is a dual Timer/Counter with built-in GPSDO with up to two clock outputs, it is a portable, battery operated, five SMA connectors, one USB connector device with a 4 inch display. It has a on/off switch, a jog wheel for when there is a problem with display touch and a SD card slot.
There is a TinyGTC groups.io setup for the instrument with an enthusiastic following to learn with and from. Erik has a series of videos on Youtube showing how to use various features of this and other tiny-devices.
I purchased the TinyGTC from the authorized dealer in here in the USA (R&L Electronics).
This device will augment/replace a Fluke 1953A counter/timer that has faithfully served in the home lab for a few decades. The Fluke is still working great and has lots of options, but is larger and has a few less / different features than the TinyGTC. The Fluke 1953A is now listed as item #47 on my Extras page if you're interested in a new-to-you counter/timer...
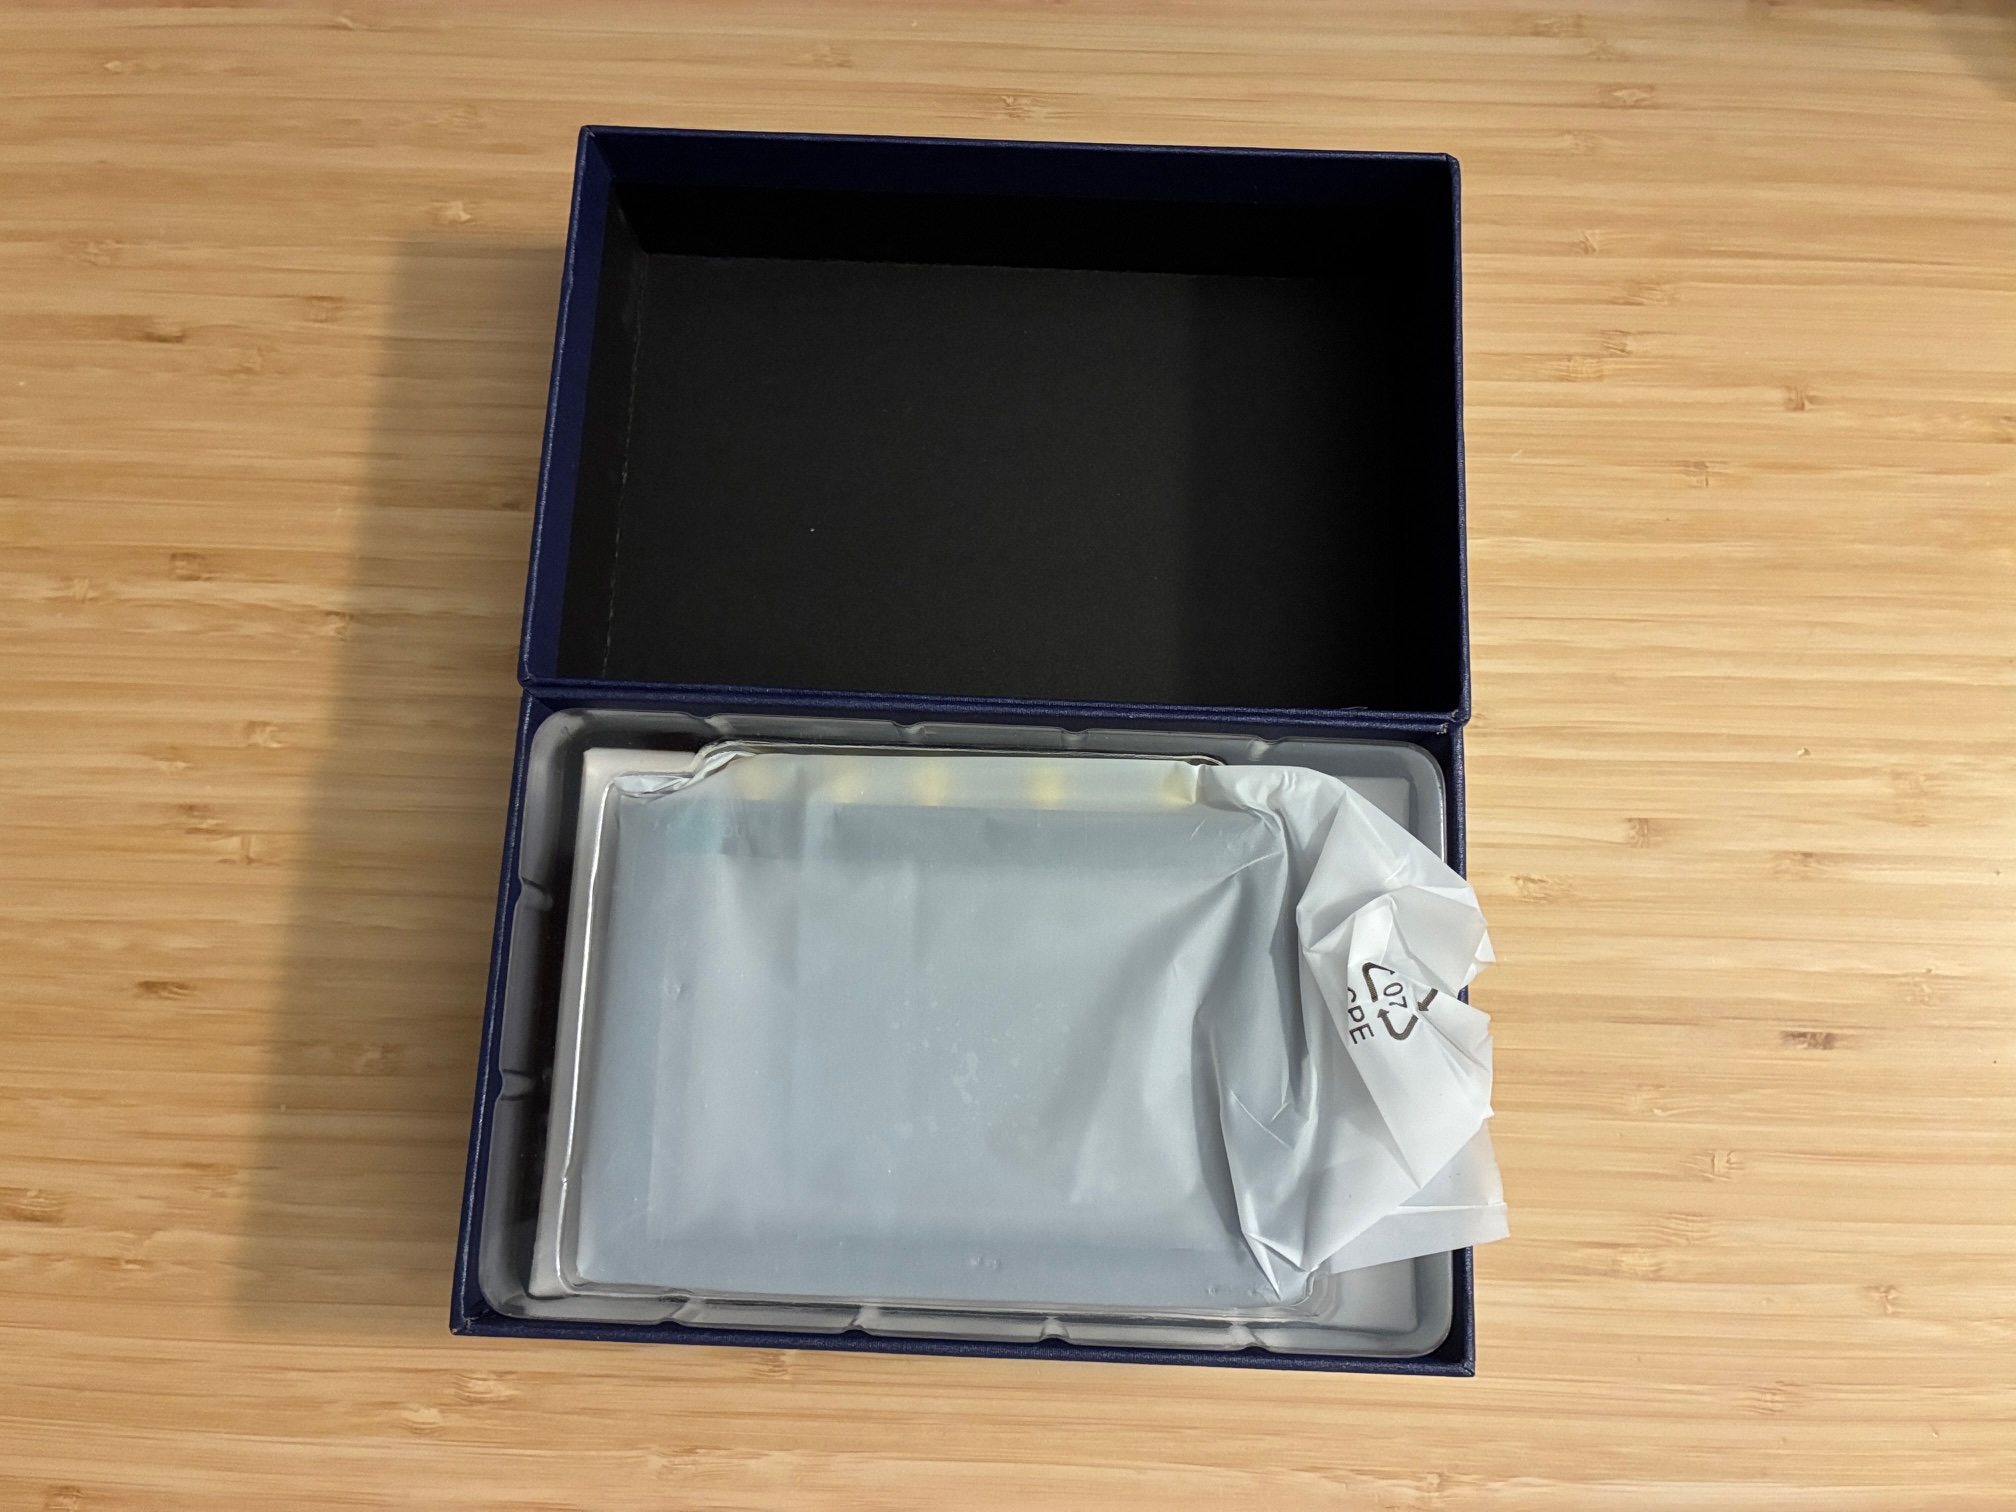
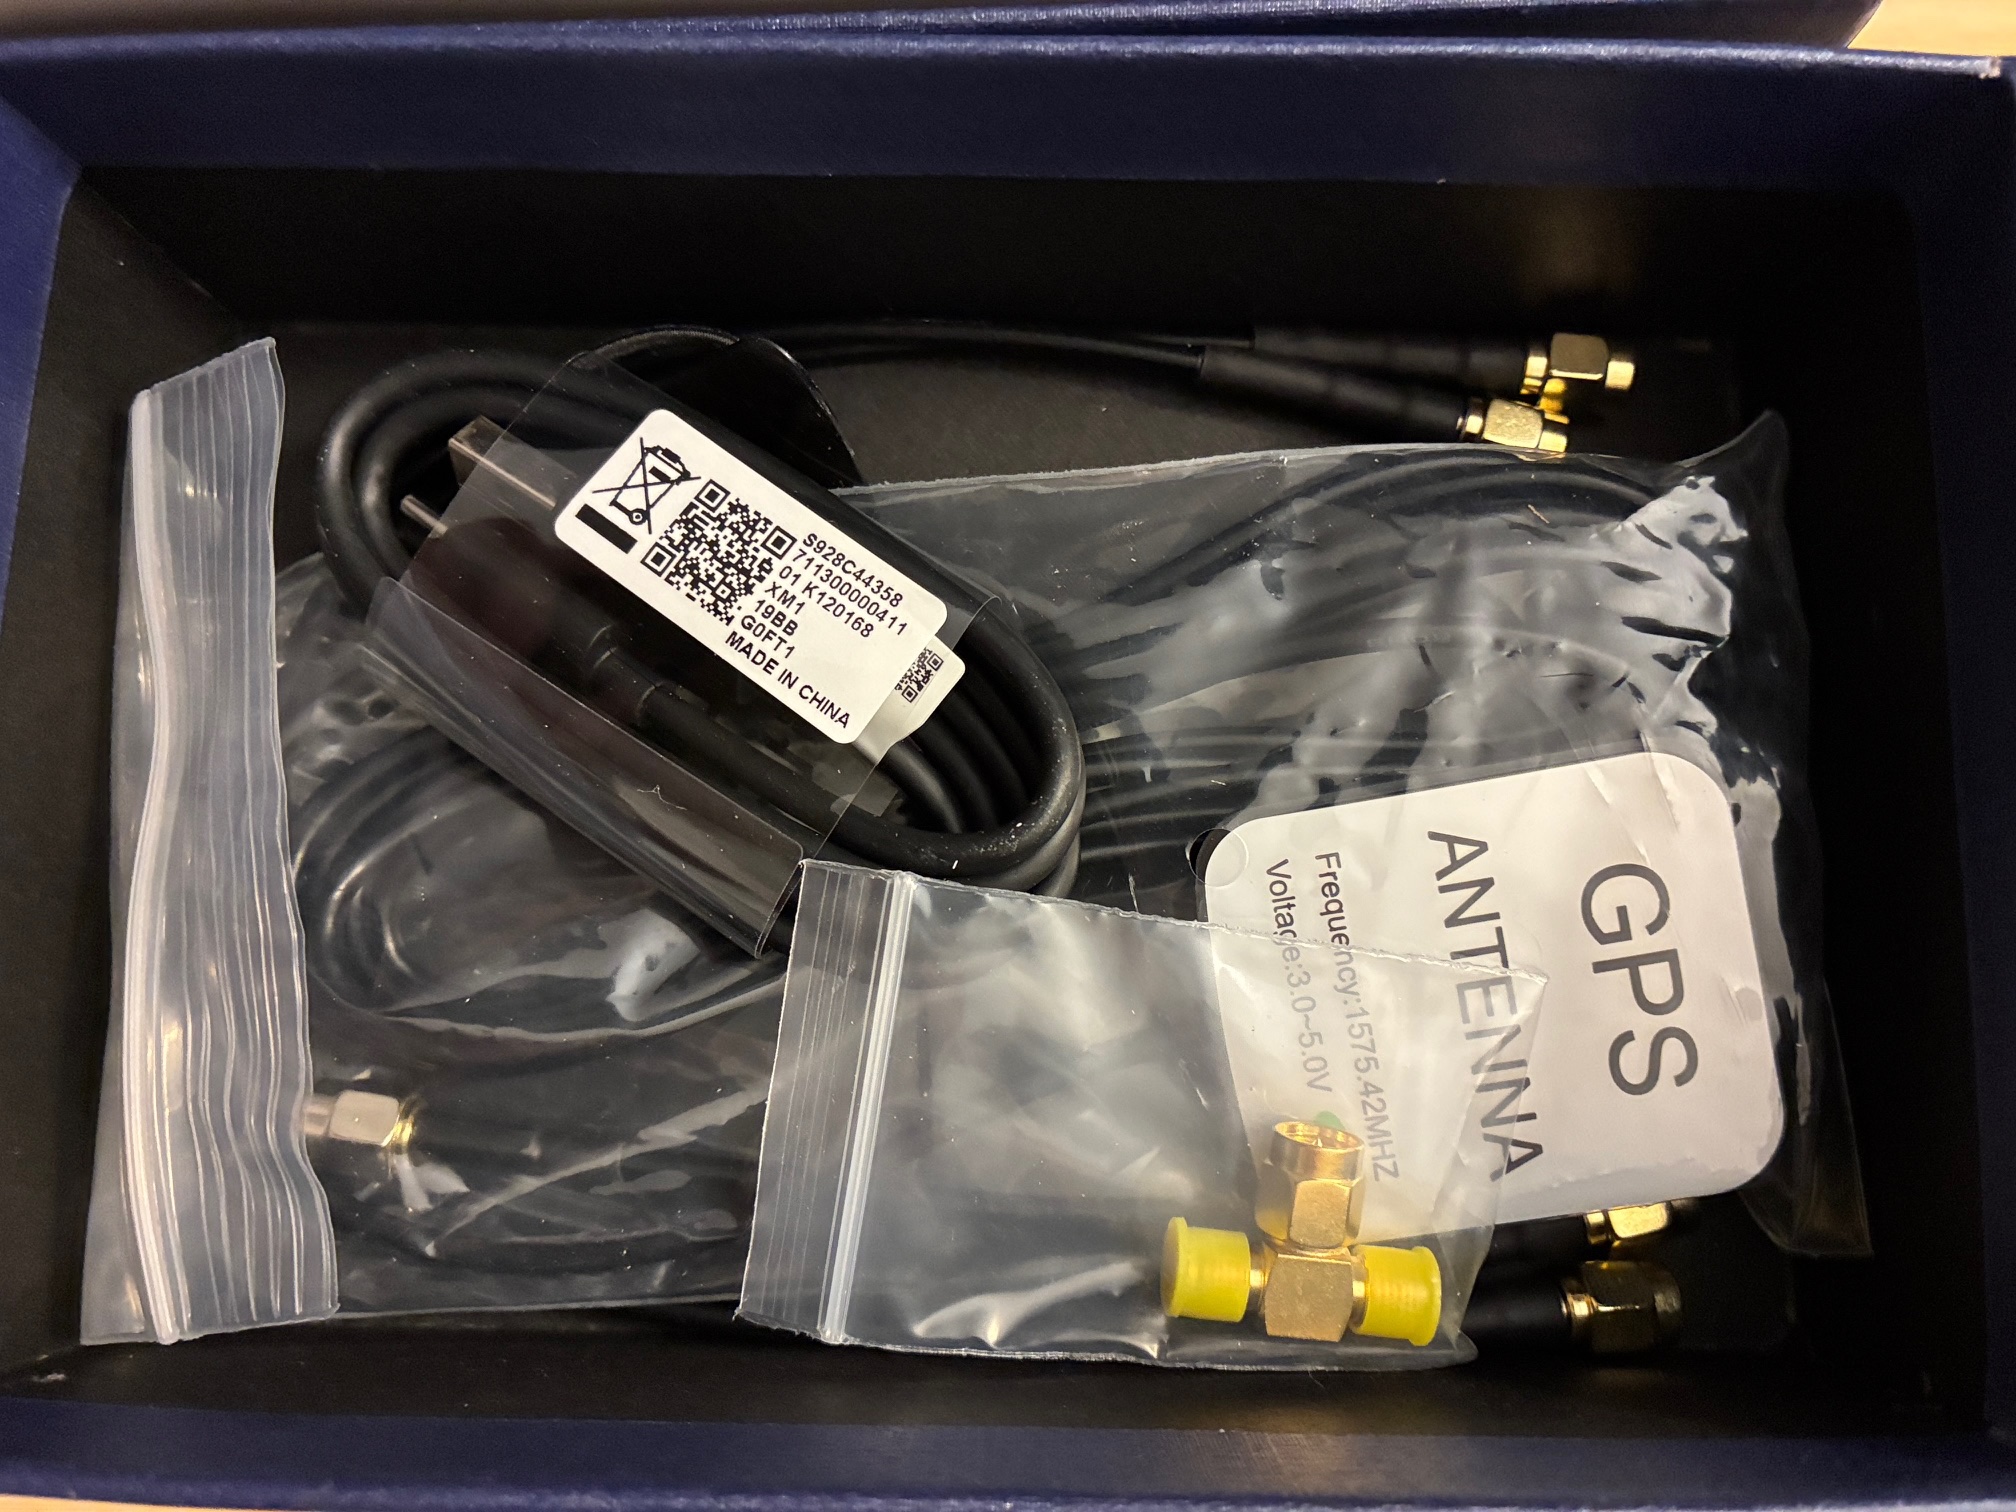
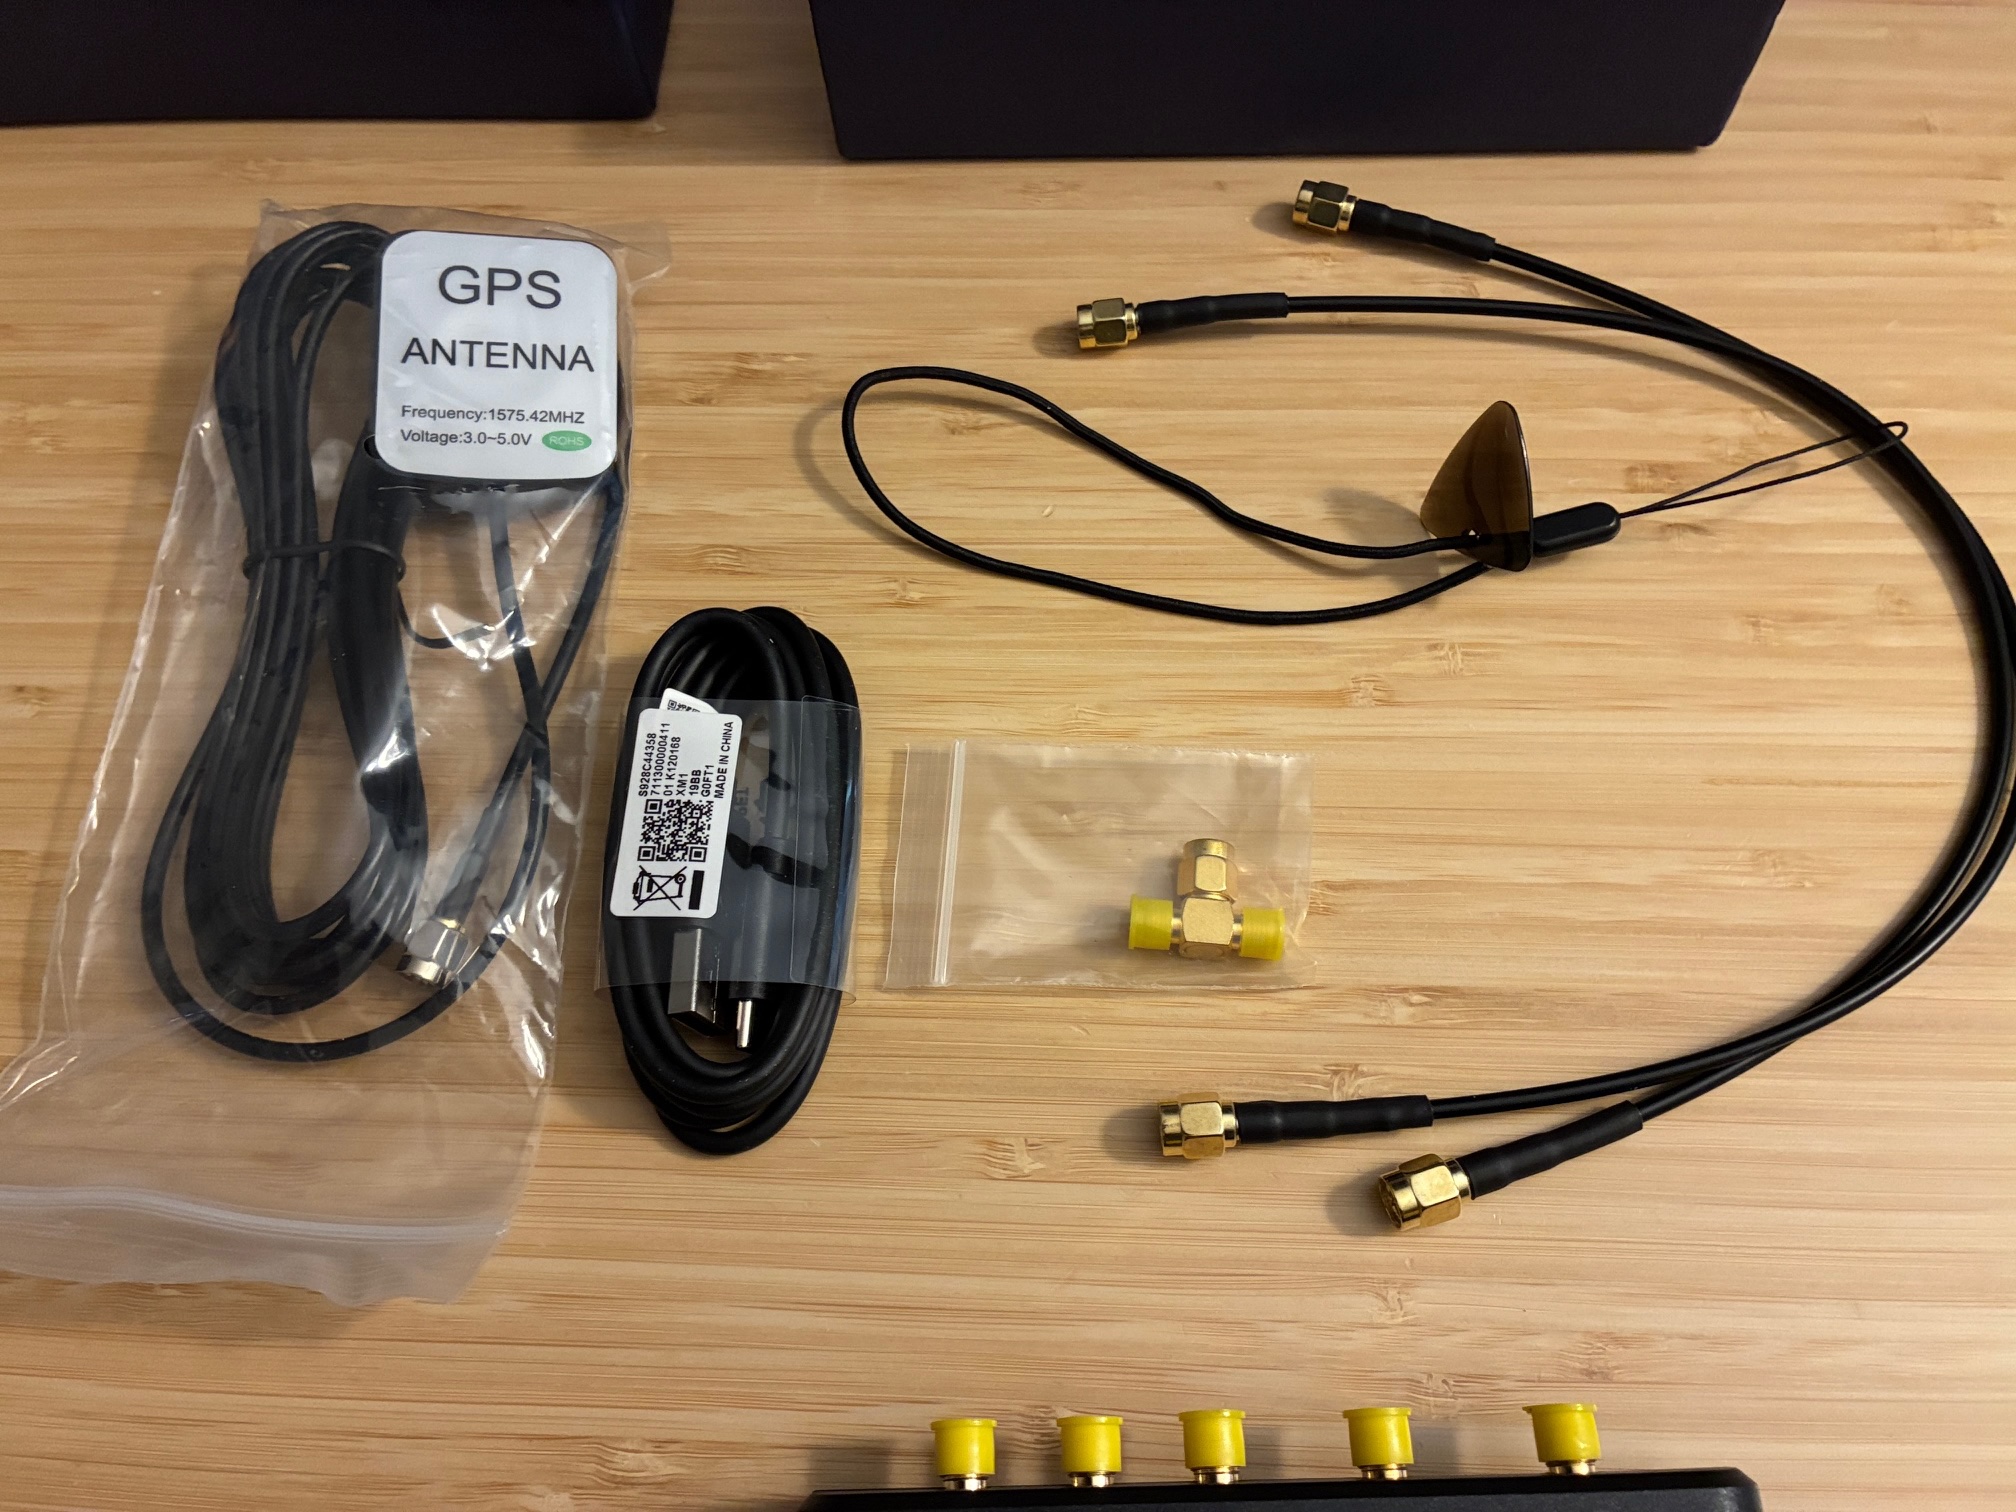
The following photo series captures unboxing and testing of the new TinyGTC.
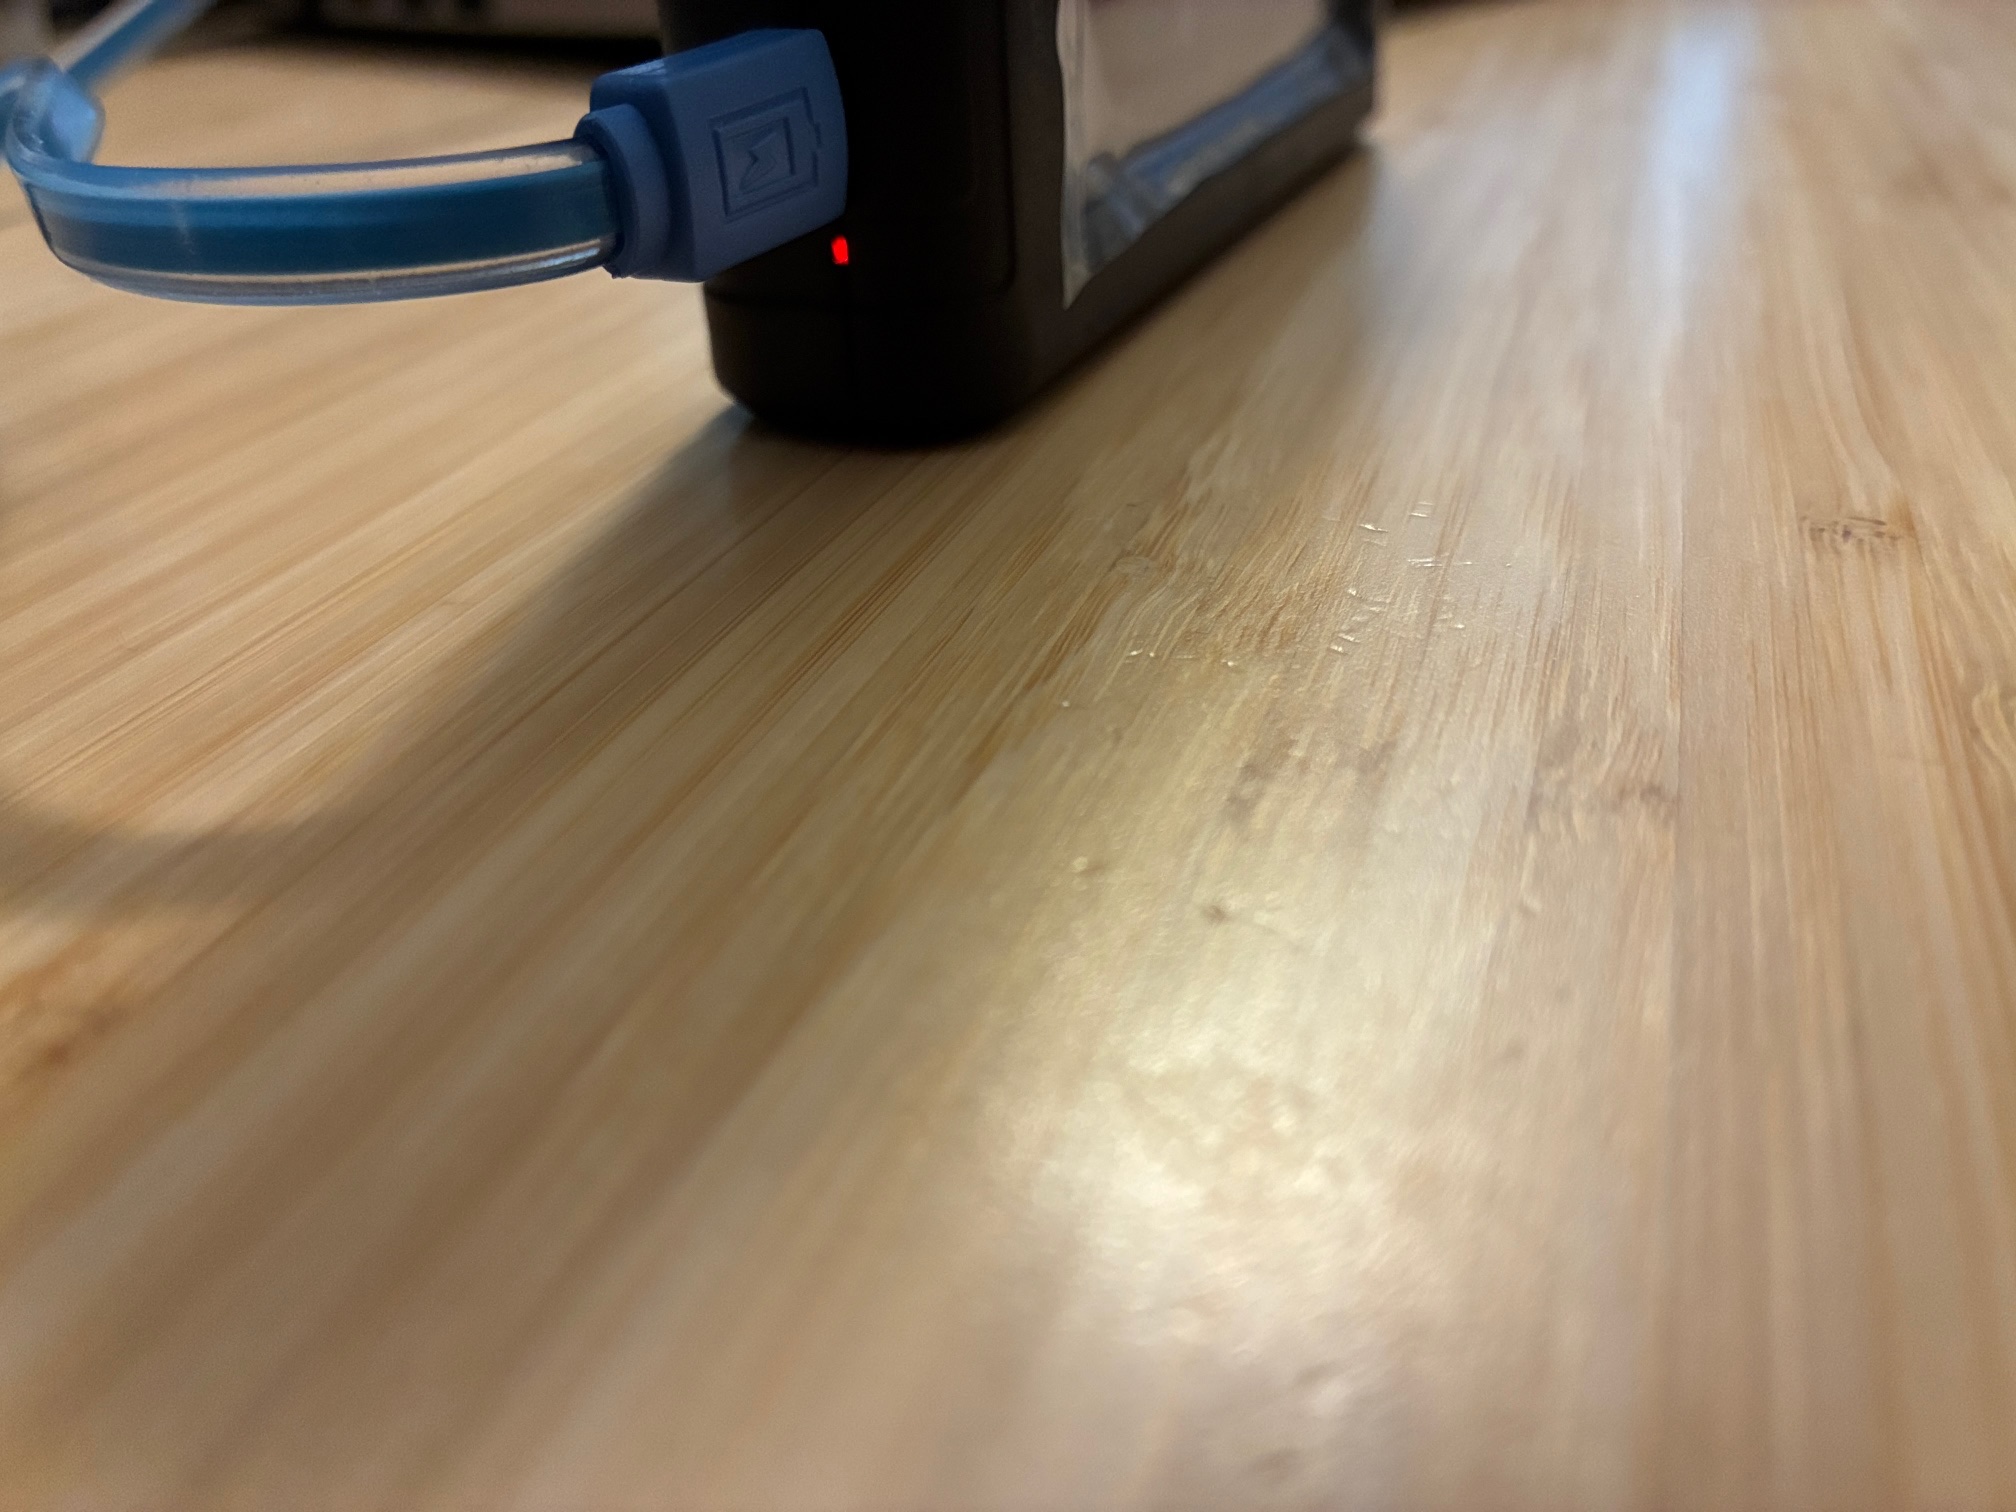
Charging (red) / charged (green) LED located near the USB-C jack on the left side.
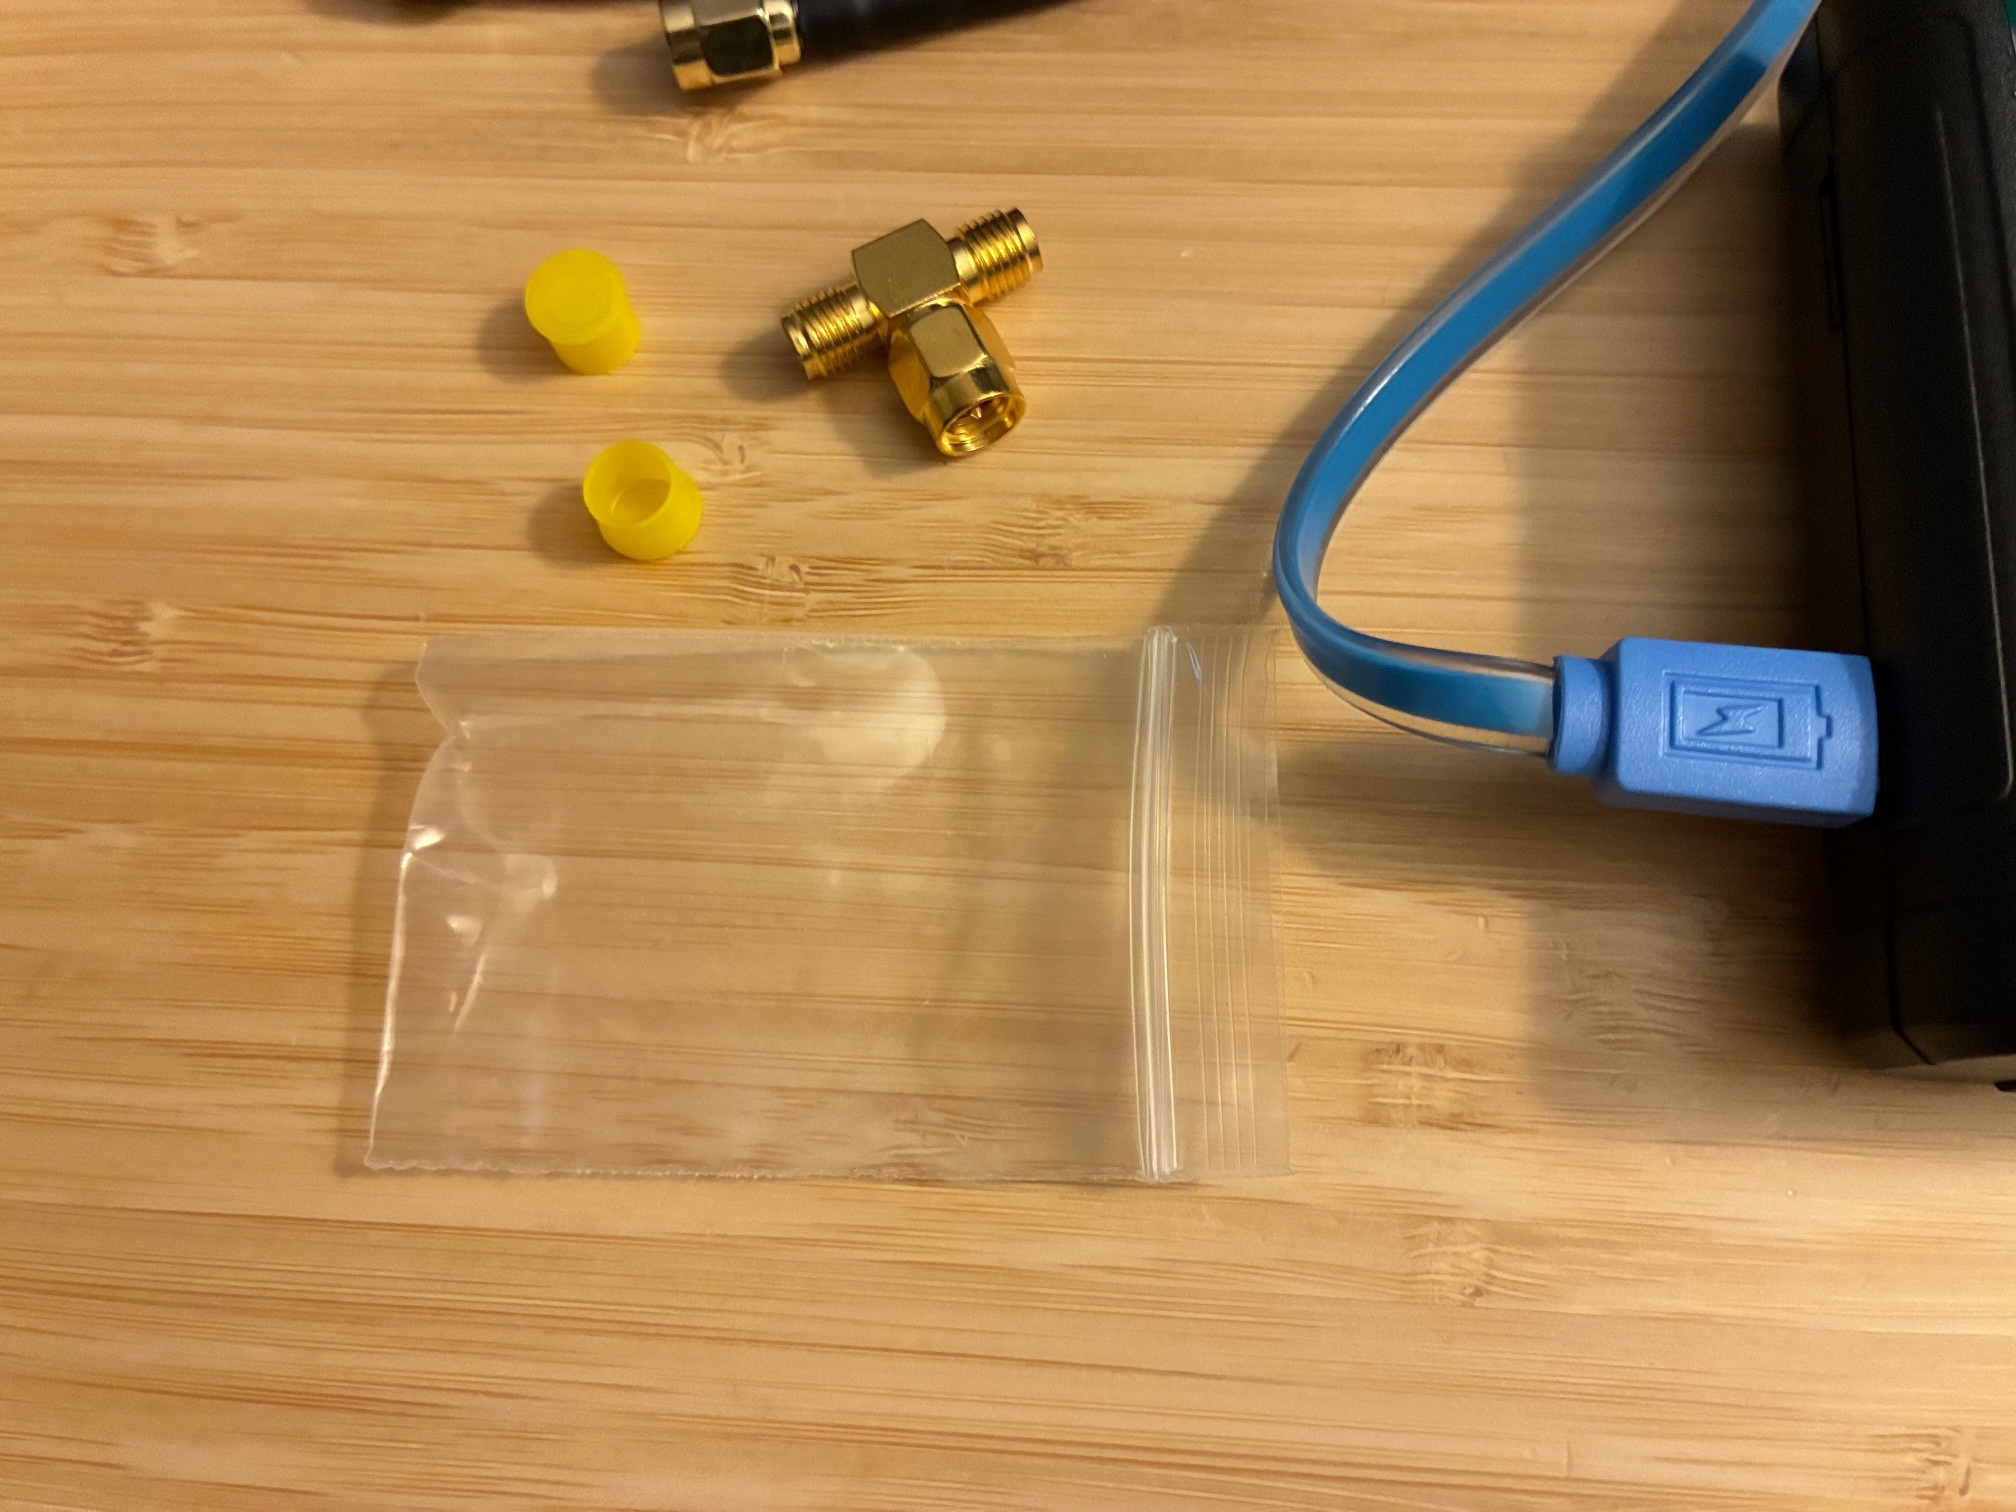
Unit comes with a SMA splitter for simplified self test connections.
GPS antenna placed into a nearby window...
There is a recommended first-use checkout procedure on the TinyGTC wiki.

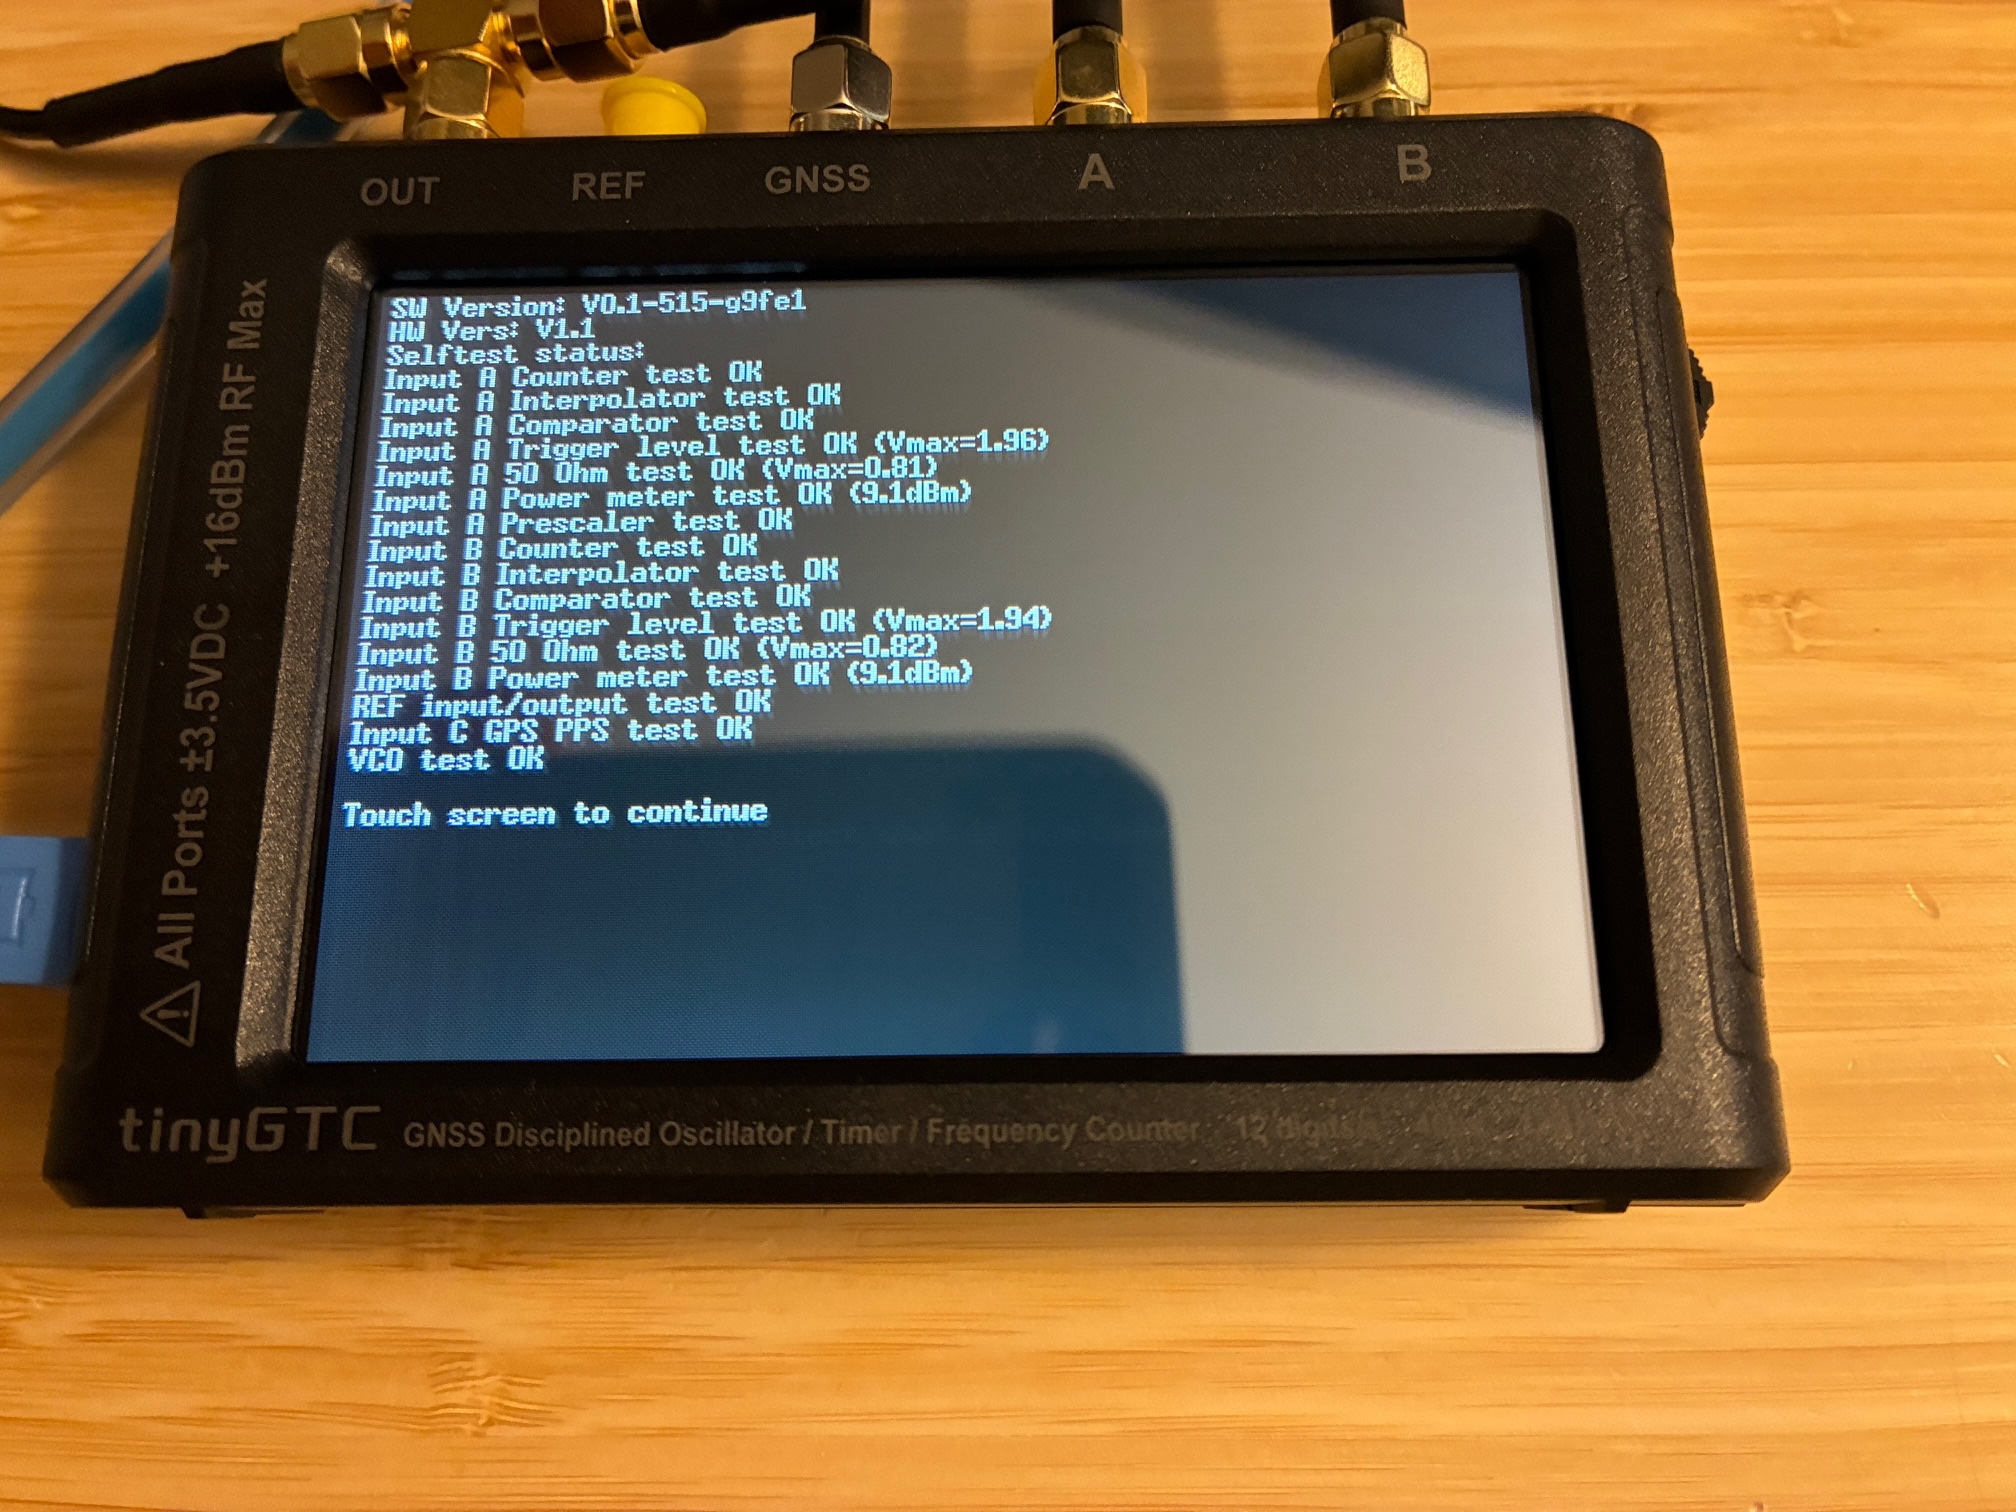
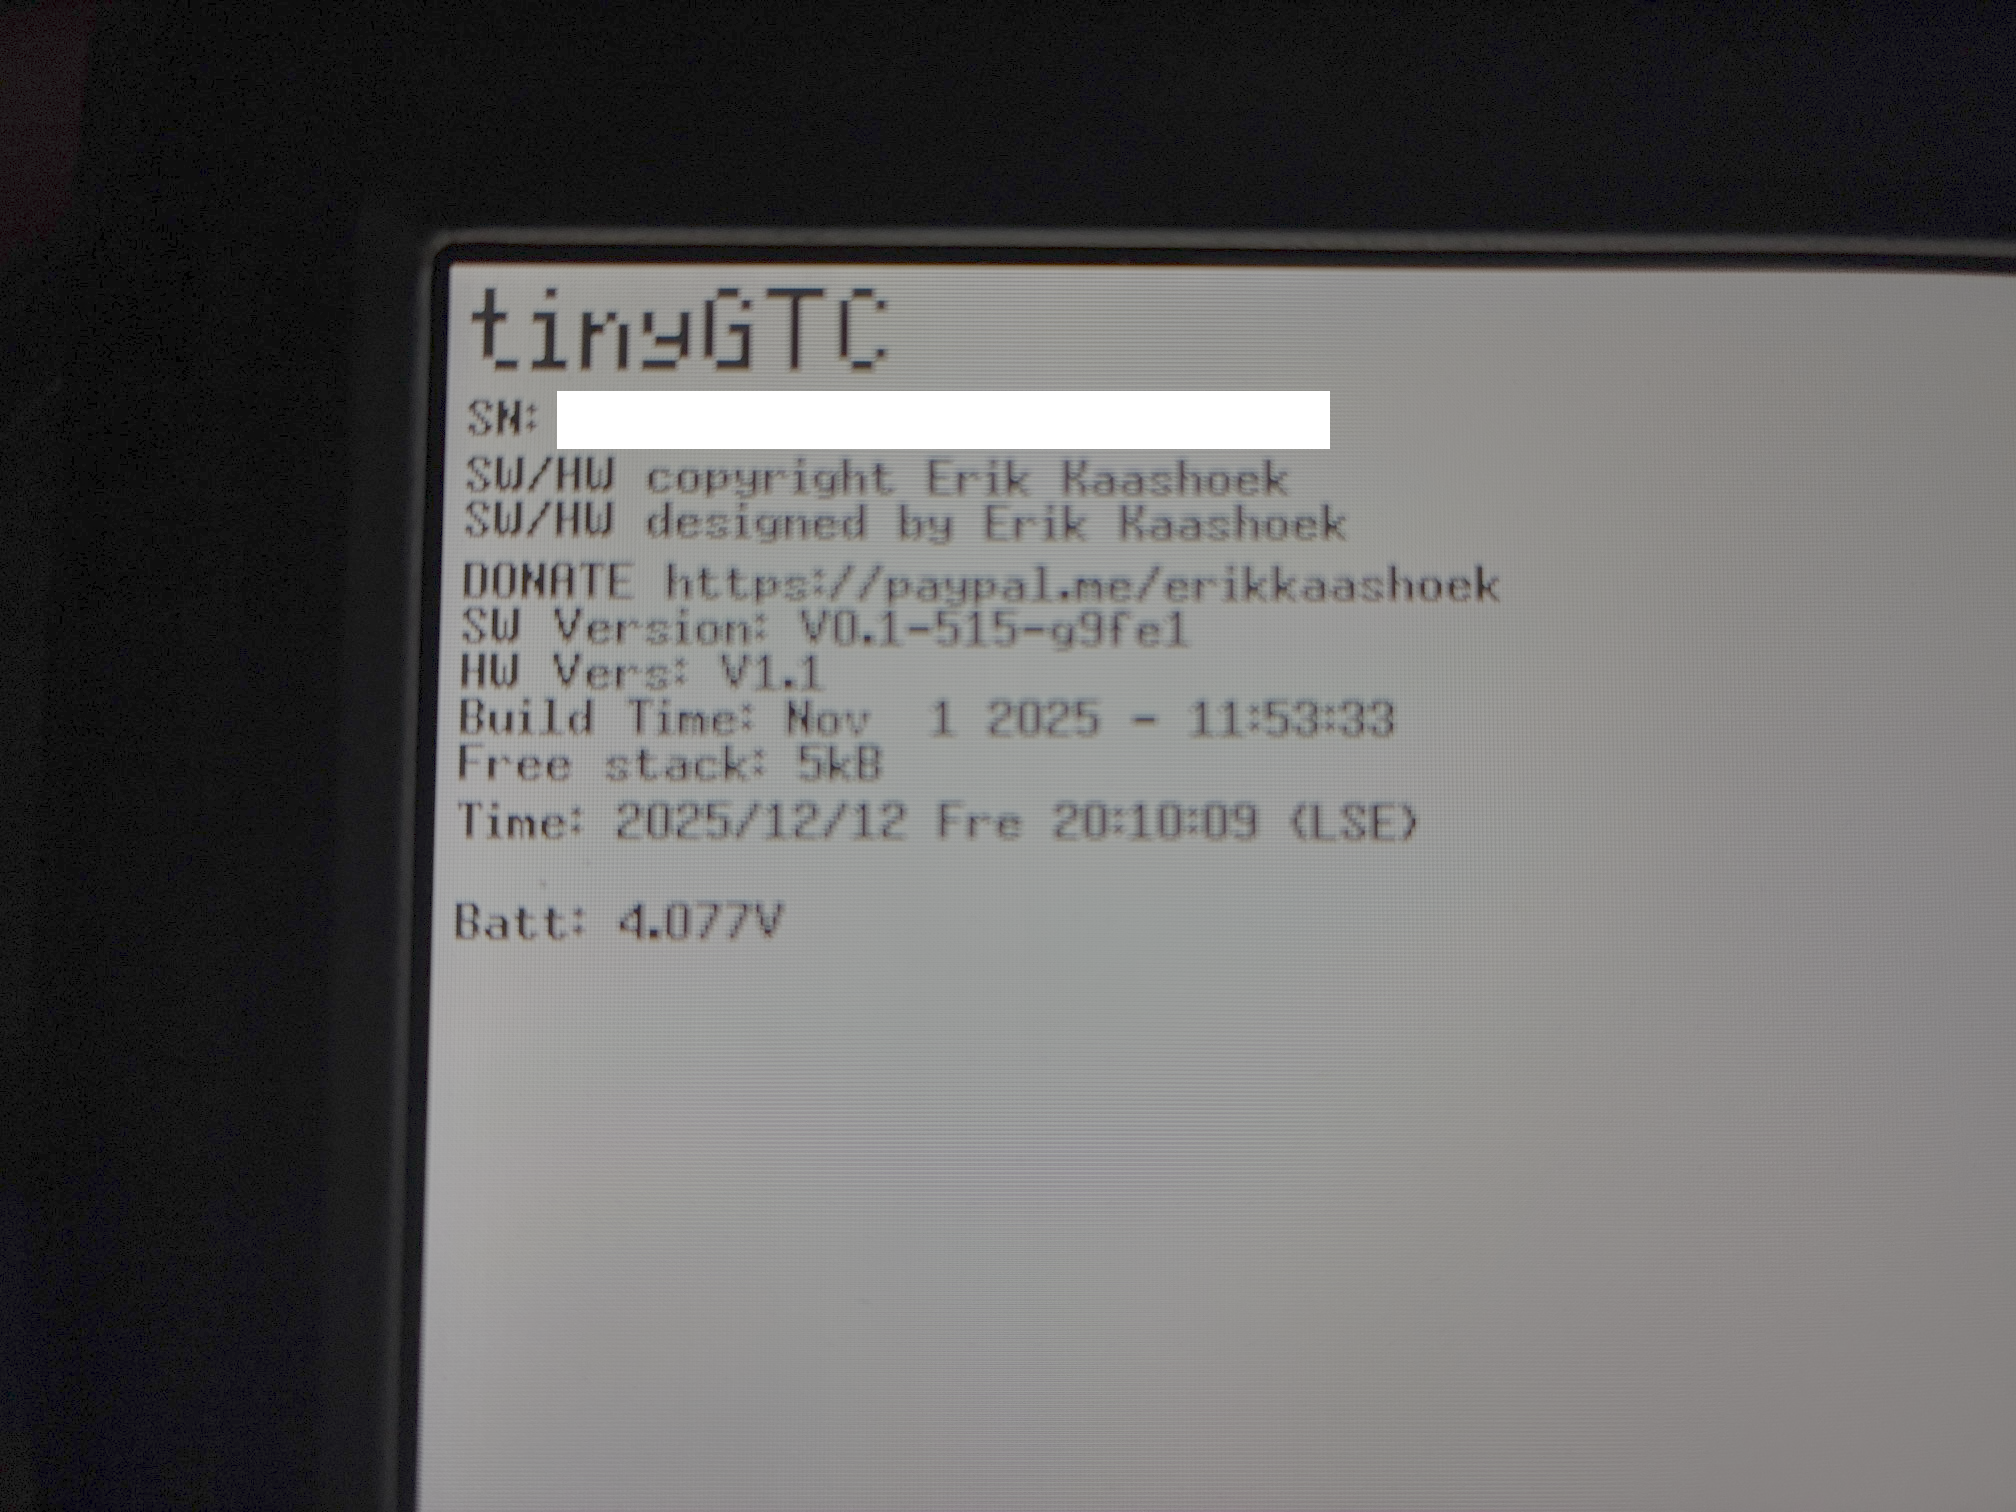
Self test passed. Note: Needs GPS antenna connected to fully pass this test.
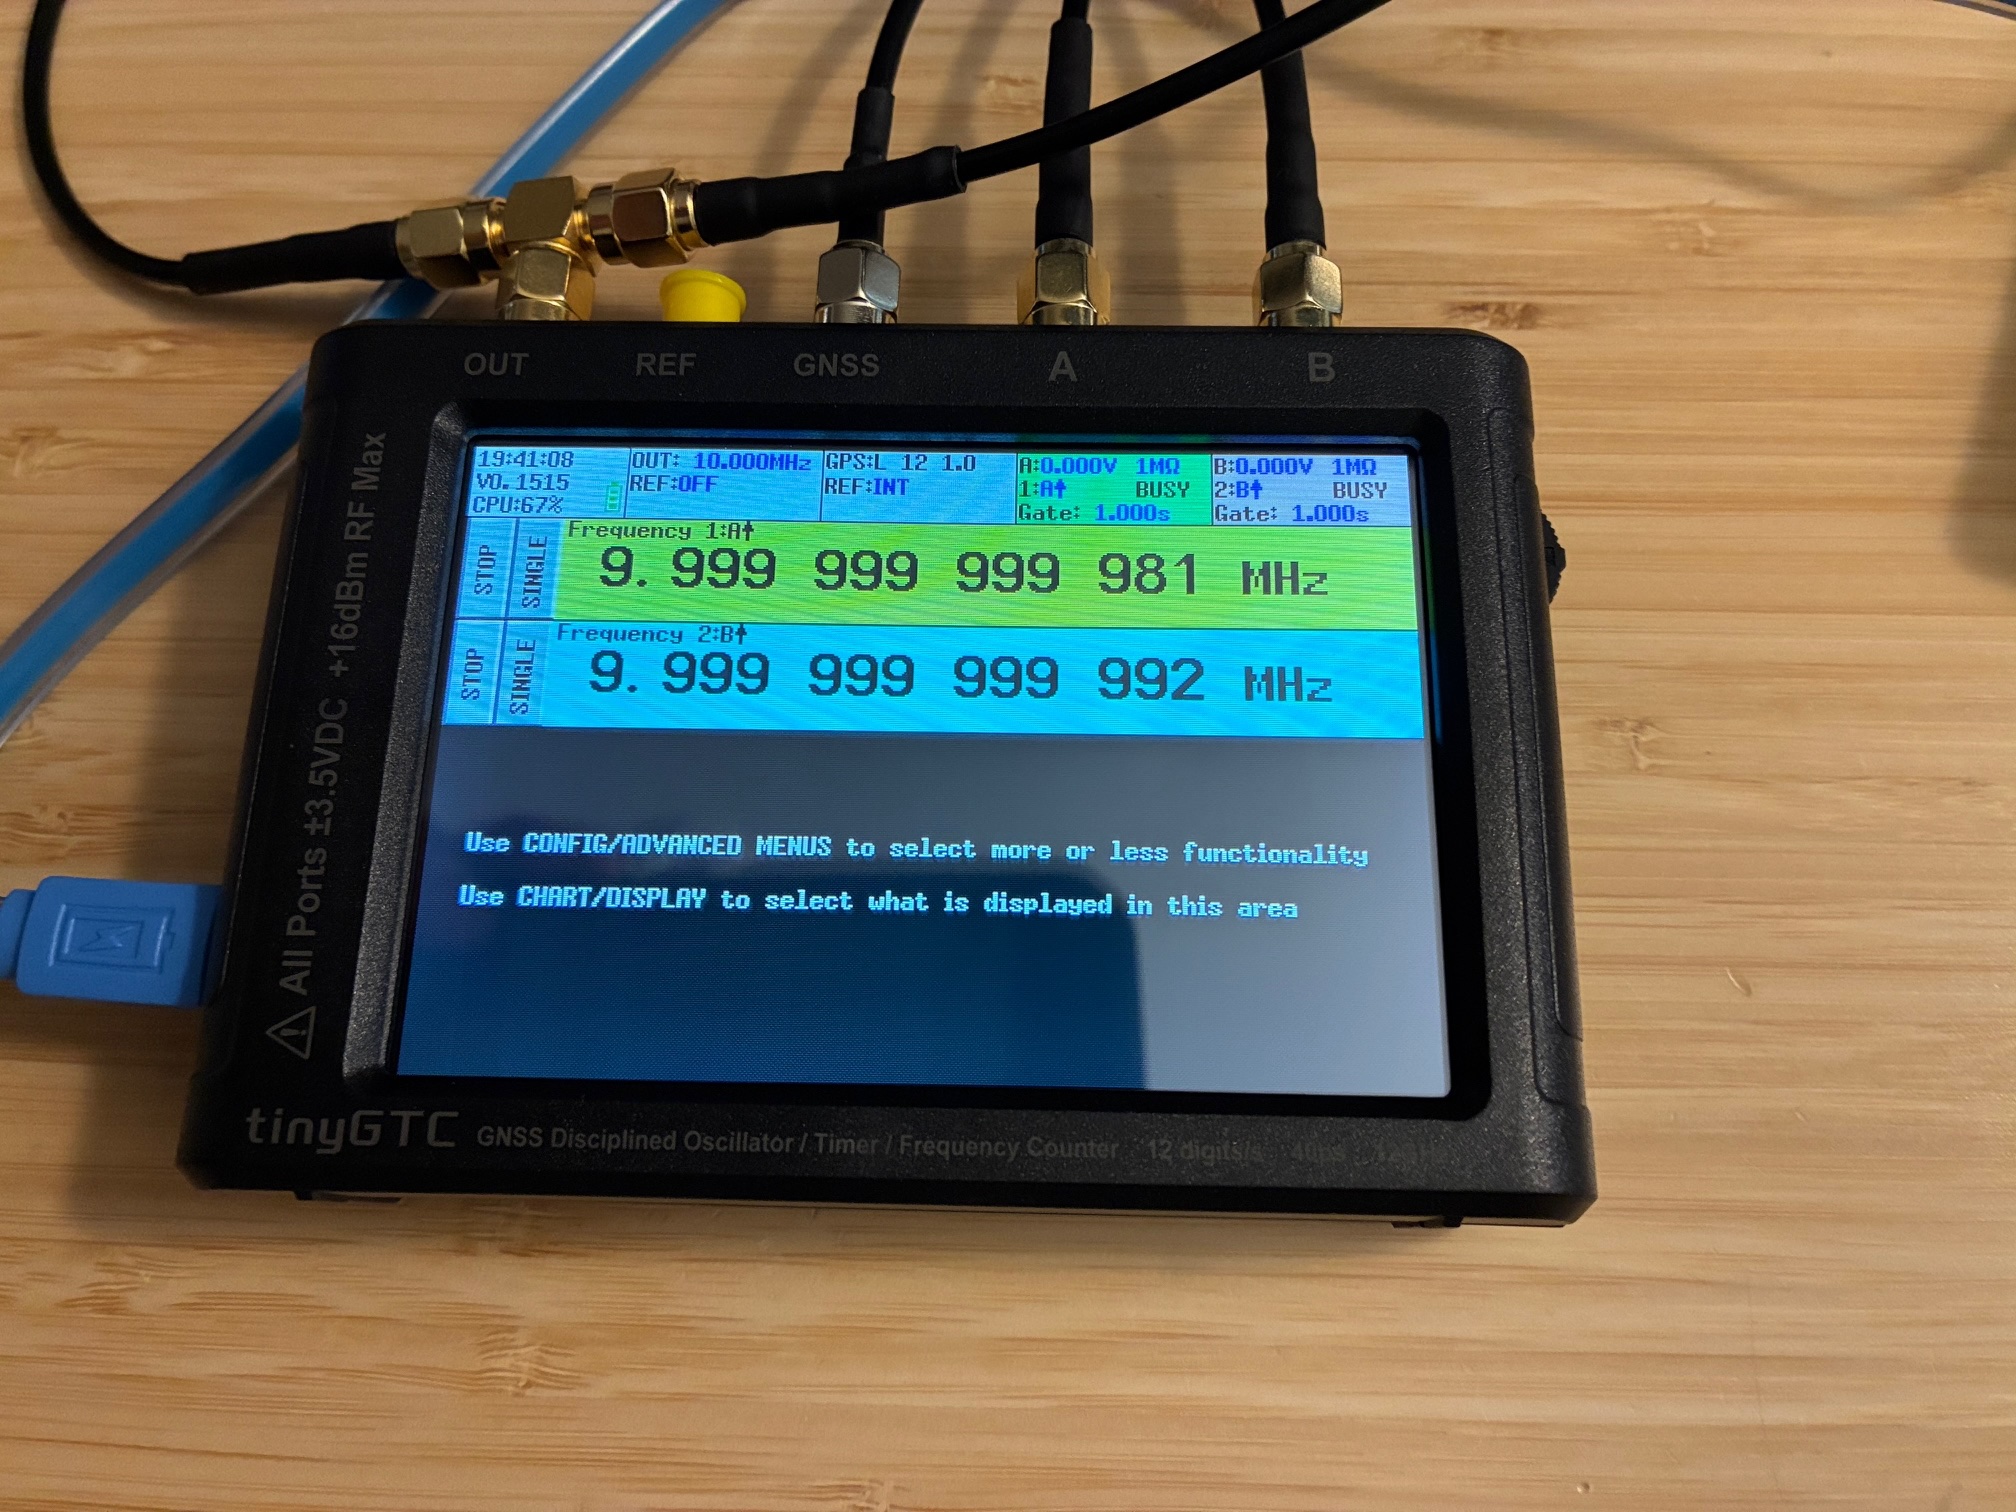
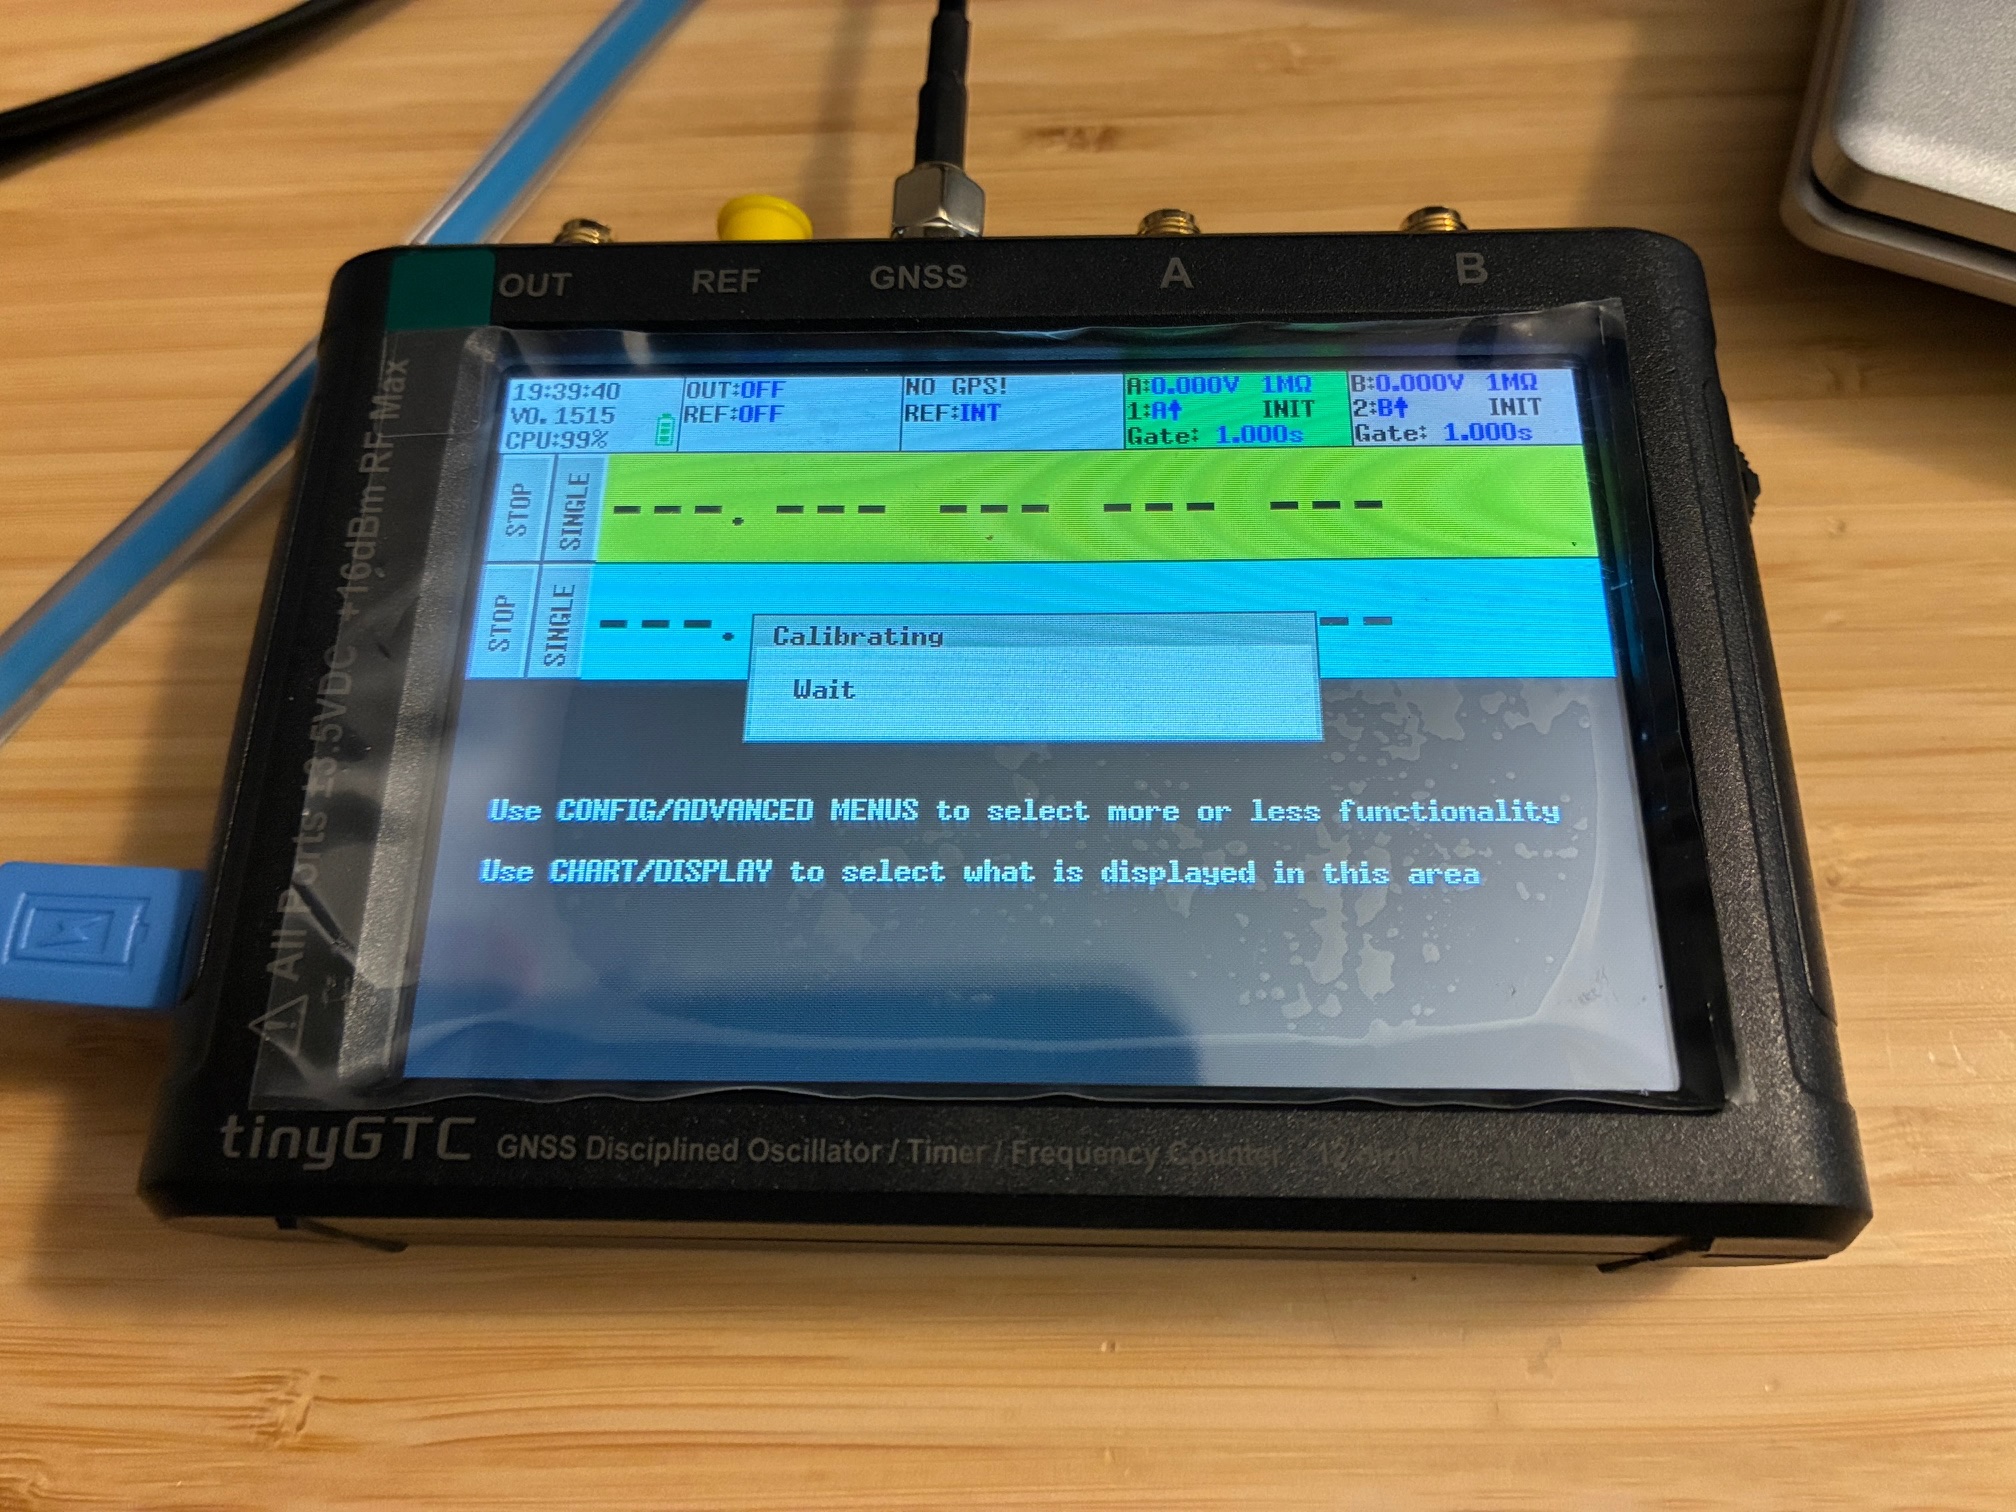
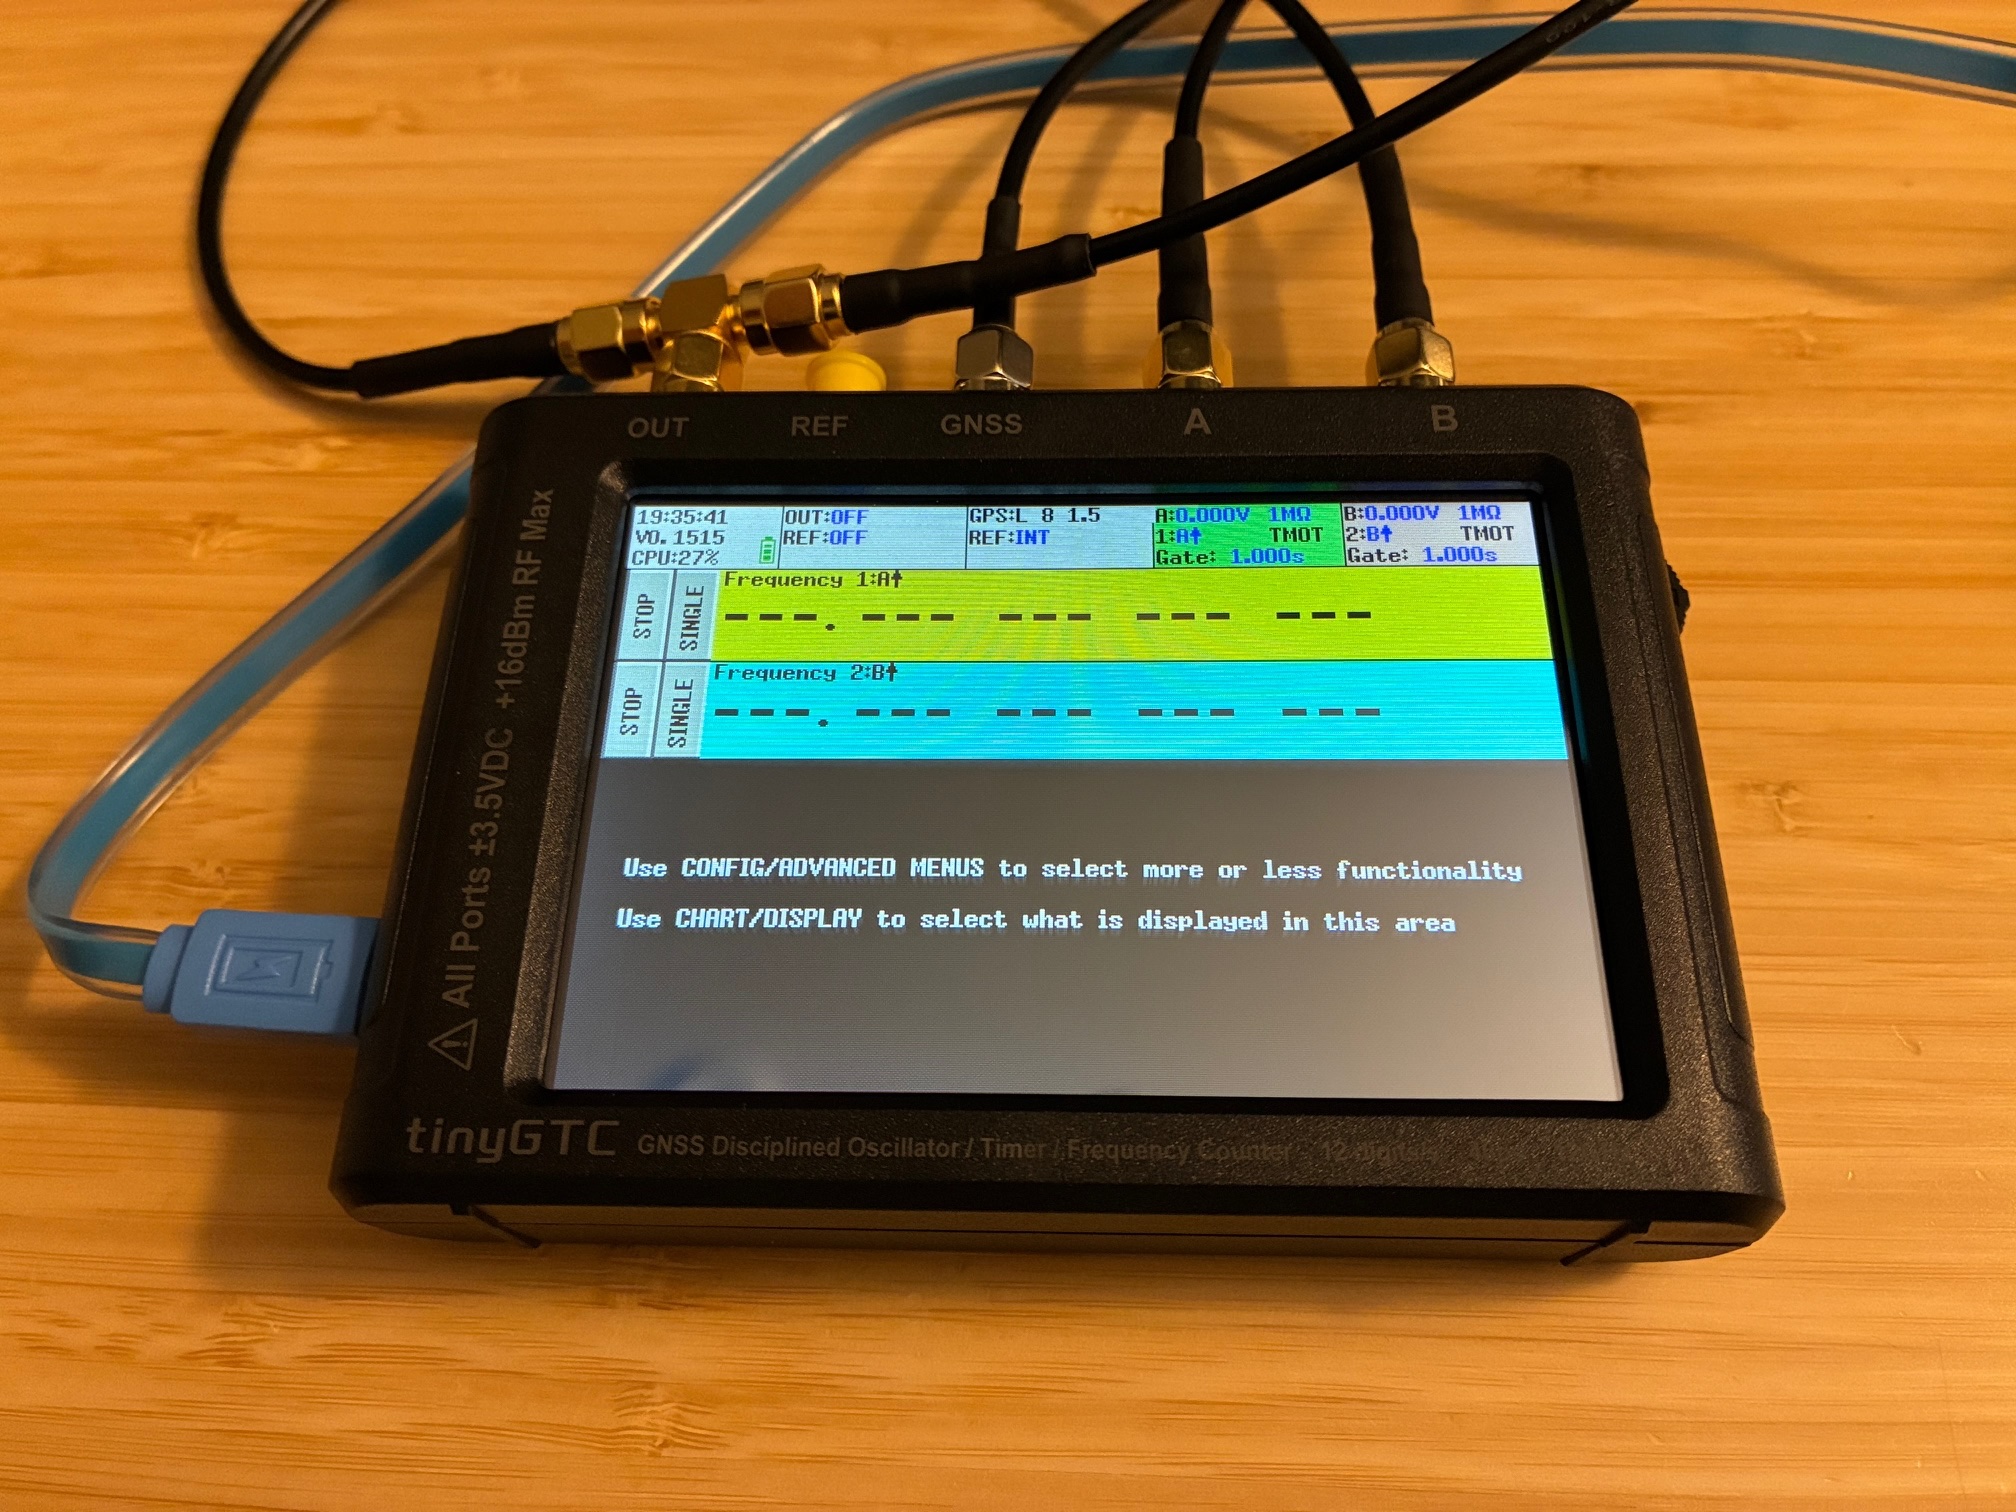
Test cables connected and running initial setup per TinyGTC wiki.
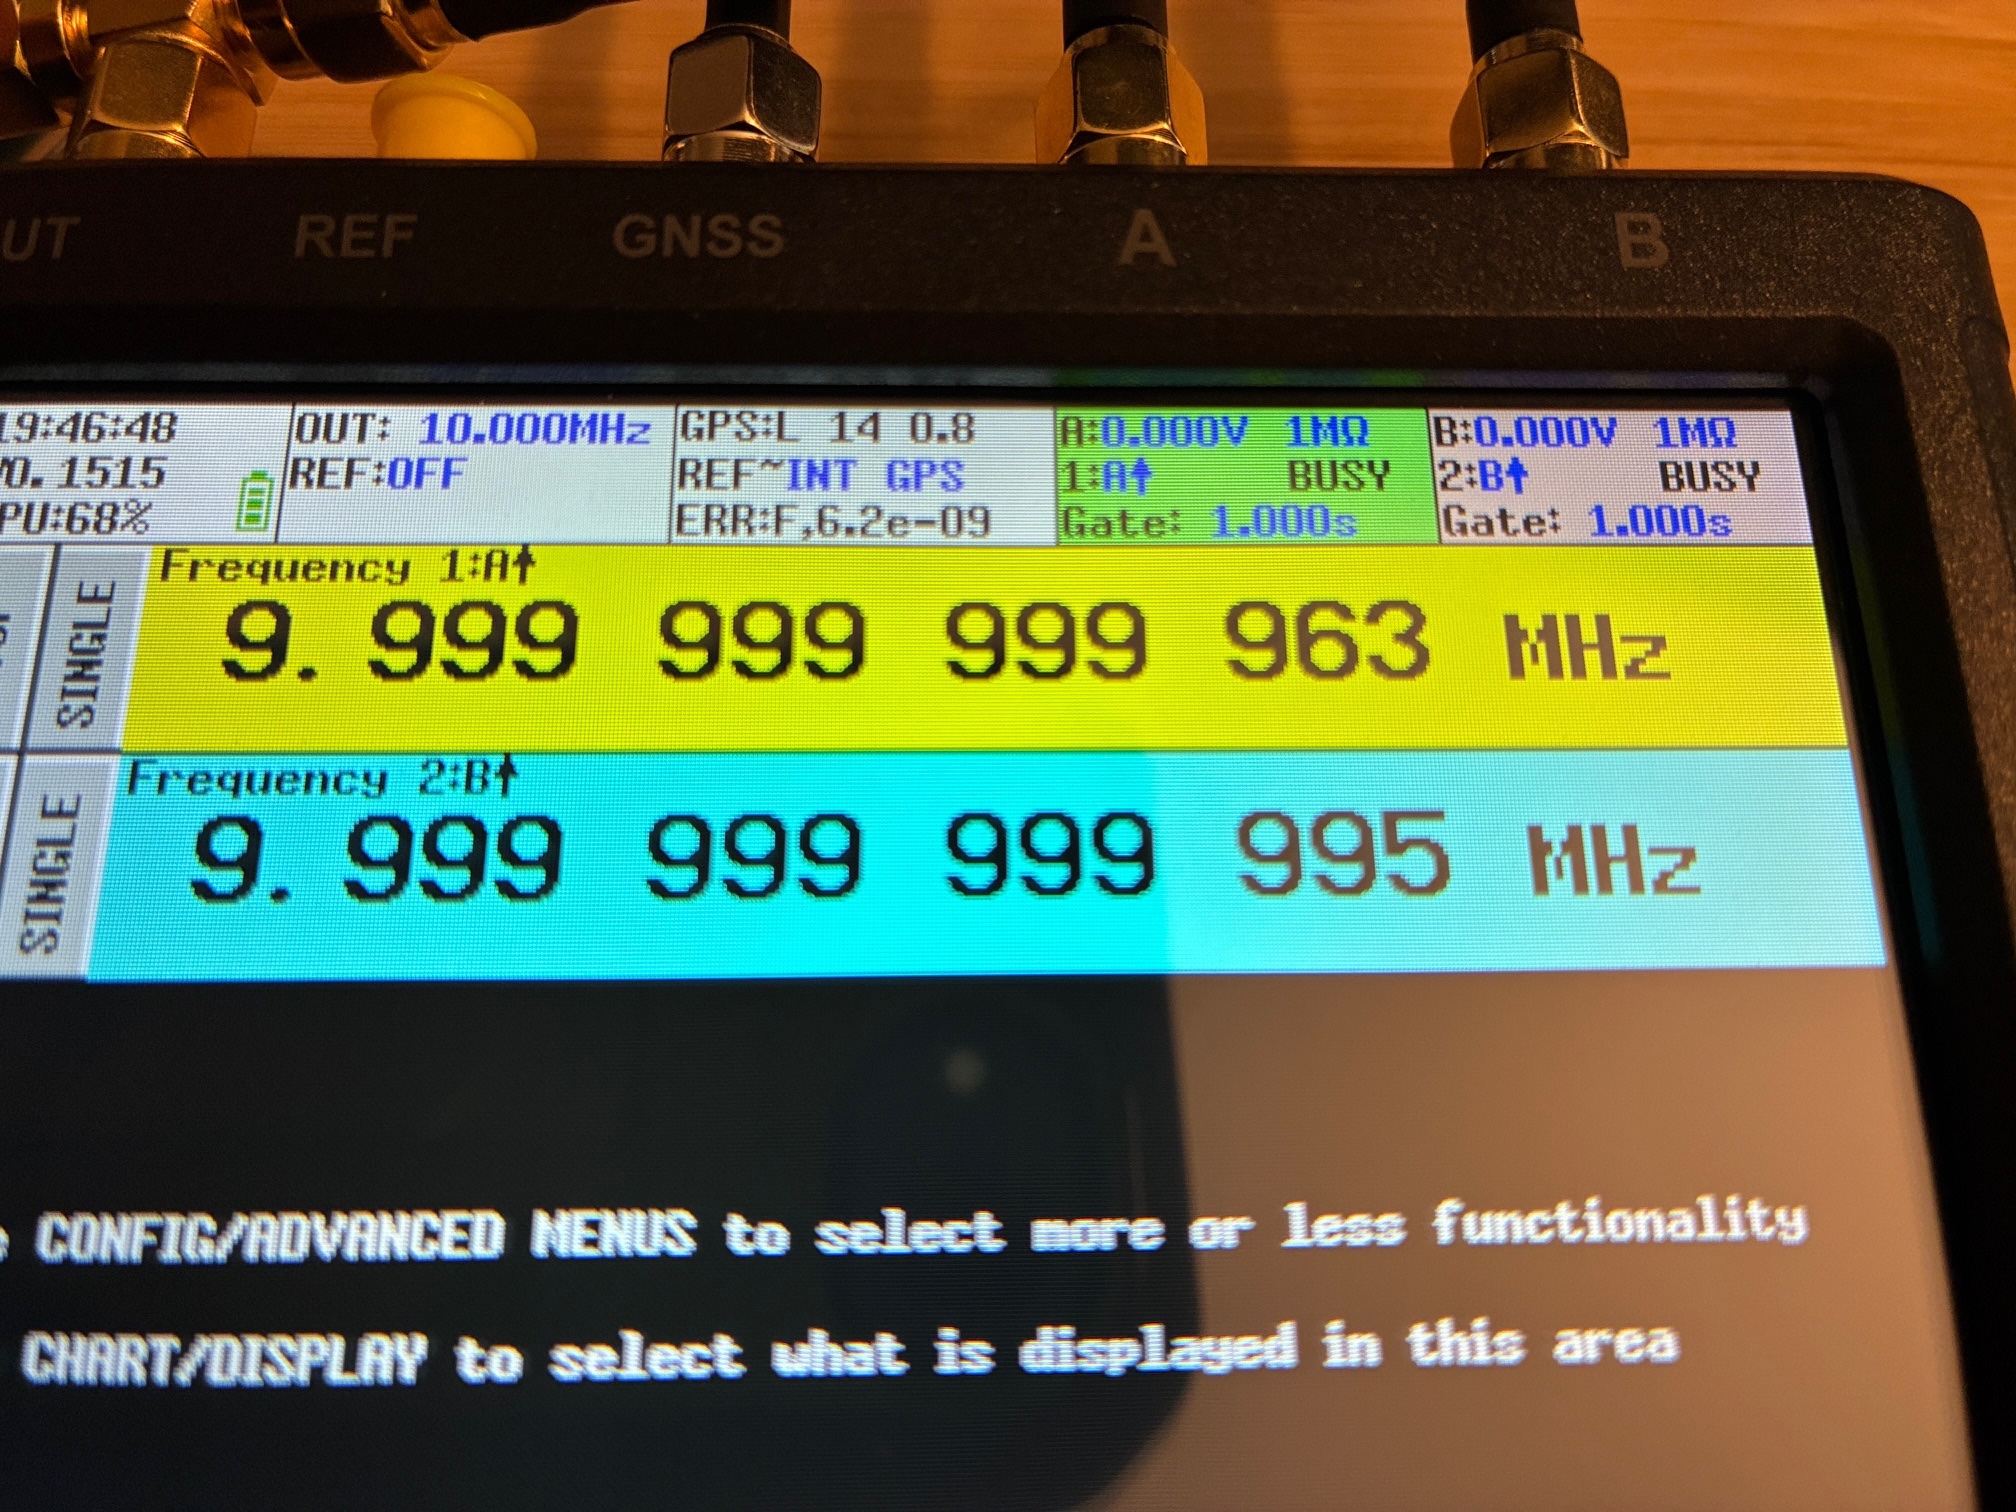
Everything looks good! This completes the unboxing and initial checkout of the TinyGTC.
Next step is to review the cautions against input overload/damage and put together appropriate protection devices for my intended use cases. This may involve use of limiters, DC blocks, step-down resistive dividers, or other measures.
Planned activities and measurements:
- Update the firmware
- Calibrate the reference oscillator in the Fluke 1953A
- Dial in the frequency of my 100 MHz OCXO test oscillator to be more accurate
- Measure the TinySA-Ultra and apply correction offset to increase frequency accuracy
- Check out a 120 MHz OCXO in the garage lab stock bin.
- Examine the two Pluto SDR to see what their frequency offsets are.
Achievement Unlocked: New counter/timer with GPSDO checked out and in service for the home laboratory!
More counter/timer/frequency-measurements ahead. Now with increased accuracy!
All author photos taken with an iPhone 16e.